Greetings,
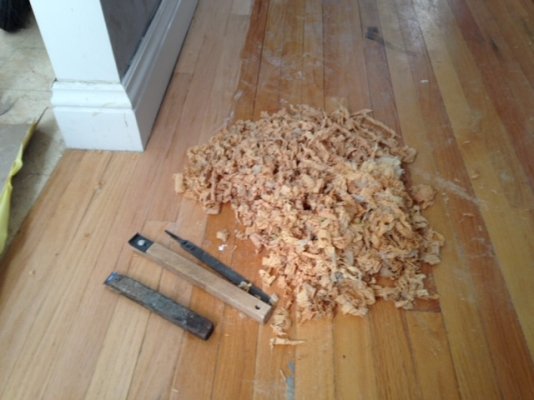
I much prefer hooked scrapers. Replacement blades are cheap AND more importantly, they can be easily sharpened with a file. Carbide scrapers, while sharp and long lasting initially, cannot be readily sharpened. A sharp scraper is a happy scraper.
As mentioned, a corner can be rounded to minimize surrounding damage.
Agree: Definitely a sharp (& frequently sharpened) hook scraper.
Here's what I learned from the local pro who does all the Hinckleys, Back Coves, etc. locally:
Tape with the best quality blue tape.
Usually with a hook scraper and hand sanding, you will not need to retape before varnishing.
Use a heat gun judiciously. The old varnish will bubble, but if the previous had a layer or two of epoxy, well you are in for a lot of "fun", but it will splinter off eventually with the sharp scraper.
Do remove SS protective 1/8 round rub strips. It's faster, easier and you are not worried about leaks from non-penetrating fasteners. Most of us leave the stanchions in place & tape around their bases.
Use a narrow and very sharp chisel to put V's into all butt joints & scarf joints which you will varnish and subsequently tape before filling with Sika 291Uv or equivalent. If you don't, this will be an area of varnish failure 'cus it's wood and both sides must be able to swell and contract with the seasons.
Be prepared to remove the sealant on both inboard and outboard under-surfaces of the cap rail if the sealant is suspect. (This is a major PITA since it involves taping both the cap rail and the hull on both sides of the rail to get a neat seam of 291 post varnishing).
If you want an almost perfect final gloss finish, do not use an orbital or DA sander, because they cause undulations which you will see in the reflected light.
Use a 1/4 sheet sanding block and don't be afraid to go really coarse with the initial sanding - 80 or even 40 if need be. You will quickly see & remove the high points with a sanding block. With a decent 1/4 sheet block, it goes very quickly. You don't need very fine sanding before varnish 'cus the thinned coats will raise the grain to start anyway. Just remove any scratches or sanding marks (Which makes a strong case for always sanding with the grain initially)!
Then it's just varnishing (typically 8 coats +/-) until you get a final coat you like. This goes pretty quickly 'cus you can go to the boat in the early morning, wet sand despite any dew, hose it off and in warm temps, it's dry & you are ready to varnish within an hour before the sun gets too hot.
Retape both sides of each joint to seal (be sure to get the tape off before the sealant skins over), stand back and admire.
Subsequent annual varnish involves simplified taping, a quick wet sand and varnish right over the Sikaflex at the V'ed joints and the rail-hull joints usually 2 coats. Don't get sucked into waiting a few years or until you see peeling, the time to recoat is when it looks great but up close, you can see the early UV degradation in the topcoat-losing its lustre. At that point, it's an easy recoat taking at most 2 days.
Our other local marina loves Awlwood & others on these forums extol the virtues of using an epoxy or 2 part equivalent plus Varnish to extend the life of the brightwork. It seems to work, but when (not if, unfortunately) it fails, one usually has to go back to bare wood and the splintered 2 part/epoxy is nasty to work with, whereas the varnish technique can usually be touched up and recoated quickly and easily for many years.

")