Nick F
Guru
- Joined
- Sep 2, 2020
- Messages
- 598
- Location
- Canada
- Vessel Name
- Callisto
- Vessel Make
- 1974 Grand Banks 42 Classic, Hull 433
Thanks for your confirmation
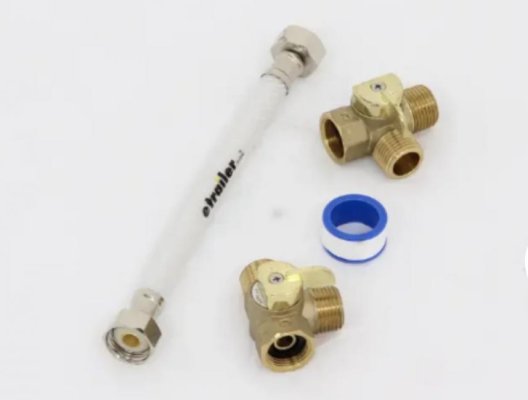
the video i watched says to apply 4 circles of teflon, hand tight all the way then add 3 turns using a wrench/pliers.
are these the common practice followed in everyday's work?
3 turns after hand tight may be too much - its not that predictable. I hate to say it, but its a "feel" you develop with experience - obviously, this does not help you at this time!
The amount also depends on the materials of the fittings. If made of high strength steel the joint will suddenly get quite hard to further tighten. With brass or aluminum, the difficulty comes on more slowly.
A point to remember is that you may want the fitting to face a certain way. If you are unlucky you will have to choose between tightening by almost a whole extra turn - or backing-off the joint slightly.
I'm sure that other members will chip in with their own recommendations!