I think this may help:
FRESH WATER SYSTEM :
There are two ways to winterize fresh water and sanitation plumbing: with antifreeze and without antifreeze. If you opt for the “no antifreeze” method, ALL the water MUST be removed from the entire system. Why? Because it’s not freezing temperatures that break pipes and crack tanks, it’s because ice occupies about 10% more space than the same amount water…and when it expands, something has to give—and that something will be your water or holding tank, water heater, hose connection, water pipe, or toilet bowl.
ANTFREEZE METHOD (Easiest)
1. Drain the water tanks completely (just turn on all the faucets).
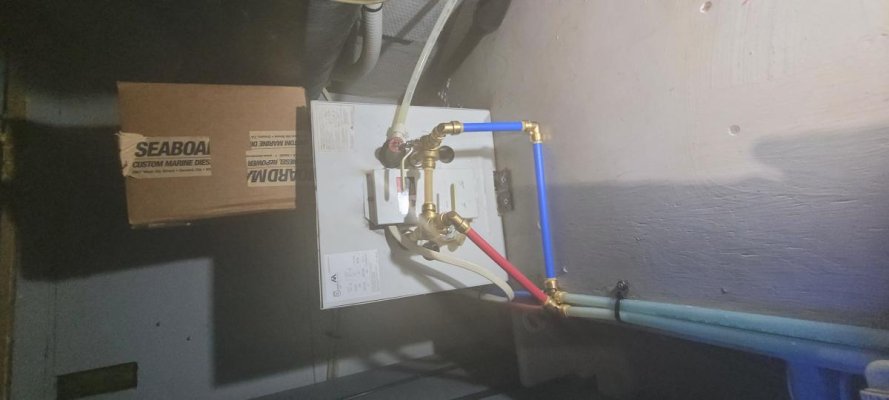
2. Drain water heater. Most have a drain petcock; follow manufacturer’s instructions to find it and use it. Remove both the inlet and outlet hoses, and if necessary use a shop vac to be sure of getting all the water out of it.
3. Do NOT put antifreeze in the water heater. (Ok, you can if you want to, but it’s not necessary). Connect water heater inlet and outlet hoses together to bypass it. Bypass kits for this purpose are available from boat stores and RV supply stores.
Why drain the water heater and bypass it instead putting antifreeze into it? Because it’s not freezing temps that damage pipes, tanks and water heaters, it’s water sitting in a confined space with nowhere to expand. The very small amount of water that may be lleft in the bottom of a water heater has plenty of room to expand, plus water heaters are insulated which protects them from freezing, and it takes forever to flush the taste and smell of antifreeze out your hot water in the spring!
4. Put a few gallons of non-toxic antifreeze ("the pink stuff") into the water tank and pump that through the system until all outlets--hot and cold in the galley, head, shower, and any deck wash--run only antifreeze. Leave all the faucets open to make sure there is no pressure in the system.
NO ANTIFREEZE (“dry”) METHOD:
1. Follow the first three steps listed above.
2. Using an air compressor, blow ALL the water out of ALL the plumbing, disconnecting it where necessary to achieve this. The first time you opt for this method can be difficult and labor intensive, but if connections are reassembled in the spring using quick-connect fittings, it becomes a lot easier in the future.
SANITATION SYSTEM
The sanitation system is the easy job:
Pump out the holding tank, then rinse thoroughly to flush out any sludge. This does not require filling the tank and can even be done with sea water. Here’s how:
Put enough water into the tank via the deck pumpout fitting—because that sends the water into the tank at the bottom to stir up any sludge and hold it in suspension so it can be flushed out-- to cover the bottom to a depth of at least four inches. Pump that out. Repeat…repeat…repeat…till you’re pumping out clean water. Then add water one more time and turn on the macerator to rinse it out along with the overboard discharge plumbing.
Alternatively, you can use a washdown pump to do the whole job. Stick the nozzle into the deck pumpout out fitting and turn on the water. When the depth reaches a few inches, leave the water running and turn on the macerator pump. Let both run till the water runs clean (it may be best to do this offshore outside the “3 mile limit”).
By the way, this should be done at least 2-3x a season, more often if live aboard or use your boat year round and in preparation for any extended layup, not just winter layup
Now you’re ready to winterize the system.
Sea water toilet, manual or electric: Just flushing antifreeze through the bowl will not protect the intake line, the toilet pump or the bowl...it'll only go out the discharge to the tank. To protect the whole system, it's necessary to close the toilet intake through-hull, disconnect inlet hose and stick it in a gallon of non-toxic ("the pink stuff") antifreeze. Pump the whole gallon through the system into the holding tank. Do not reconnect head intake hose to the through-hull.
If your toilet’s flush water intake line is teed into the head sink drain line, you can add the antifreeze by just pouring it down the sink--after you've closed the drain seacock, of course! Pump the head or hold the button down long enough to get the excess fluid out of the system as possible.
Fresh water toilet: If your toilet uses onboard pressurized fresh water, you winterized it when you winterized your fresh water system. All that remains is, flush the appropriate amount of non-toxic antifreeze ("the pink stuff") down the toilet into the tank.
Do not use antifreeze in an ElectroScan, Lectra/San, PuraSan, or any other Type I or Type II MSD. Follow manufacturers instructions to winterize all Type I and II MSDs.
After the boat comes out of the water, open all the sea cocks to drain any trapped water. (Omit this step if the boat will remain in the water).
And you’re done!
--Peggie