You are using an out of date browser. It may not display this or other websites correctly.
You should upgrade or use an alternative browser.
You should upgrade or use an alternative browser.
Teak hatch repair
- Thread starter KWORKMAN
- Start date
The friendliest place on the web for anyone who enjoys boating.
If you have answers, please help by responding to the unanswered posts.
If you have answers, please help by responding to the unanswered posts.
- Joined
- Jun 25, 2008
- Messages
- 10,104
- Location
- Australia
- Vessel Name
- Now boatless - sold 6/2018
- Vessel Make
- Had a Clipper (CHB) 34
On my 34 MT Europa, the aft deck hatch is slowly rotting away (teak is fine, plywood is rotting). Looking for tips/lessons learned for making this repair.
Welcome to TF. I have also moved your thread to General Maintenance where it should attract more attention, and therefore hopefully, more relevant advice re your particular issue.
Comodave
Moderator Emeritus
- Joined
- Jul 2, 2015
- Messages
- 21,312
- Location
- Au Gres, MI
- Vessel Name
- Black Dog
- Vessel Make
- Formula 41PC
Welcome aboard. I would suggest that you post some photos so we can see what you are working with.
Pack Mule
TF Site Team
- Joined
- Jan 24, 2013
- Messages
- 3,749
- Location
- USA
- Vessel Name
- Slo-Poke
- Vessel Make
- Jorgensen custom 44
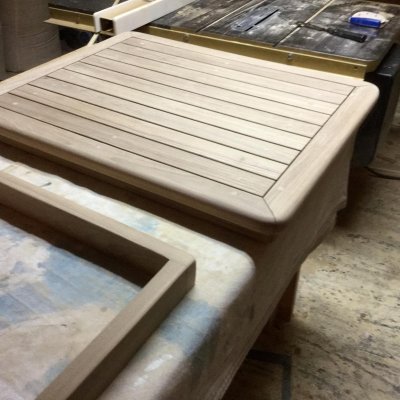
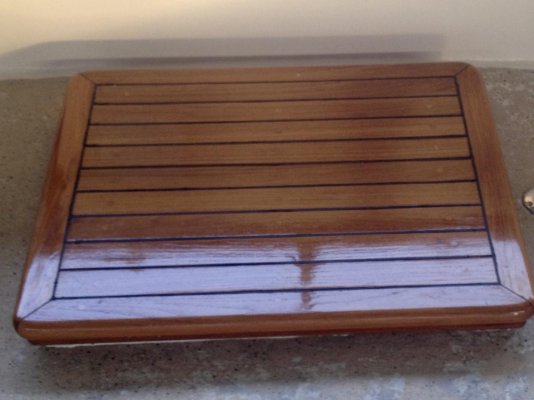
Our boat originally had a fiberglass covered plywood flush deck hatch that was also rotting away. The channel stayed clogged and never drained very well.
I cut out the hatch and channel and built a new teak raised hatch. I’m not so good with fiberglass and building a channel was over my head. Flush would’ve been great but it sure is nice to not have to deal with the drains. It stays bone dry below.
We stumped our toes a few times at first but not anymore. It may not be practical for yours but it sure works for us .
Attachments
Last edited:
Pete Meisinger
Guru
- Joined
- Oct 7, 2012
- Messages
- 3,145
- Location
- USA
- Vessel Name
- Best Alternative
- Vessel Make
- 36 Albin Aft Cabin
"GitRot" might be a solution. It turns rotten wood into fiberglass.
pete
pete
C lectric
Guru
I agree about the photos.
I don,t have a team cover hatch, rather frp cored with balsa.
Balsa rotted out. Cut the frp back with carbide blade into 2" squares.
Then used a pneumatic hammer and a chisel to remove the squares and rotted balsa.
A grinder took the last of it off as I got close to the remaining skin so I didn,t damage it.
Got some foam core and resined it into place. Once the foam core was solid I mixed thickened resin and filled low spots and gaps.
Then used two layers of Nytex cloth and resined that into place to form the back.
Gelcoated the repair and in absolutely solid.
I also fiberglassed reinforcing rails which were layers in along all 4sides for a solid interior frame before installing the foam core. Have a solid mounting for all the hardware, lift rings, hinges so no more leaks.
But photos of yours should help get more advice.


