kernr
Senior Member
- Joined
- May 29, 2020
- Messages
- 144
- Location
- United States
- Vessel Name
- Serenity
- Vessel Make
- Grand Banks 47 Europa
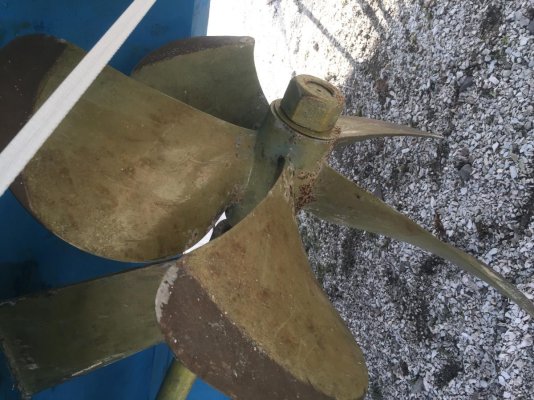
Another journey in repairing my GB - she is a 2008 Europa model 47ft and hull #50. We are in the Northeast and had her hauled out in October 2020 at a yard up here. The hull was in really good shape and I did an inspection to see if there were any problems. The one thing I noticed was that the prop nut on the Port shaft was lose against the washer. There was about a 1/4" gap between the prop nut and the prop. The lock washer was still engaged with the prop and the one face of the prop nut. You could easily move the nut back and forth with your hand and it would go as far as the lock washer allowed. I thought this strange. First photo of discovery - Oct 2020
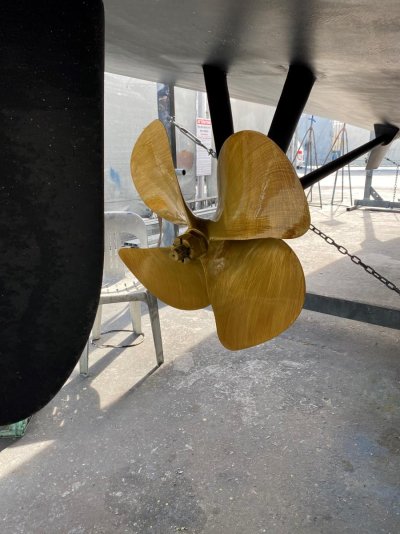
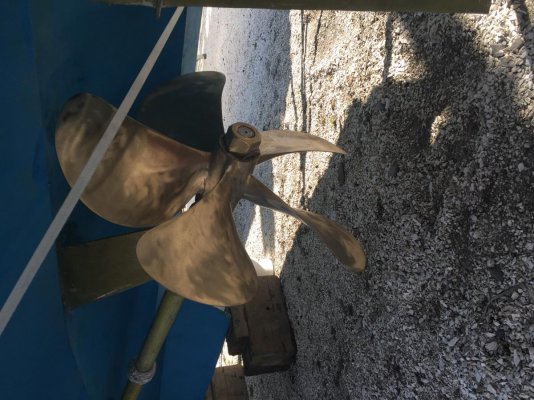
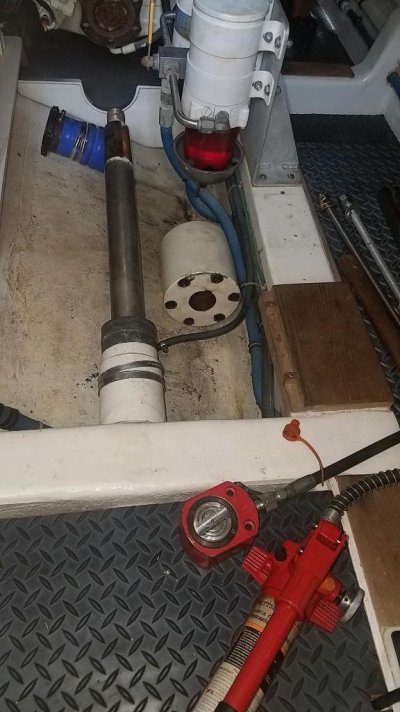
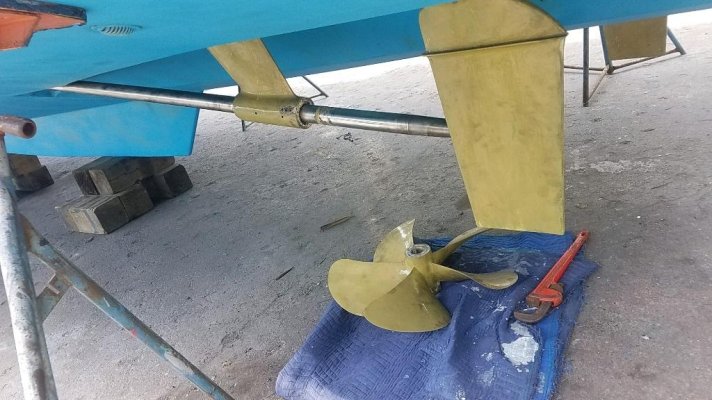
This shaft had been uncoupled and pulled back to replace the shaft seal (it was leaking pretty badly after the survey sea trials) and also the cutlass bearing was replaced in the strut because it too was shot. The prop was taken off the shaft for this operation. The boat was put back together at the Miami yard and we were off to the Northeast. Two photos of Miami yard efforts Feb 2020
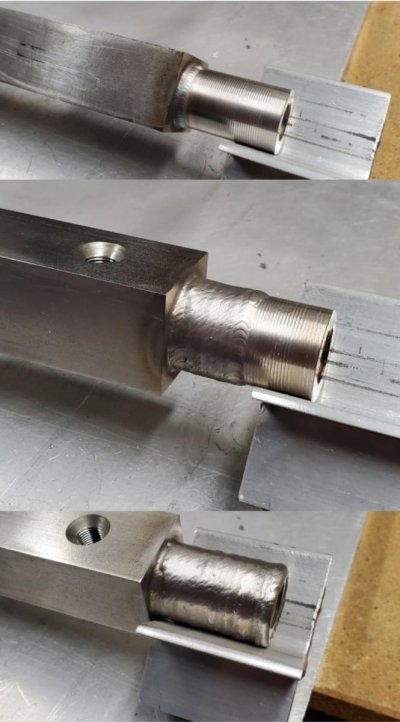
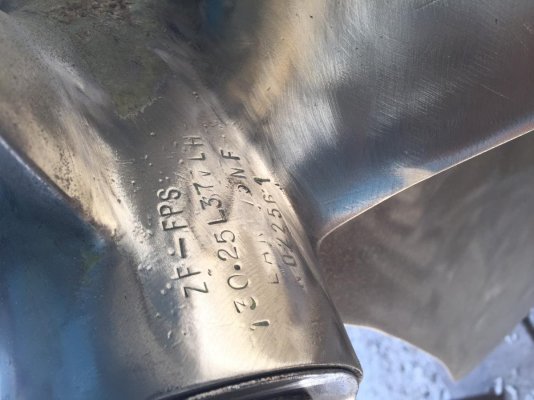
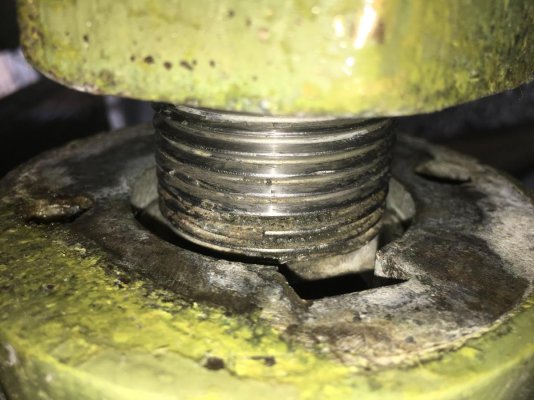
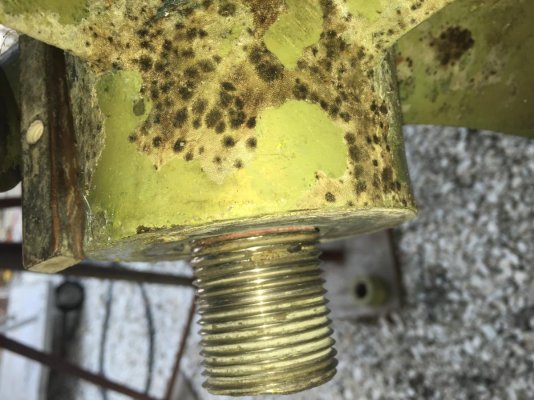
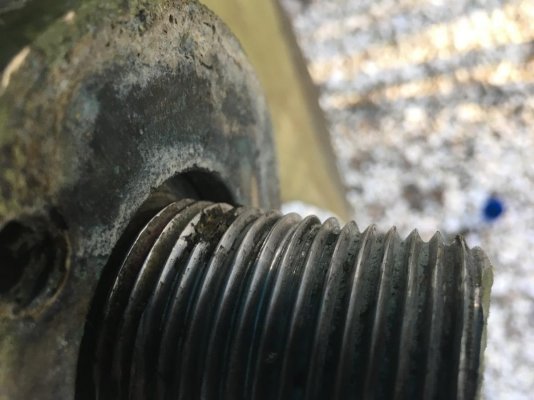
So yesterday the yard pulled the Port Prop for an inspection. At first I had thought that possibly the prop was not torqued properly back in Feb 2020 and somehow on a reverse bell the prop had walked up the taper. But when we pulled the prop the prop had been on the taper just fine and centered on the key with not any damage to the key or the edges of the key. Upon more careful inspection two things were noticed with the threads that the prop nut engages. One thread was partially missing (about 2") and, in general, the threads under the prop nut (when in the properly torqued position) were stretched out and somewhat flatter than the threads near the very end of the shaft. Last three photos show the thread damage.
So, now I am thinking that possibly the prop nut actually popped back over several threads after being properly torqued by the Miami yard. I am not sure how a stainless steel thread disappears other than with a case of crevice corrosion over time. I am sure there are other theories as to what took place but that is the only one that I could come up with.
Right now we are thinking the only way out of this situation is to replace the Port shaft - typically corrosion does not get better with time and the threads in the bronze prop nut look fine. More to come I am sure.
Bob
This shaft had been uncoupled and pulled back to replace the shaft seal (it was leaking pretty badly after the survey sea trials) and also the cutlass bearing was replaced in the strut because it too was shot. The prop was taken off the shaft for this operation. The boat was put back together at the Miami yard and we were off to the Northeast. Two photos of Miami yard efforts Feb 2020
So yesterday the yard pulled the Port Prop for an inspection. At first I had thought that possibly the prop was not torqued properly back in Feb 2020 and somehow on a reverse bell the prop had walked up the taper. But when we pulled the prop the prop had been on the taper just fine and centered on the key with not any damage to the key or the edges of the key. Upon more careful inspection two things were noticed with the threads that the prop nut engages. One thread was partially missing (about 2") and, in general, the threads under the prop nut (when in the properly torqued position) were stretched out and somewhat flatter than the threads near the very end of the shaft. Last three photos show the thread damage.
So, now I am thinking that possibly the prop nut actually popped back over several threads after being properly torqued by the Miami yard. I am not sure how a stainless steel thread disappears other than with a case of crevice corrosion over time. I am sure there are other theories as to what took place but that is the only one that I could come up with.
Right now we are thinking the only way out of this situation is to replace the Port shaft - typically corrosion does not get better with time and the threads in the bronze prop nut look fine. More to come I am sure.
Bob
Attachments
-
 Port Prop 5.jpg180.3 KB · Views: 41
 -
 Port Prop Feb 2020 - shaft Seal and Cutlass - Miami - inside.jpg135.4 KB · Views: 40
 -
 Port Prop Feb 2020 - shaft Seal and Cutlass - Miami.jpg167.6 KB · Views: 35
 -
 Port Prop Threads 6.jpg129.7 KB · Views: 37
 -
 Port Prop Threads 9.jpg158.5 KB · Views: 36
 -
 Port Prop Threads 11.jpg98.5 KB · Views: 32