Jeff.P
Member
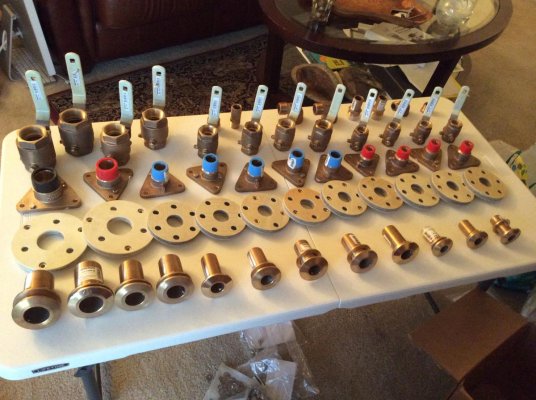
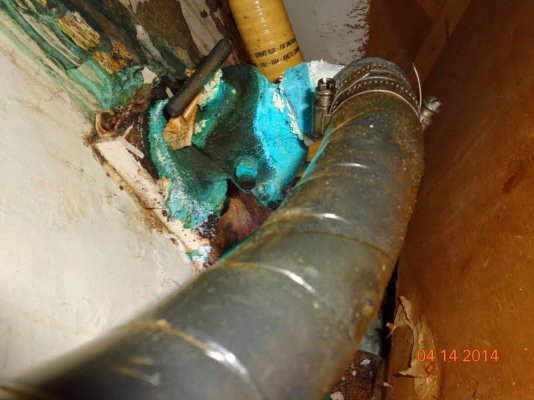
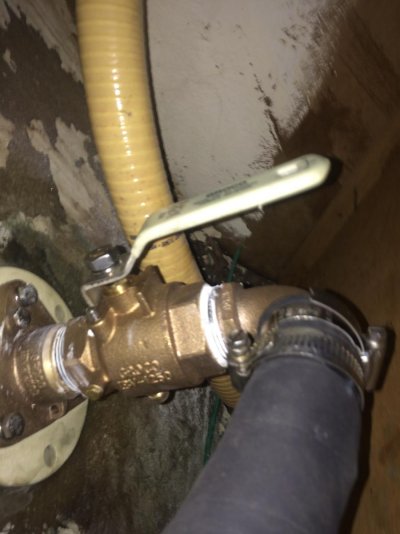
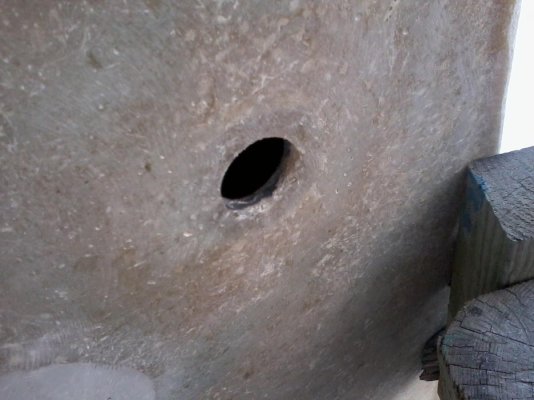
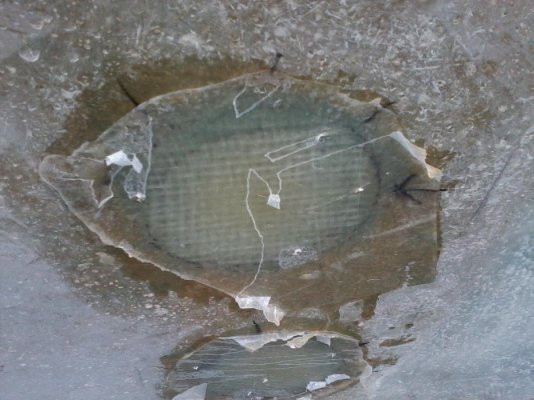
I am currently working through rebuilding my 1990 Island Gypsy 36 project boat. I have come across 5-6 old thru hull fittings below the water line that have no purpose and are seized closed. They are 1" to 1.5" factory installed and I have no idea what they could have been used for aside from scuttling valves. My original plan was to just cap them with appropriate sized threaded caps and move one. However a good friend who is also a boater and a mechanical engineer pointed out they are just extra failure points and should be removed. I looked at removing them but they appear to be threaded from the outside (male) and glassed into the hull on the inside (female). I am not familiar with this set up where the actual valve body inside the hull is not threaded. I'm not a big fan on having 11 or 12 thru hulls below the waterline when half of them have no purpose but it looks like a lot of work to cut them out. How prone to failure is this style of thru hull? My main worry is crevice corrosion where they cant be inspected before the valve body. What would you do if this was on your boat?