socalrider
Guru
- Joined
- Feb 14, 2020
- Messages
- 1,008
- Location
- usa
- Vessel Name
- SEA WOLF
- Vessel Make
- 1979 CHB 41 Trawler
Hi all,
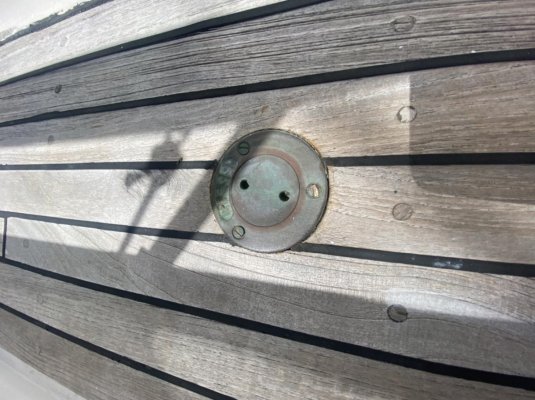
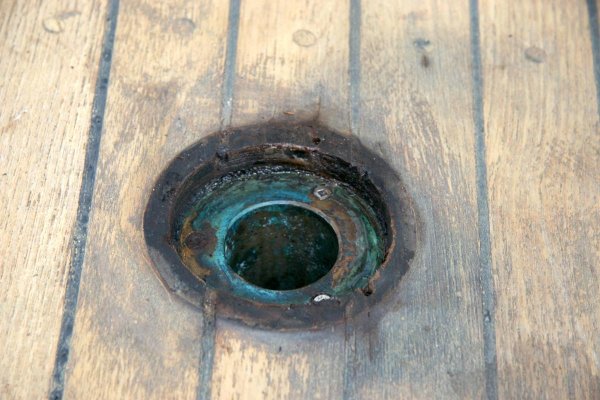
Attending to one of the items picked up on the survey on our CHB 41 Trawler - seems like a pretty common story: fuel filler bedding failed, leaks drained down the fuel line to the top of the fuel tank.
I'm going to replace the fuel tank eventually, but thought I'd try and salvage it first now that I've spent a bit more time crawling around the top of the tank (it's tight down there!). The corrosion does seem to be limited to just around the fuel fill and I suspect it only started recently, so hitting it with a wire brush, cleaning with acetone and painting with Corroseal might save it, or buy me some more years.
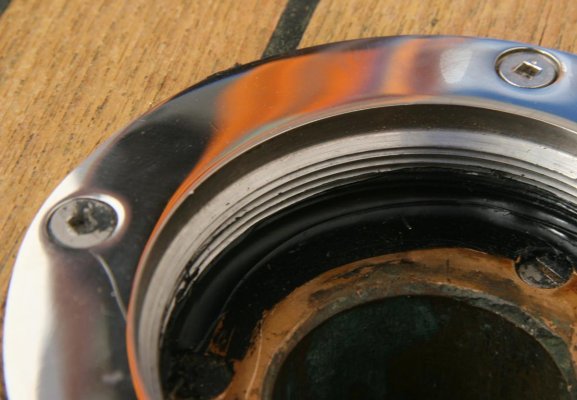
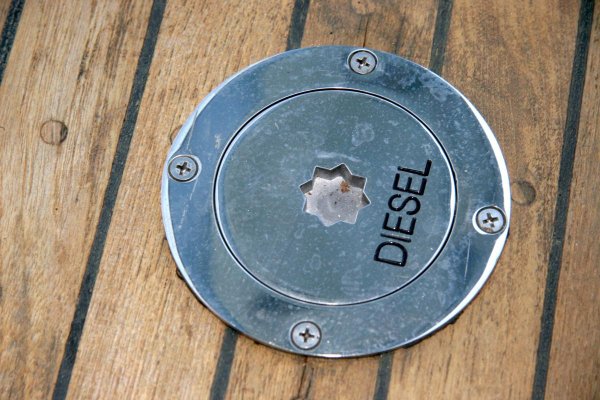
First though, I've gotta stop the leak by re-bedding the fitting, and replace the degraded fuel line while I'm there. Getting the fitting out is proving to be tough: one of the three brass screws is buggered and it's proving tough to break the thing loose. Advice on process is welcome - I'm thinking about whether I could find a piece of threaded pipe to screw into the fitting to give myself some leverage?
Finally, what's the best process for bedding hardware on a teak deck? The fitting is not flush - it appears to sit on top of the teak. I can take some pics tomorrow when I'm back down there. I've bedded deck hardware on fiberglass, but it seems with this there's an extra interface between the teak and the fiberglass that needs to be accommodated and I'm not quite clear how.
Thanks in advance!
Attending to one of the items picked up on the survey on our CHB 41 Trawler - seems like a pretty common story: fuel filler bedding failed, leaks drained down the fuel line to the top of the fuel tank.
I'm going to replace the fuel tank eventually, but thought I'd try and salvage it first now that I've spent a bit more time crawling around the top of the tank (it's tight down there!). The corrosion does seem to be limited to just around the fuel fill and I suspect it only started recently, so hitting it with a wire brush, cleaning with acetone and painting with Corroseal might save it, or buy me some more years.
First though, I've gotta stop the leak by re-bedding the fitting, and replace the degraded fuel line while I'm there. Getting the fitting out is proving to be tough: one of the three brass screws is buggered and it's proving tough to break the thing loose. Advice on process is welcome - I'm thinking about whether I could find a piece of threaded pipe to screw into the fitting to give myself some leverage?
Finally, what's the best process for bedding hardware on a teak deck? The fitting is not flush - it appears to sit on top of the teak. I can take some pics tomorrow when I'm back down there. I've bedded deck hardware on fiberglass, but it seems with this there's an extra interface between the teak and the fiberglass that needs to be accommodated and I'm not quite clear how.
Thanks in advance!