sbman
Guru
- Joined
- Jul 25, 2017
- Messages
- 828
- Location
- USA
- Vessel Name
- Second Chance
- Vessel Make
- 42' Uniflite Double Cabin
Been very busy working on the boat projects. Finally was able to remove the starboard stuffing box.
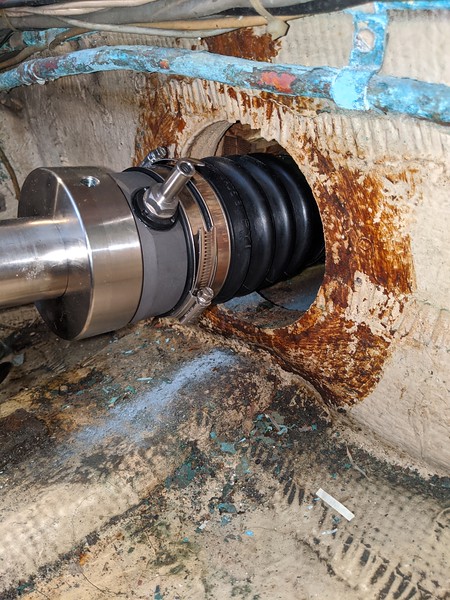
I ground out a trough and then carefully eased into exposing the shaft. Took a couple of hours going really careful but was able to cut it without damaging the shaft.
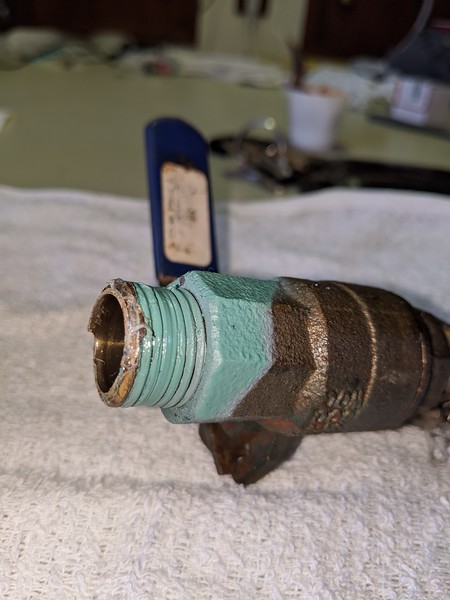
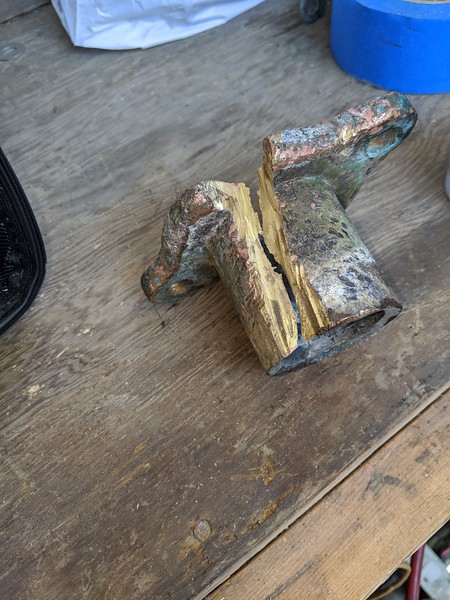
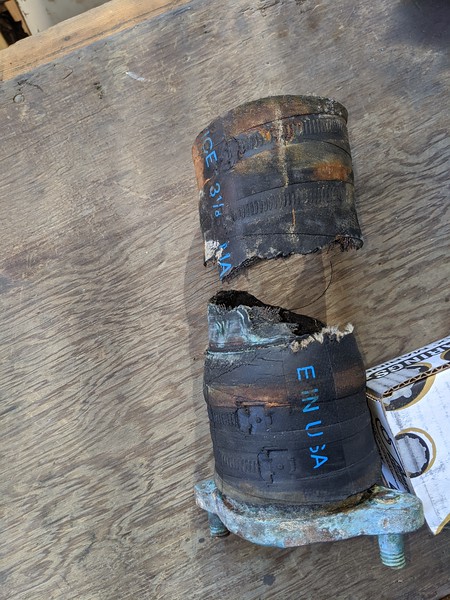
When I bought the boat, I was told there was a 'tear' in the starboard shaft log hose. The owner had patched it with cut up strips of a fender, some kind of sealant and hose clamps. It turns out the shaft log hose was completely torn in half.
No wonder it was still leaking after the emergency 'repair'. I'll feel a lot better with some proper shaft log hose in there to replace it.
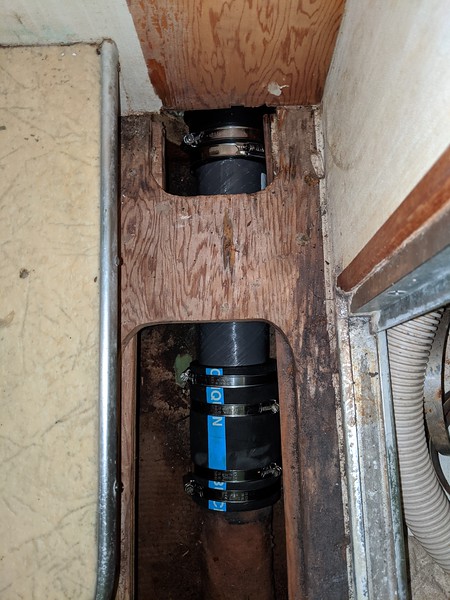
Then I moved on to the port side, my shaft log hose, tube and PSS dripless seal arrived, so that's all installed now on the port side.
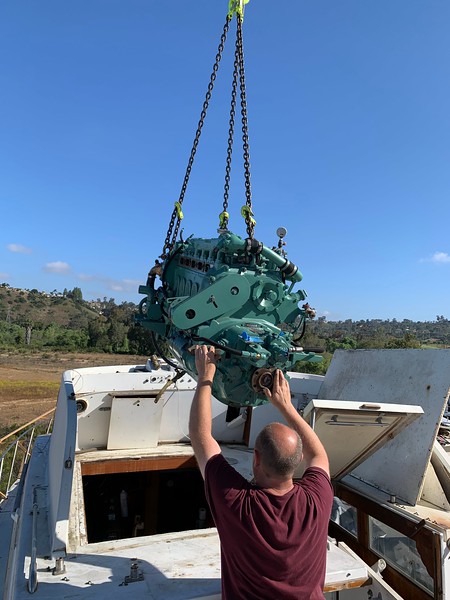
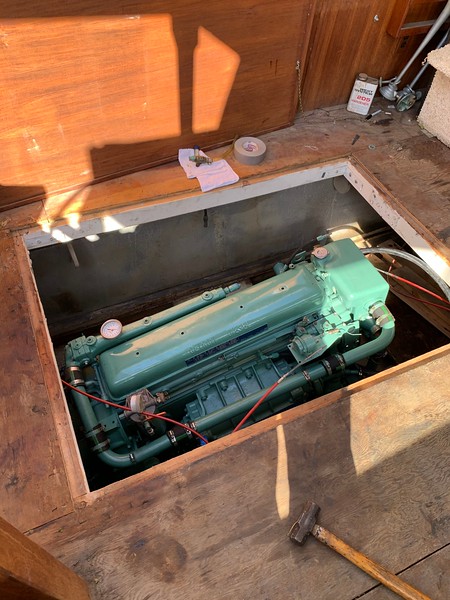
It looks like I'm going to have to lift the starboard engine to perform the same shaft log tube and hose installation, was hoping I'd have room without doing that but it doesn't look like it.
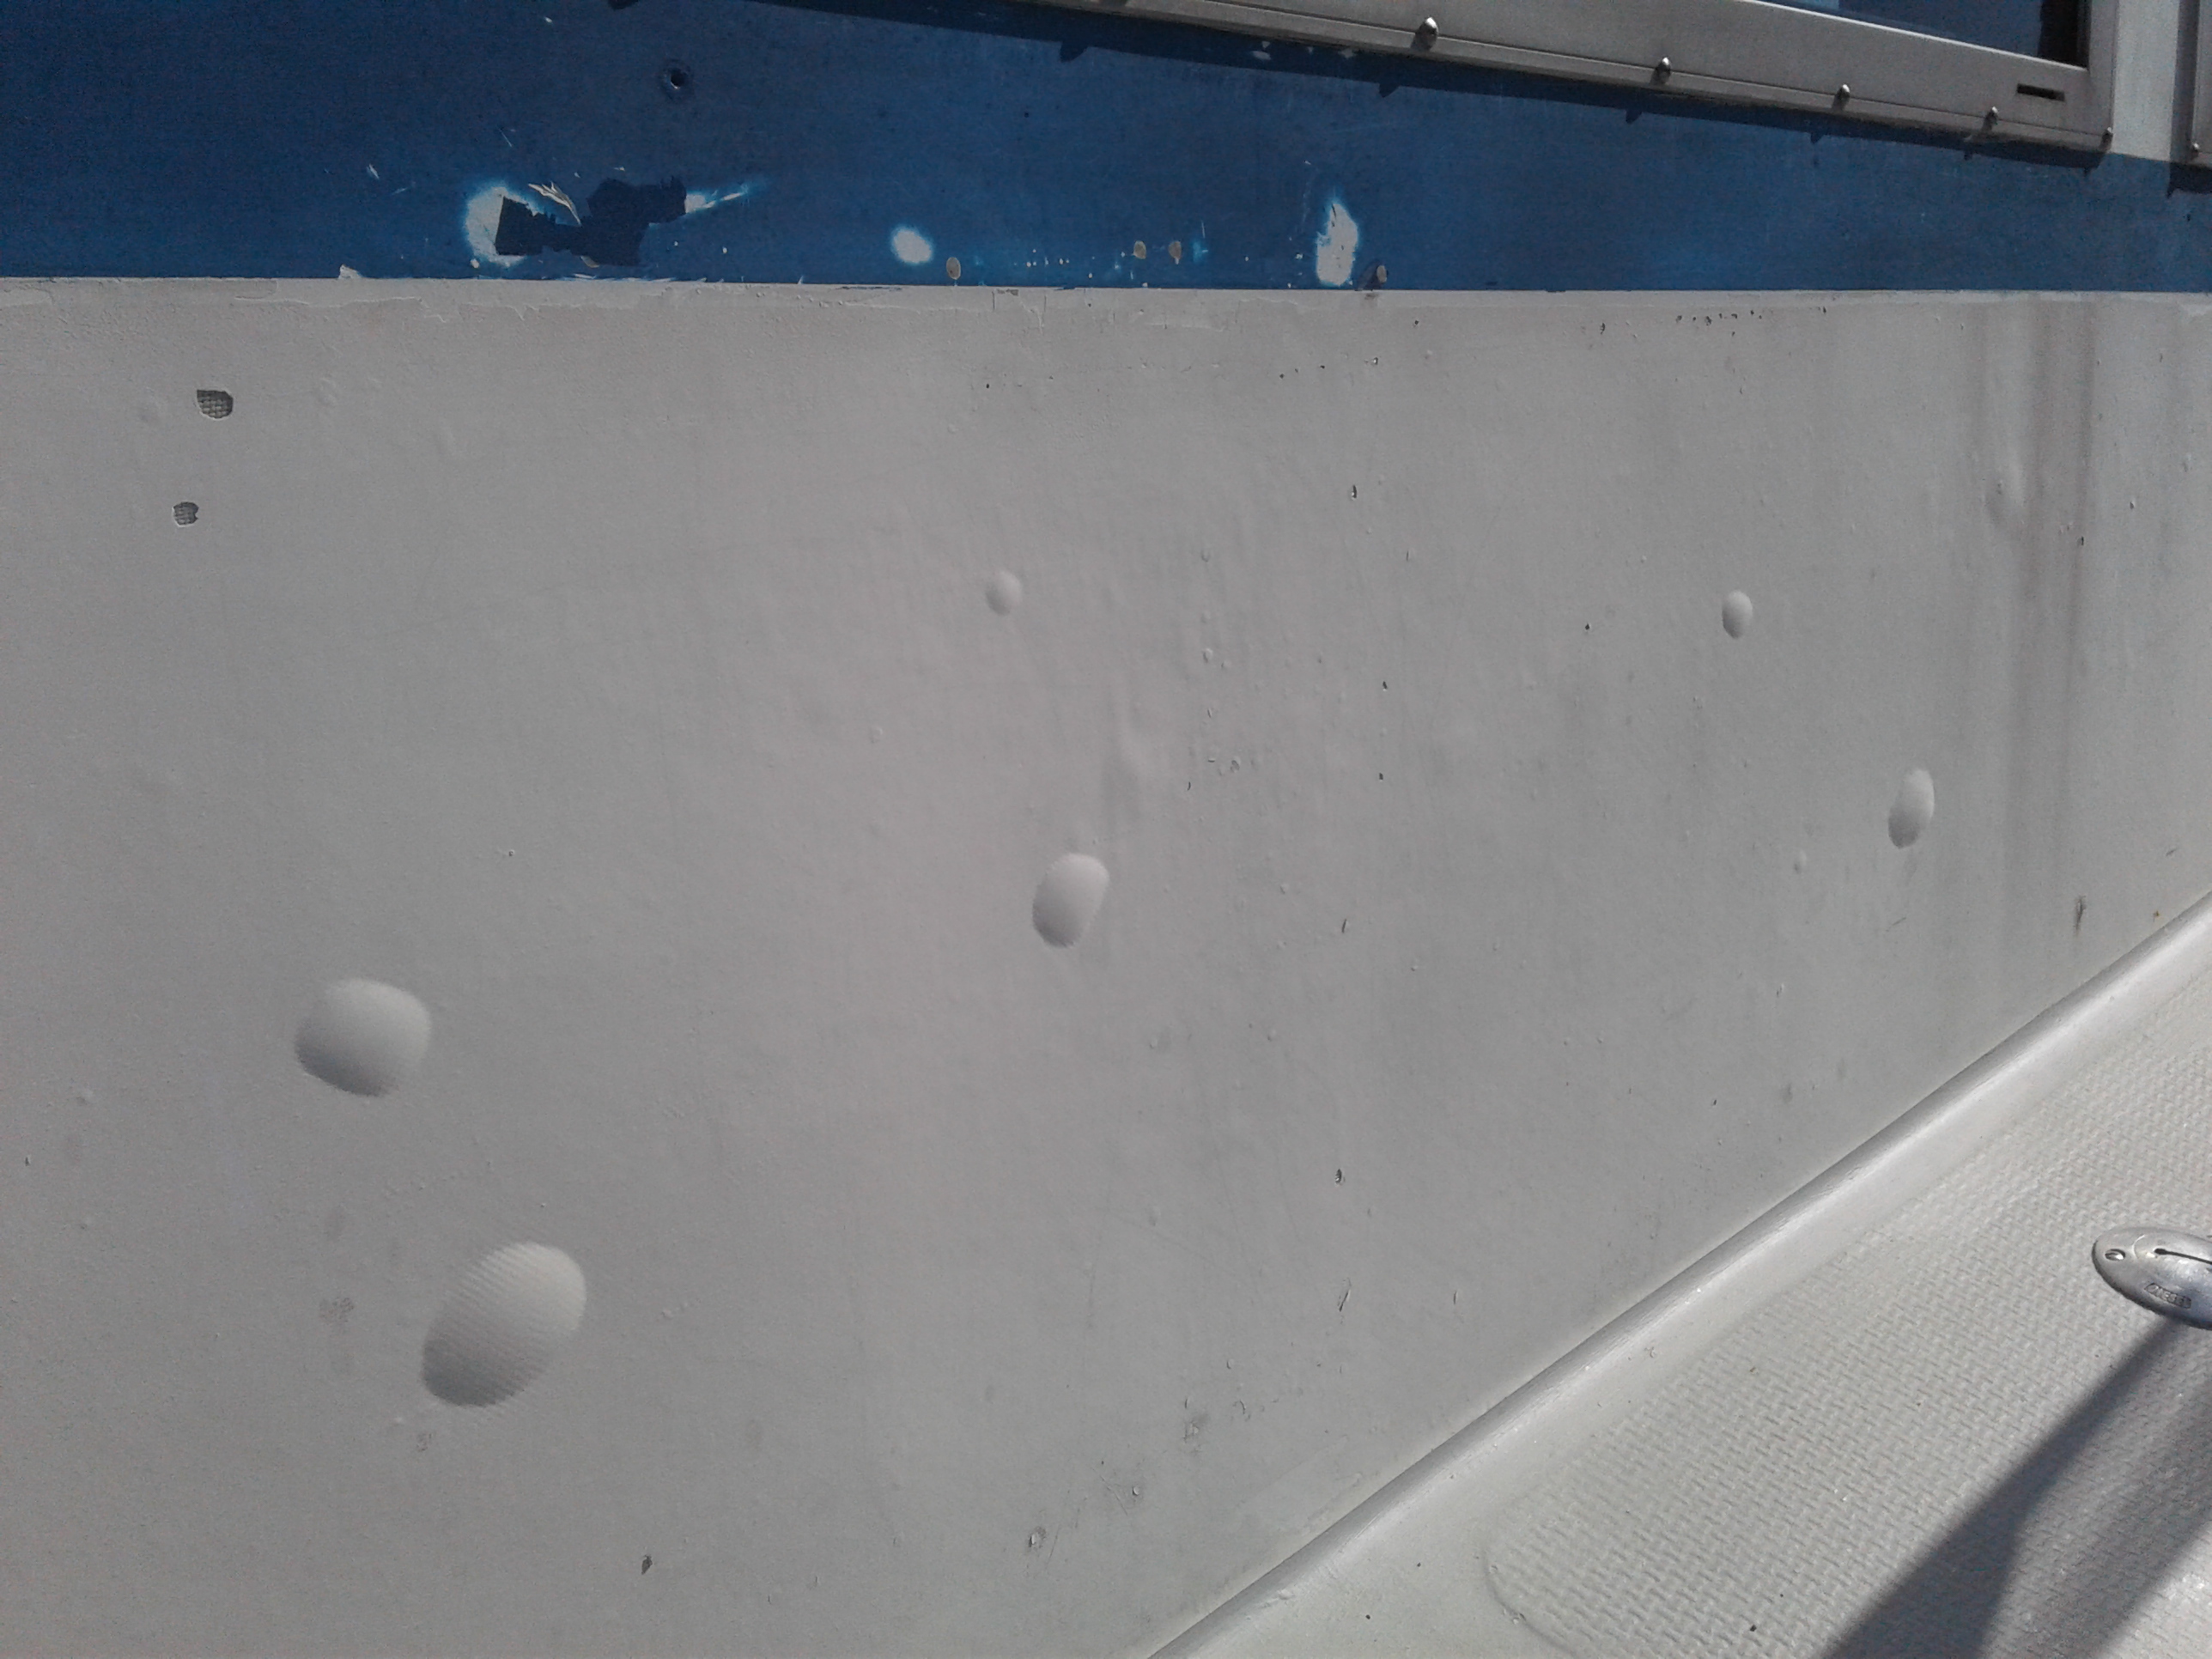
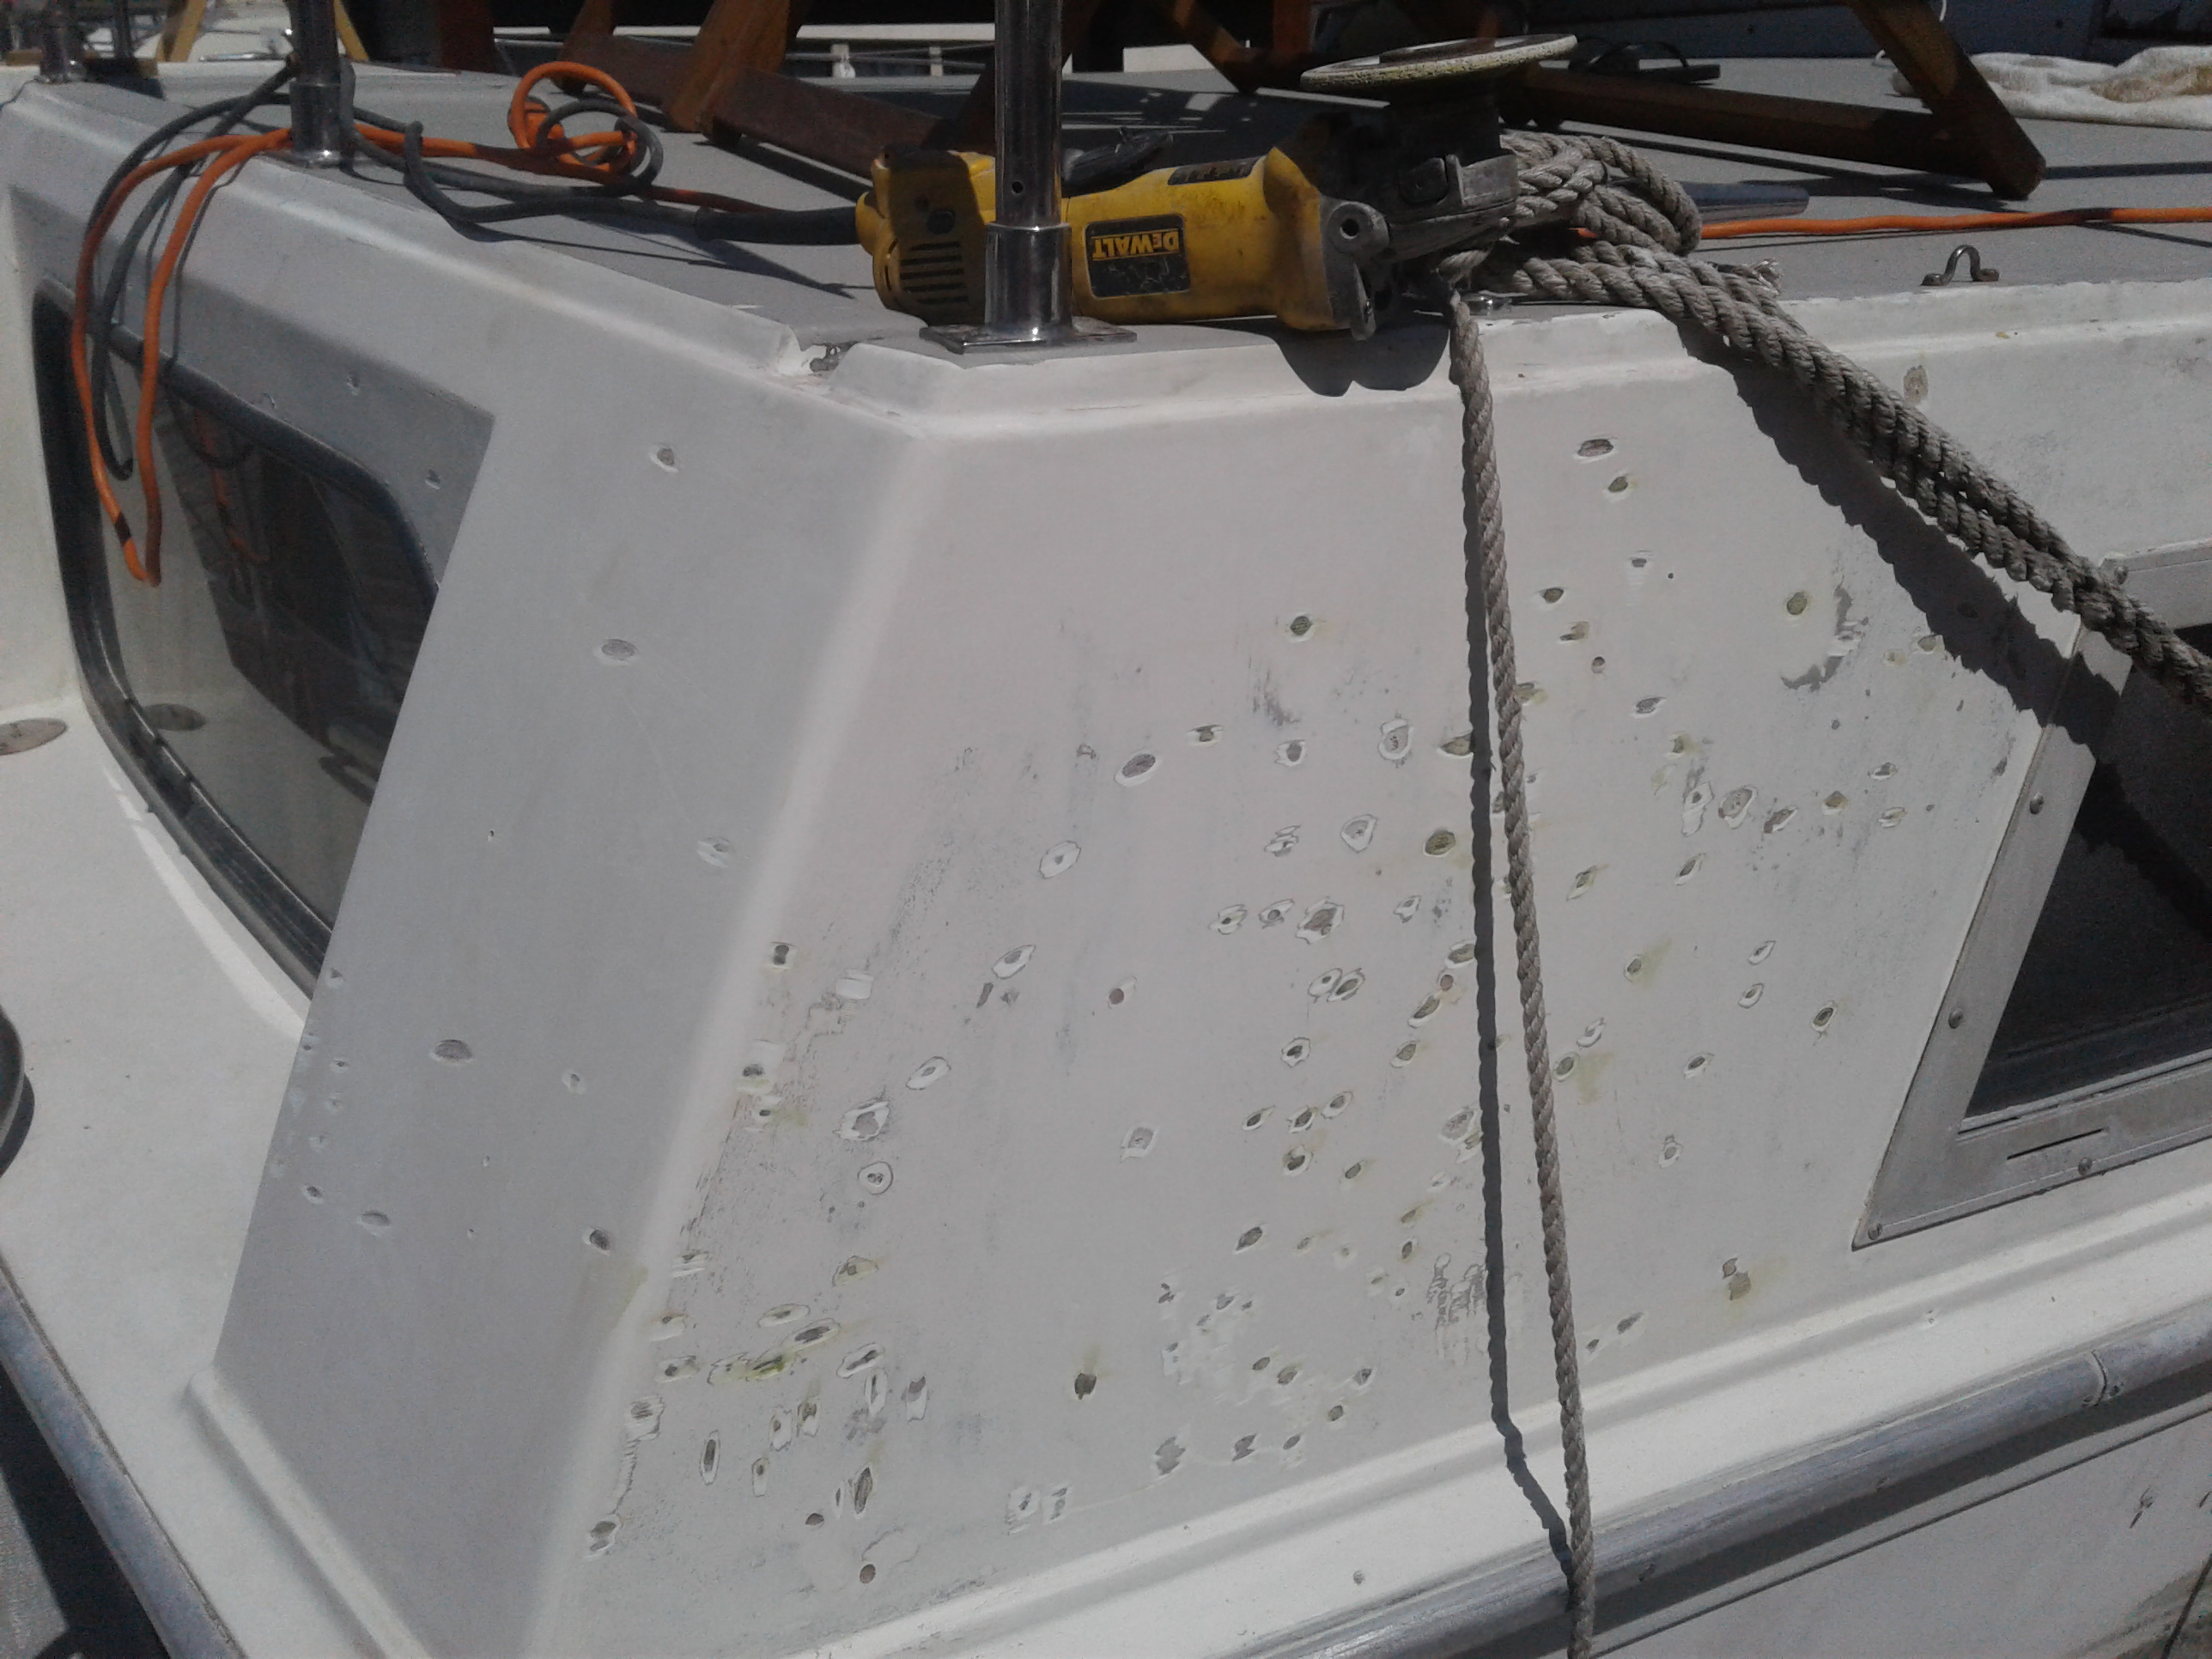
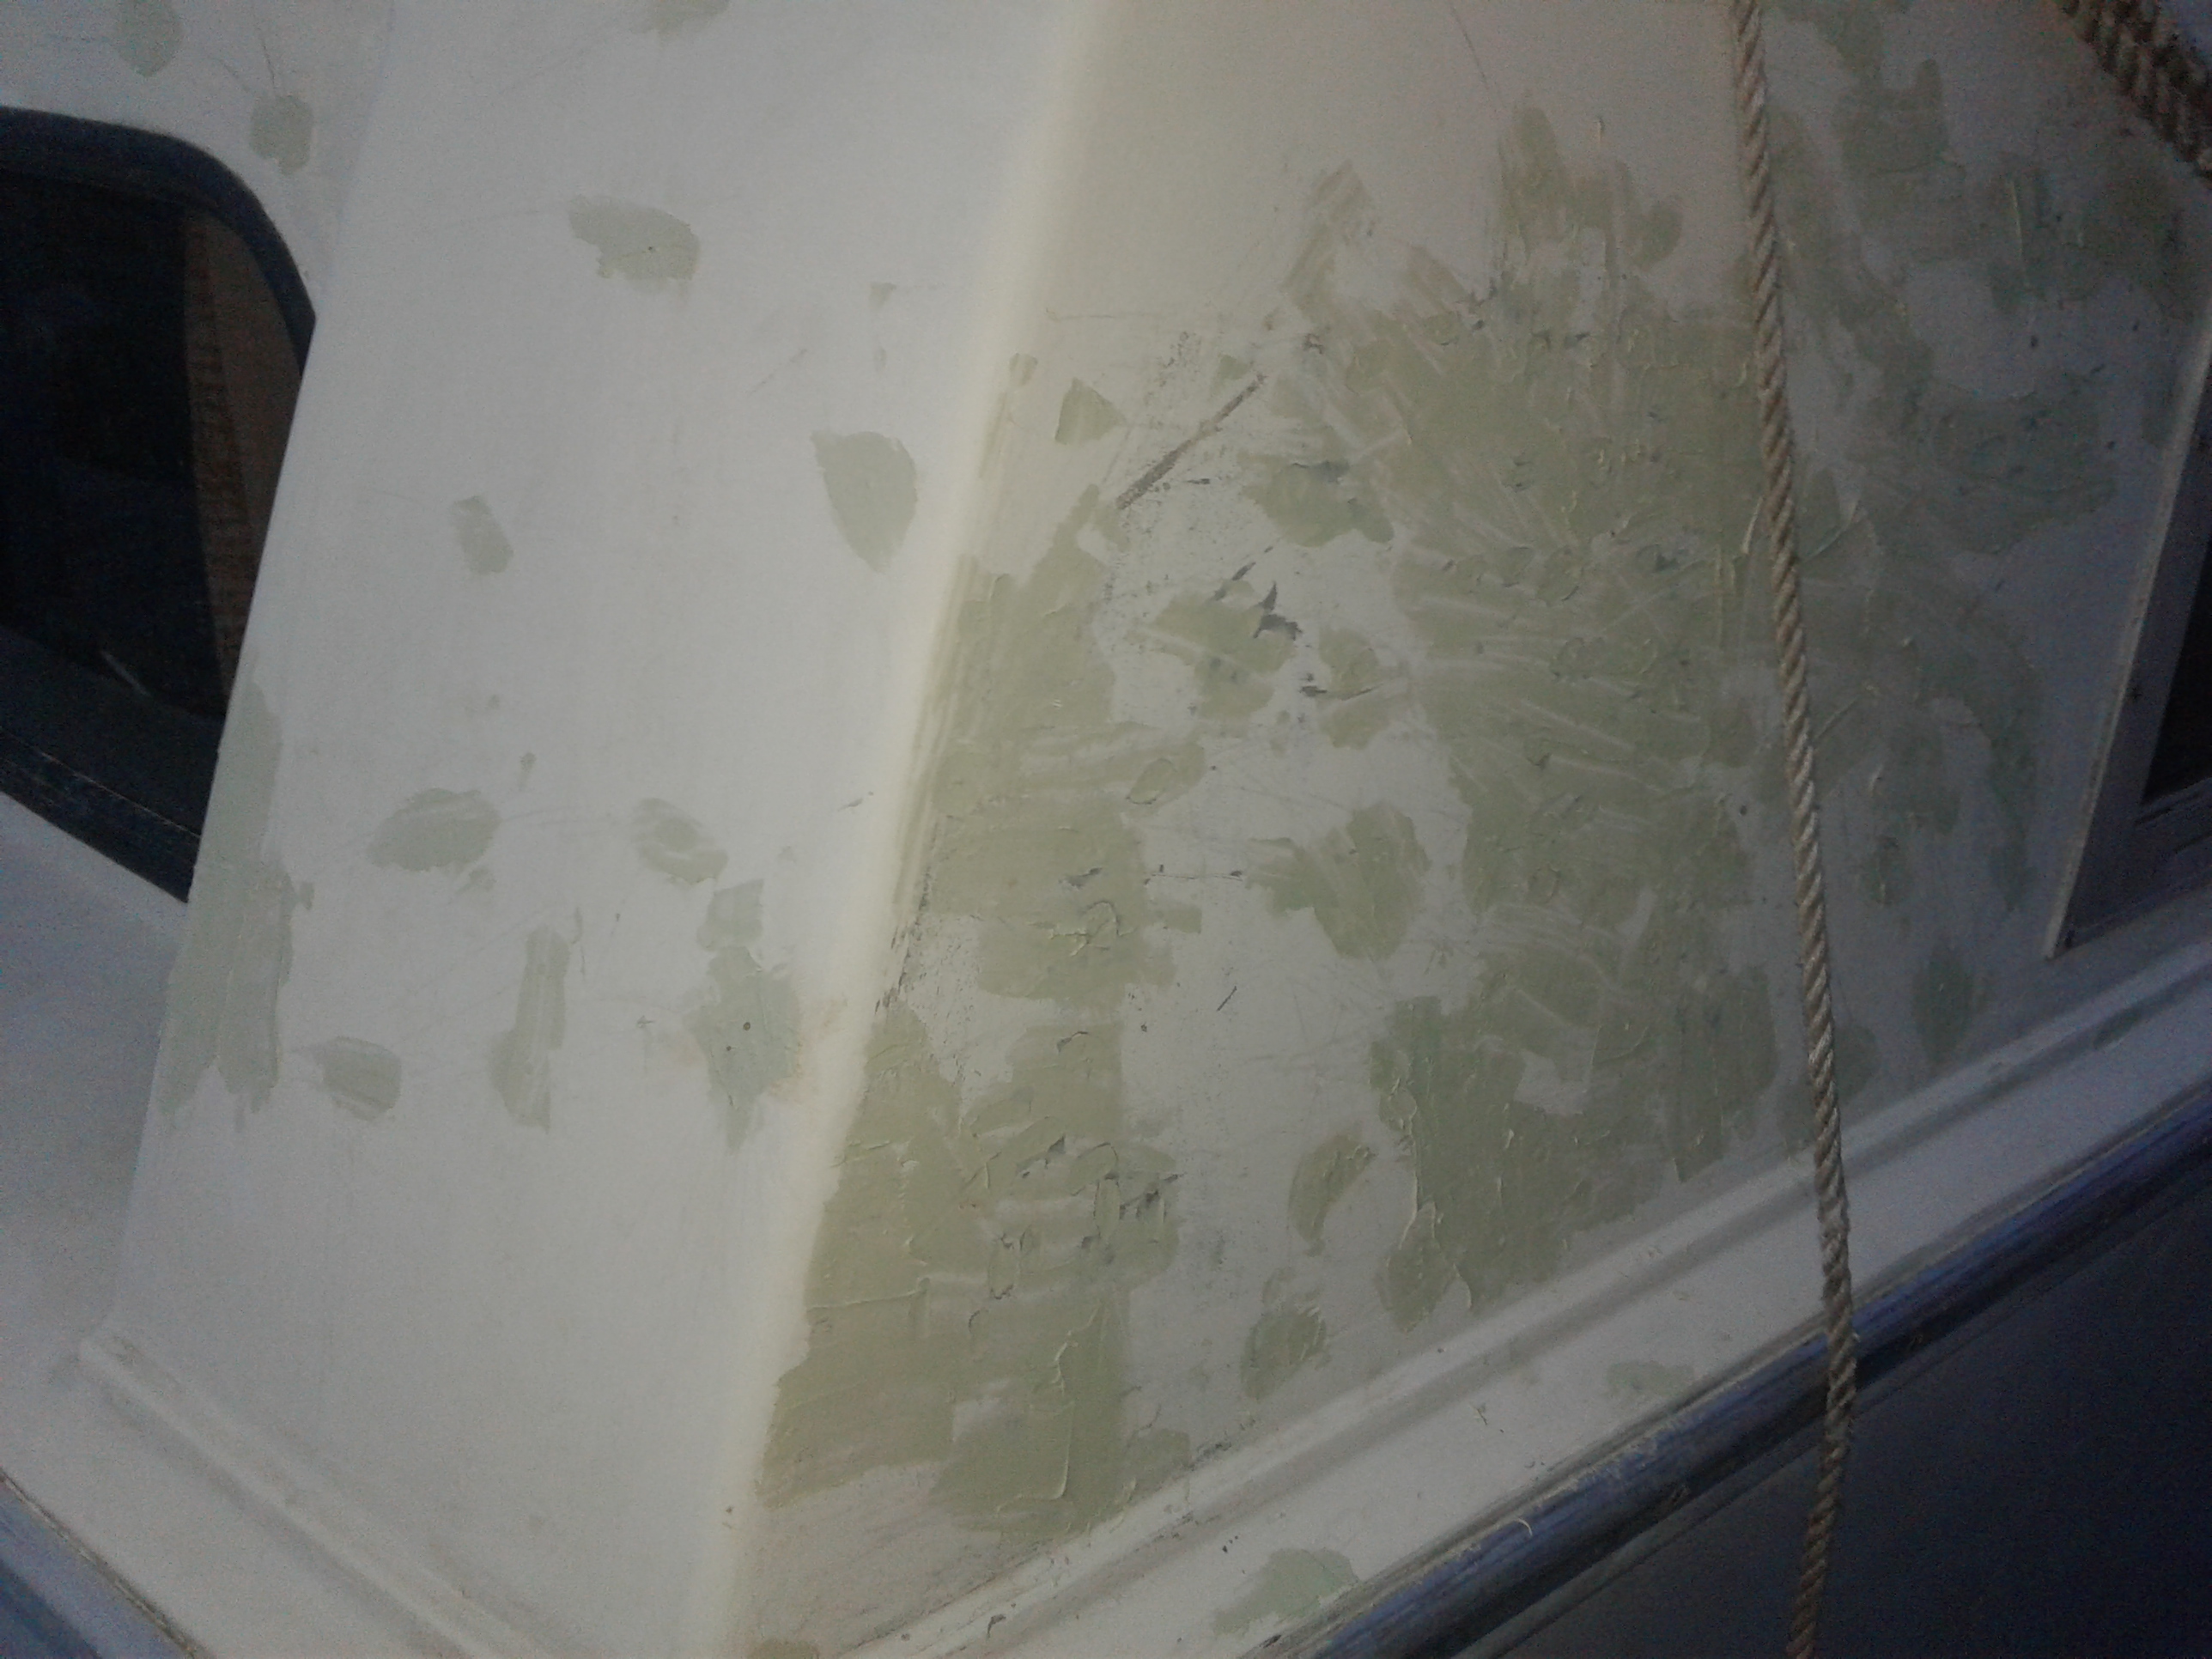
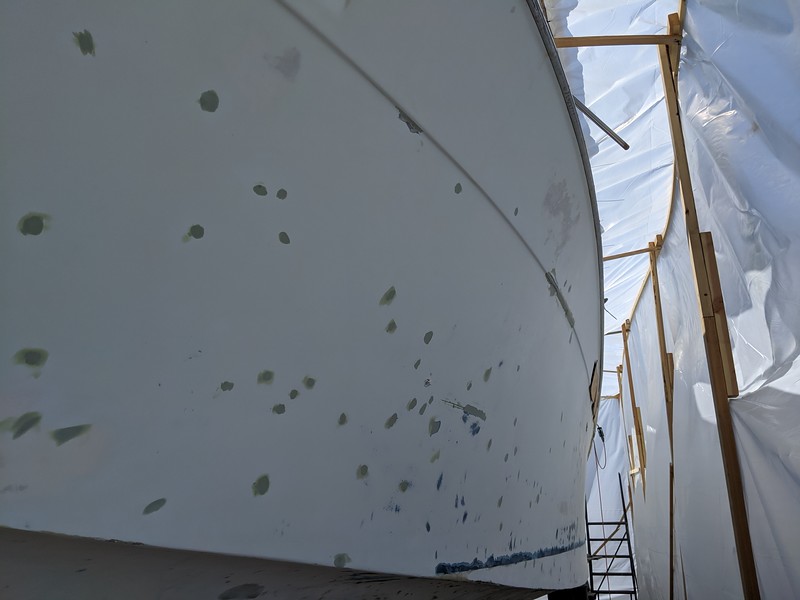
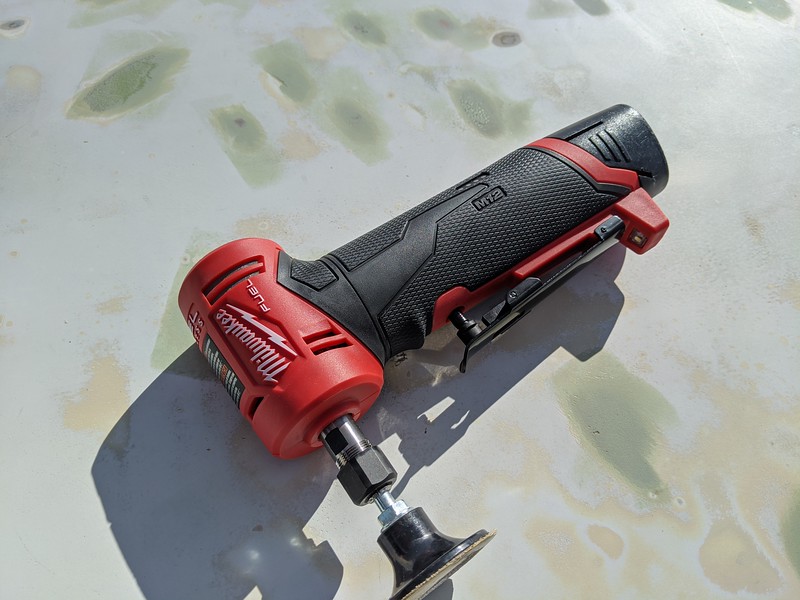
I've also got a guy helping me by grinding off all the bottom paint and smoothing out the hull down to the glass and/or gel coat as appropriate preparing for a full epoxy barrier coat.

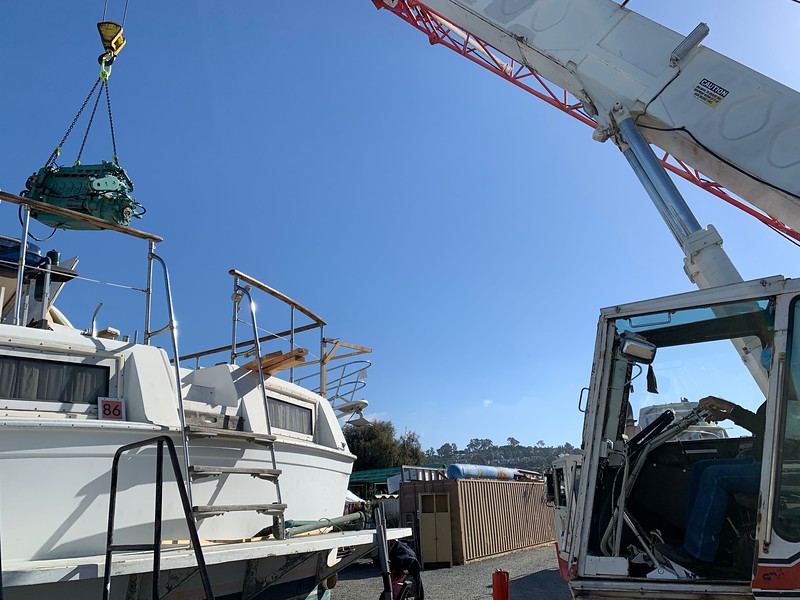
I removed the old, rusted out muffler for the onan generator.

I also spent an entire day moving the Onan aft about 24" so that I can crane it out to remove it. That involved some boards for cribbing, pry bars, a come along and plenty of sawzall to Onan parts that were in the way. It's not serviceable and I'll eventually replace it with something more modern. For now, it's just coming out.
I ground out a trough and then carefully eased into exposing the shaft. Took a couple of hours going really careful but was able to cut it without damaging the shaft.
When I bought the boat, I was told there was a 'tear' in the starboard shaft log hose. The owner had patched it with cut up strips of a fender, some kind of sealant and hose clamps. It turns out the shaft log hose was completely torn in half.
No wonder it was still leaking after the emergency 'repair'. I'll feel a lot better with some proper shaft log hose in there to replace it.
Then I moved on to the port side, my shaft log hose, tube and PSS dripless seal arrived, so that's all installed now on the port side.
It looks like I'm going to have to lift the starboard engine to perform the same shaft log tube and hose installation, was hoping I'd have room without doing that but it doesn't look like it.
I've also got a guy helping me by grinding off all the bottom paint and smoothing out the hull down to the glass and/or gel coat as appropriate preparing for a full epoxy barrier coat.
I removed the old, rusted out muffler for the onan generator.
I also spent an entire day moving the Onan aft about 24" so that I can crane it out to remove it. That involved some boards for cribbing, pry bars, a come along and plenty of sawzall to Onan parts that were in the way. It's not serviceable and I'll eventually replace it with something more modern. For now, it's just coming out.