lanceolson
Veteran Member
- Joined
- Feb 15, 2013
- Messages
- 32
- Location
- USA
- Vessel Name
- TIMIKA
- Vessel Make
- 1989 Grand Banks 42 Classic
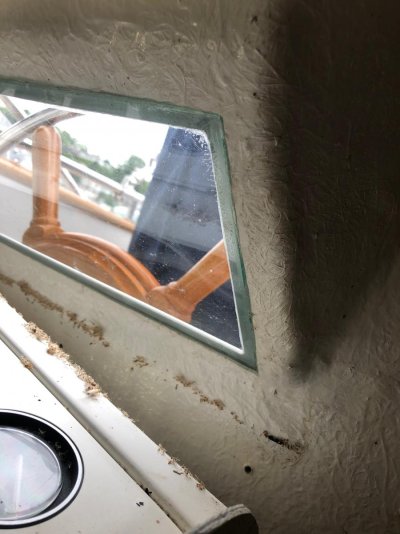
Hi - doea any one know how to remove the clear cover over the engine gauges on the bridge? Does it snap in place or do you have to remove the whole gauge panel from behind?? Thanks


")