Ski in NC
Technical Guru
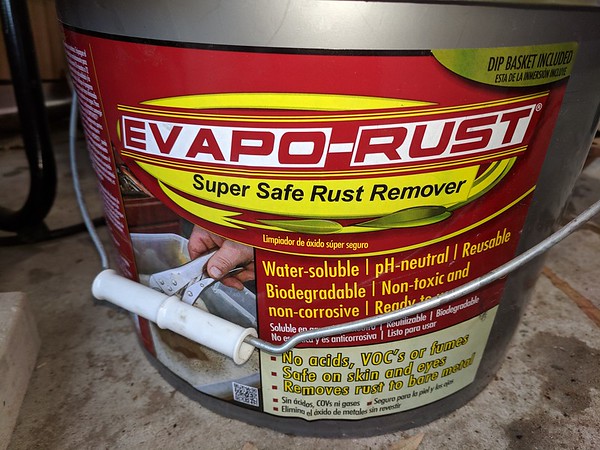
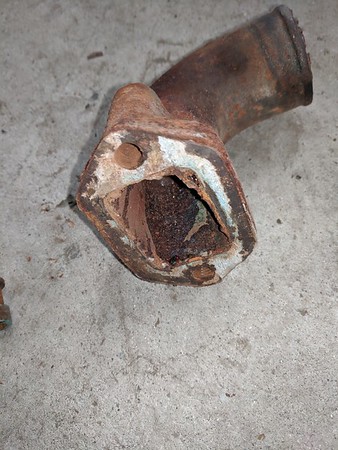
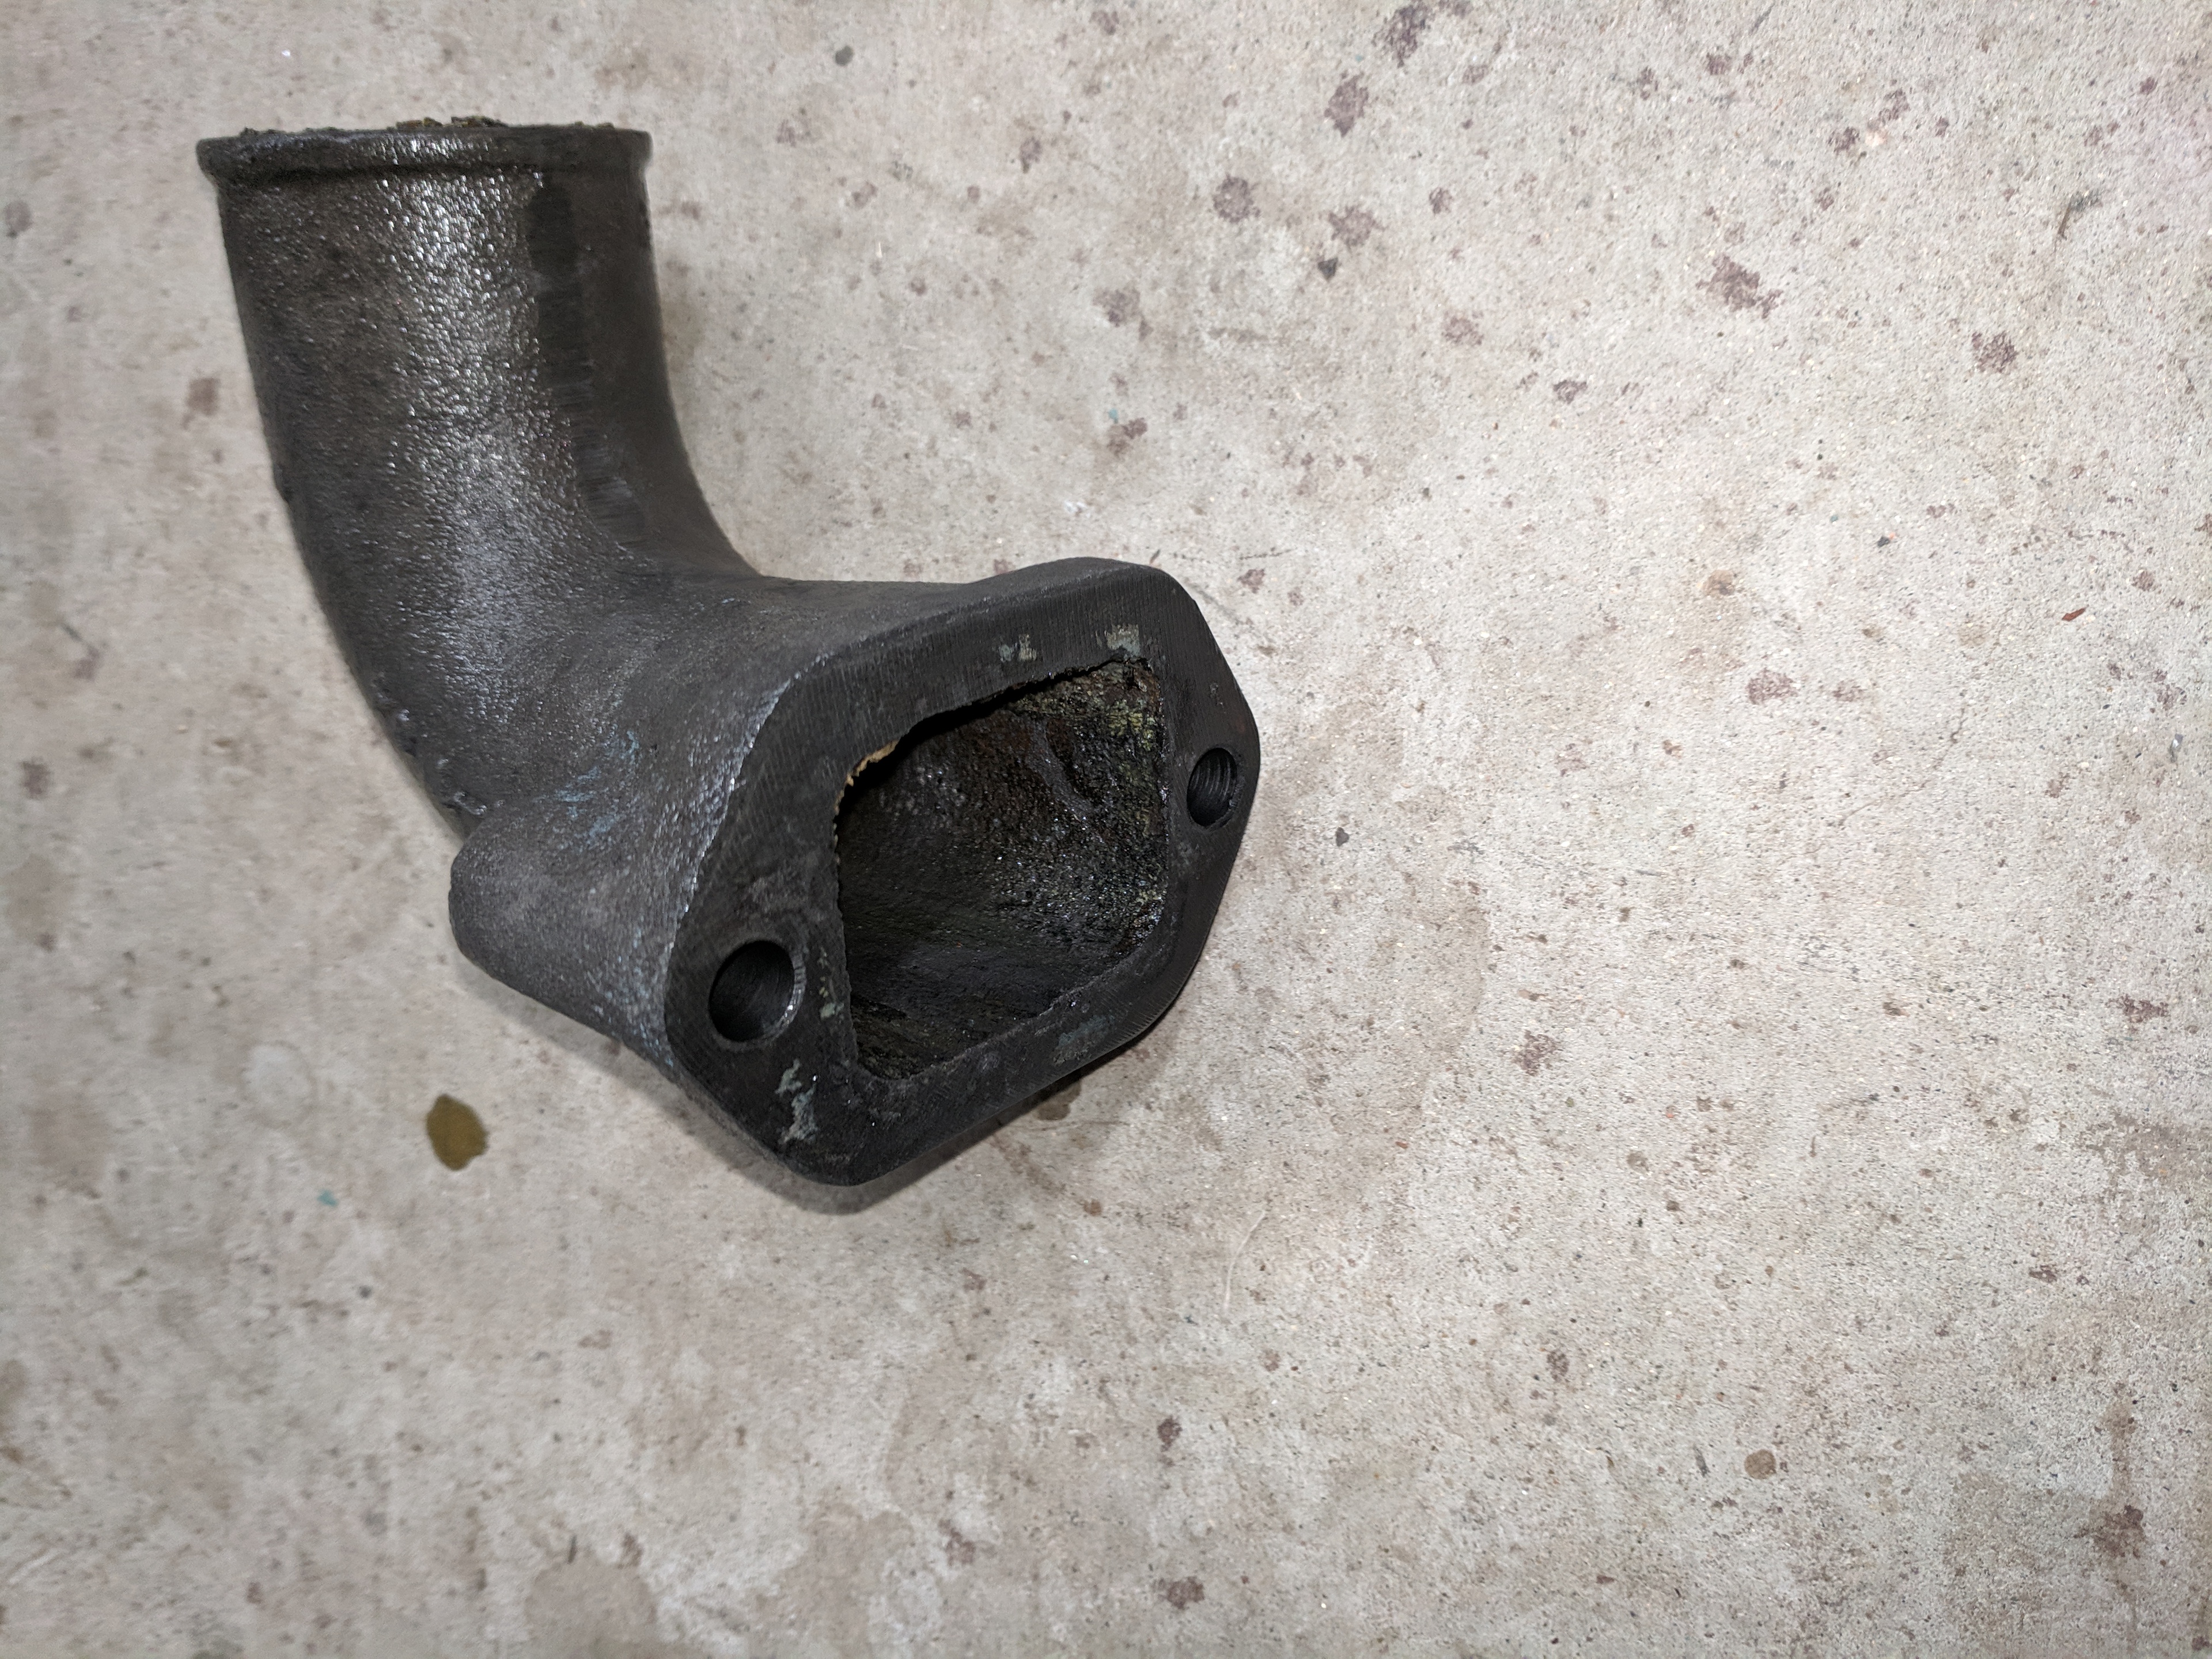
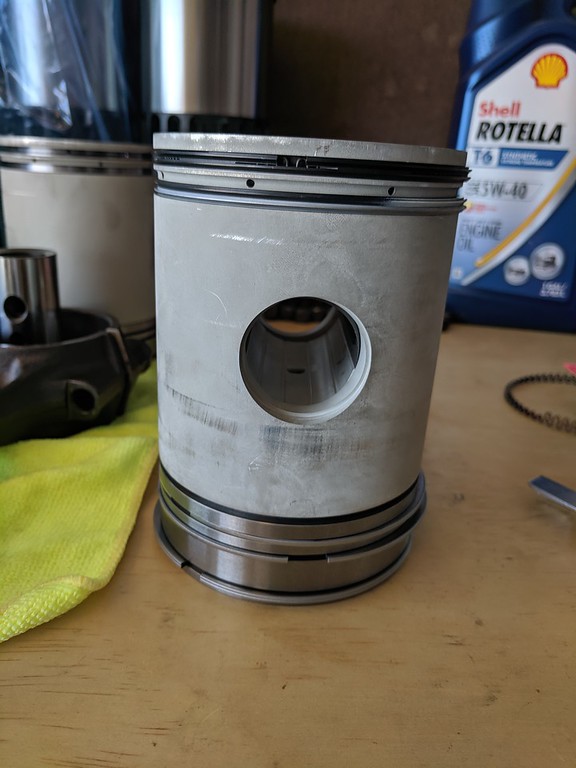
After acid cleaning parts, I leave them submerged in water with baking soda in solution. Acid hides in nooks and crannies and will keep corroding things until engine is in service where it flushes much better. Might leave them submerged for a day or two and agitate occasionally.