rochepoint
Guru
- Joined
- Apr 4, 2009
- Messages
- 1,747
- Location
- Sidney BC, Canada
- Vessel Name
- Roche Point
- Vessel Make
- 1985 Cheer Men PT38 Sedan
Great Choice.......

You have much more patience, and class, than most


 Thanks for sharing..
")
Wifey B - that is hilarious! Thank you, we are still laughing.
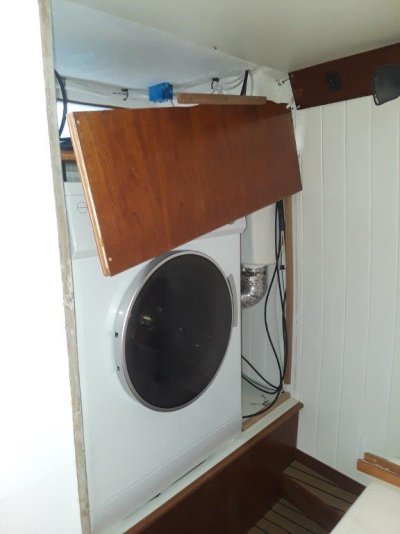
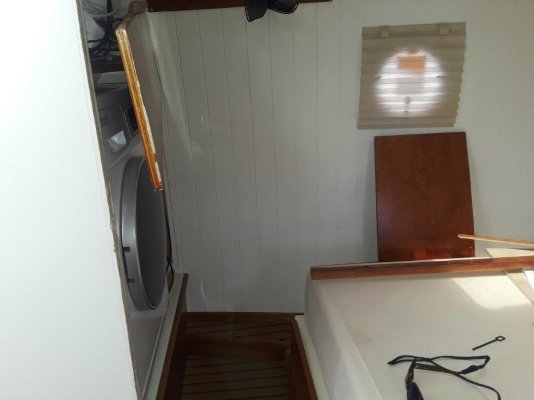
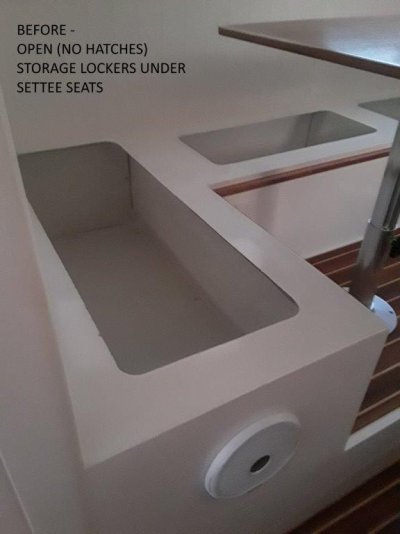
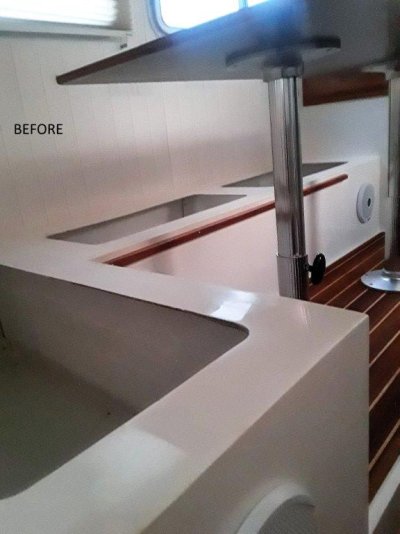
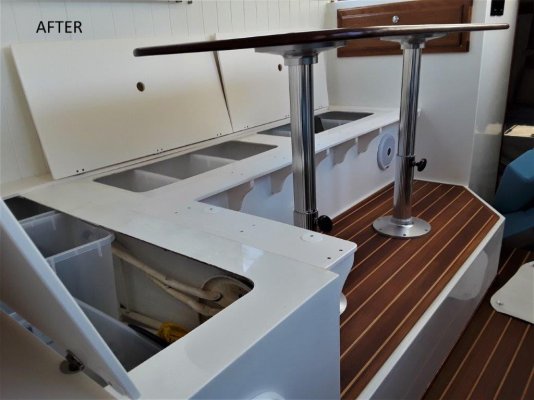
MRRiley - wish we had the time to get drawers built before we leave, but I am afraid that project will have to wait until we get back to Florida next winter. For now it will be just a door over the area with plastic container(s) inside, maybe a shelf.
And you are right about our hats, they are much, much cooler than any other hat we have ever owned. (being Floridian and old, we are big-time hat affcionados.) There is a headband adjustment, too, that keeps the hat snug in a breeze. If either of us lost ours, we would immediately order another.
The hat is the Alchemi Labs River Hat.
Island Bound - Roger that, my friend.
dmarchand - thank you kindly.
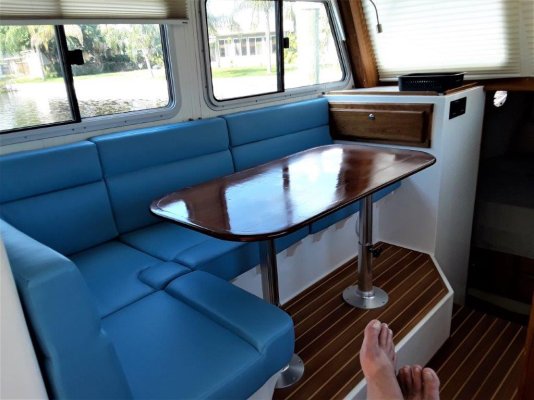
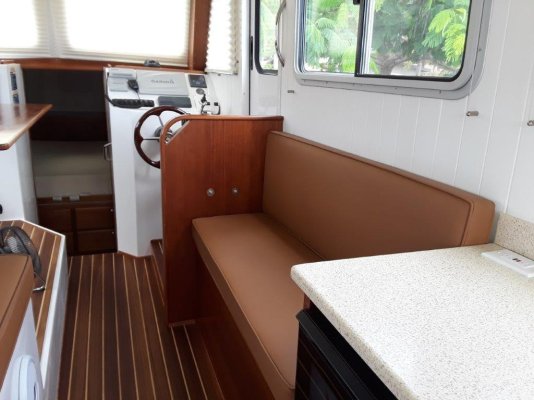
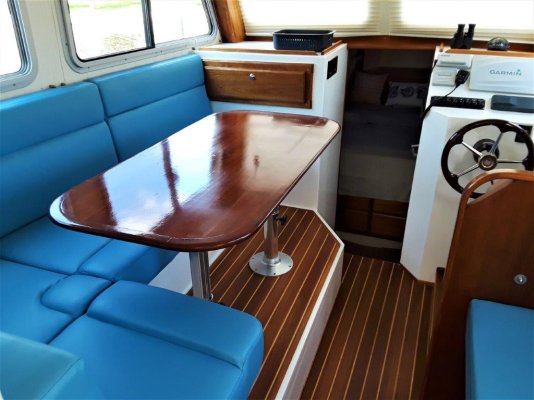
Scratch! my pal - Really appreciate your kind words. And yes, Dan has become an expert on every single system on the boat. I'm still learning. Thank goodness Dan is also a computer nerd, because he was able to program the Victron inverter for the Firefly batteries. I can do stuff like refinish the new settee table, but Dan is the systems engineer in this relationship. And we definitely plan to see you and Linda on our way up the Atlantic coast.
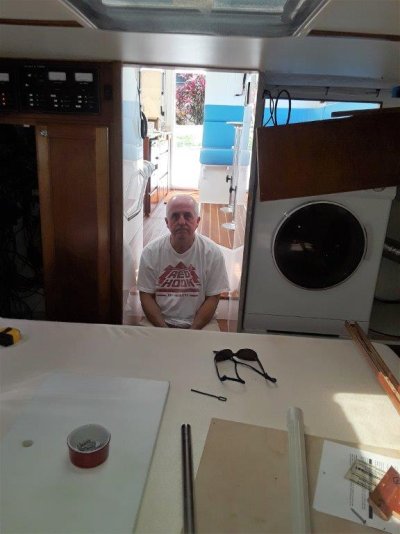
Cardude - Hoping in a week to do our shakedown cruise, heading south. If you are in Longboat we would love to stop by and share a few cold Red Hooks with you.
Carl - want to come down and see the boat this week? And I like the looks of the spade anchor.
Symphony & Great Laker - I hadn't even considered a Danforth but you are spot on about the easy storage with a basically flat anchor. Hmmm, another decision to make....
Now back to the hockey game. We are loving this YouTube tv.
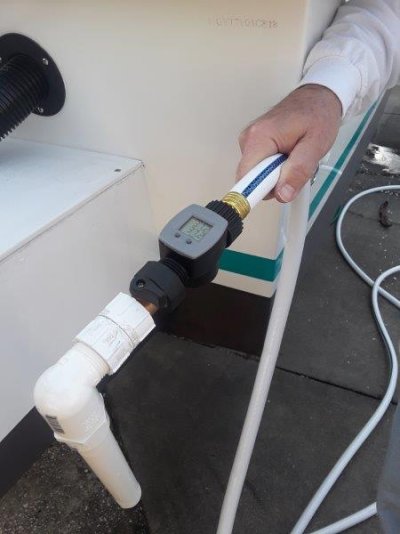
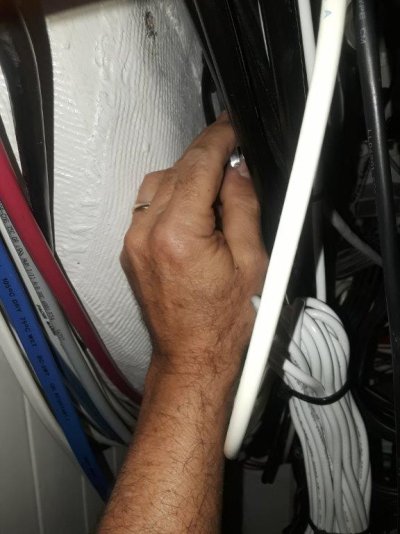
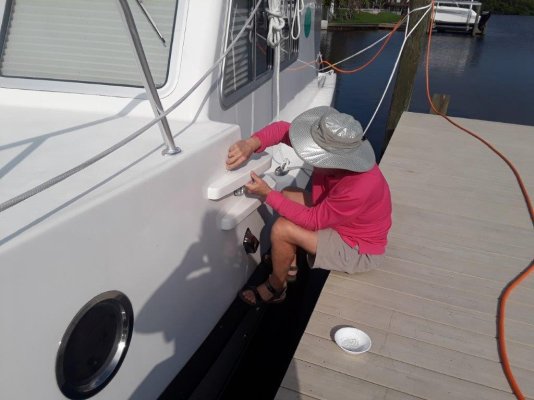
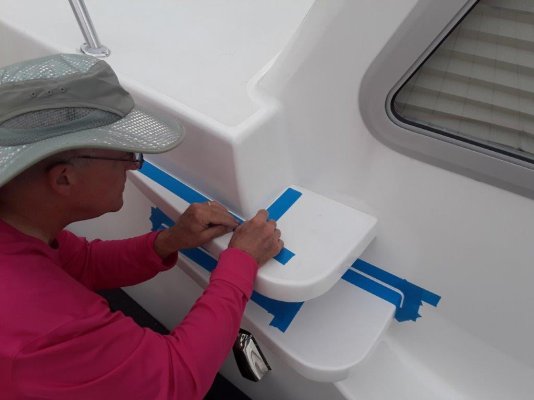
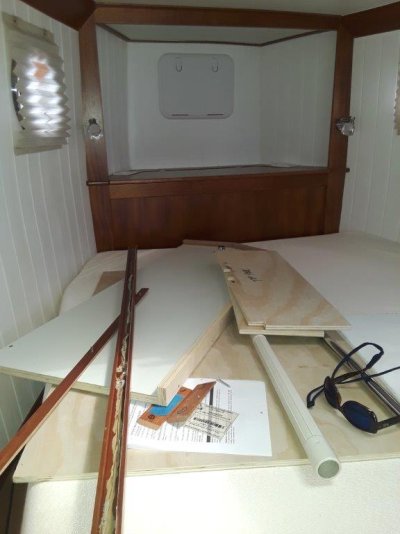
Pics of Dan's latest home-built contraption below, a hands-free water fill with gauge.
Cheers,
Pea


Another nice improvement! After all this experience, you two should go into the boat building business. [emoji51]
I can only guess that you will never be asked for an endorsement of the TT35.
Having corresponded with Pea I think that, though the journey has been painful, they are really happy with the boat they ended up with which is no small thing. Kind of like going to a crappy dentist & then going to a good one to get fixed what the first one screwed up.
I think what would be most interesting at this point is an in depth review of the boat and how it performs.