It has been a while since I started this thread, but I finally have some progress to report. I should say in my own defence that I haven’t been completely idle. Knowing the windlass had to come off ahead of the foredeck work, I decided to use it first to end-to-end my 300’ 3/8” anchor chain. Inspecting it as it lay stretched out along the dock, I concluded it needed re-galvanizing. And since I was off to the galvanizer, why not get my Super Sarca anchor (circa 2009) done at the same time? With those items off the boat, I dismounted the windlass and then decided I’d better give it a thorough-going service while I was at it. Then with all the ground tackle out of the way, my bow rollers, now exposed for the world to see, looked a bit worse for wear….so off they came for a visit to the electroplating shop.
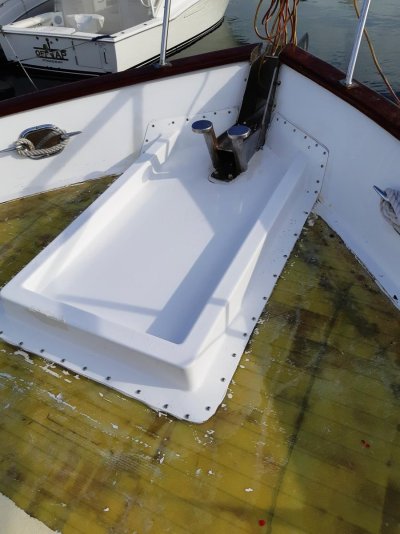
I had already decided that the foredeck work would include fabricating a ‘glass-and-stainless ‘well’ for the windlass to go into, to direct anchor-chain mud to a drain in the bottom of the anchor locker: no more washing mud off the soon-to-be-new foredeck for me. So time was spent looking at various alternative designs for that and agreeing a final solution with my boatbuilder mate who was taking on the overall project, with me as his sidekick.
In fact it was amazing how many jobs I could come up with to defer starting on stripping the teak and tackling whatever was below….but this week, a start was finally made.
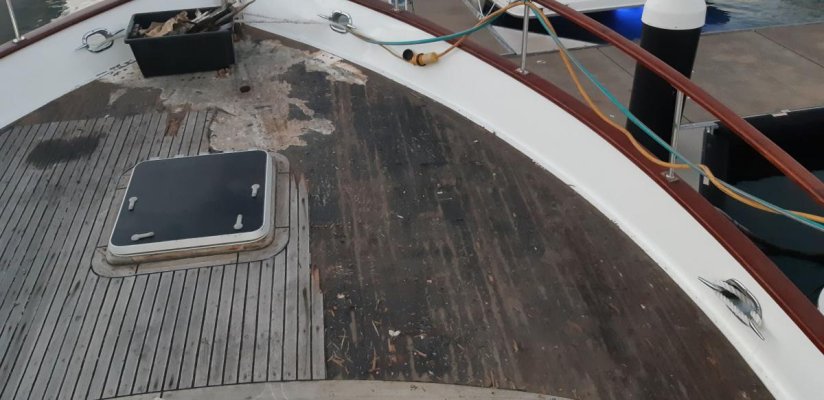
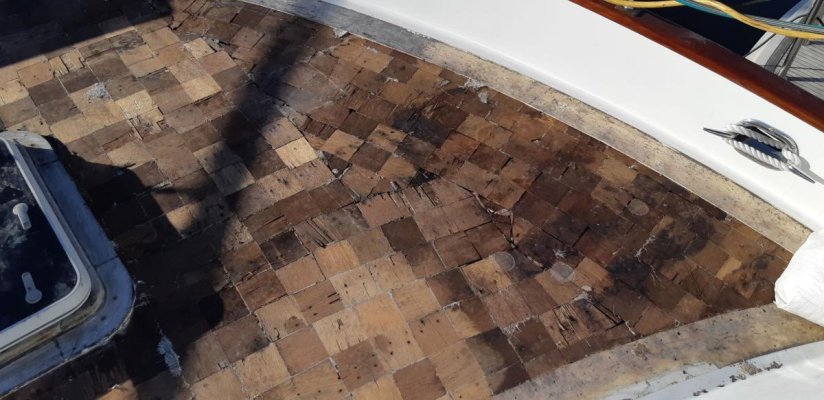
I had already put the idea I described in my opening post to my mate and had that politely but firmly dismissed. “No need to expose the core….you have no leaks, let’s just get the teak off, clean back the top ‘glass layer and go from there” was his perfectly sensible strategy. So we decided to start at the forepeak where the new windlass well will go and continue on down the Stbd side of the deck, leaving the Port side intact as a clean working area. We popped bungs, unscrewed those screws that would cooperate and used an EZ-OUT drill bit on the recalcitrants. Then we levered up the teak boards, exposing the predicted black sticky stuff still being used in Taiwan in 1985. This stuff was still very flexible and the teak was adhered very, very well to the ‘glass layer: we both commented on how unnecessary the 974 stainless screws were. After a full day, we had the Stb half cleared of teak and the black sticky stuff exposed and threatening to end up everywhere we didn’t want it.
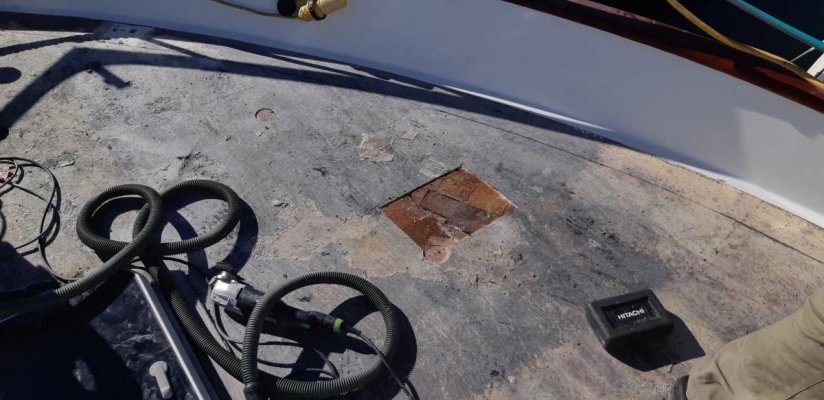
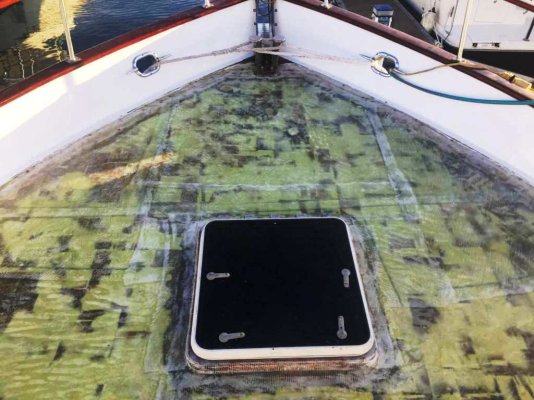
The next day, my mate arrived with a very large container of talcum powder and sprinkled this heavily all over the black sticky. A great trade tip: the stickiness was effectively neutralized and we could scrape off the muck without too much trouble…and of course the job site had a much better smell to it. By mid-day, we were ready to start sanding. A few smallish areas of the ‘glass appeared to have partially delaminated and so before getting too far with the sanding, we decided to use a hole-saw and see what was happening in these areas by removing a circular section of ‘glass down to the core. The small areas of delam we soon determined to be a non-issue…BUT what we found was that the ‘glass top layer had separated completely from the timber core below. We took more samples with the hole-saw and finally used a multi-tool to take out a larger rectangular piece of ‘glass and everywhere, no adhesion between top ‘glass layer and the core.
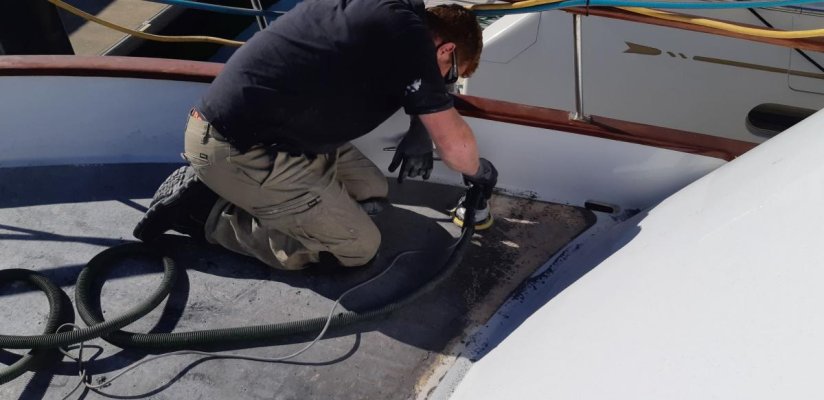
After a bit of head-scratching in the highly perfumed atmosphere now permeating the air above my slip, we realised that taking off the top layer of glass and reinstating it with a couple of layers of new would be no big deal: in fact, far less work than sanding all the black muck off and glassing cover strips over the rows of screw holes. So that is what we did: we used the multi-tool to cut panels about 3’ x 6’ and they peeled off like a sticking plaster.
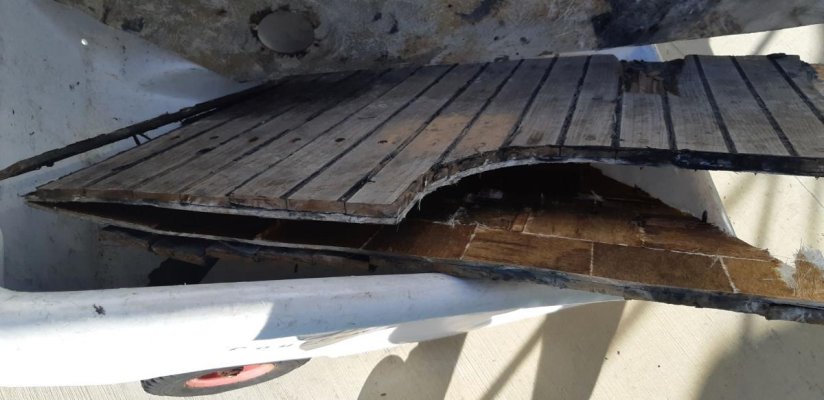
As we pulled up the ‘glass panels, we were rewarded with the magnificent sight of lots of little plywood blocks all artisitcially arranged in imitation of a quality coring material. They had clearly been saturated with some sort of resin and were well-adhered to the bottom layer of ‘glass…but there were plenty of empty voids between them. In the forepeak and right down the Stb side, we found no real rot but many of these blocks were damp, at least on the surface. It took us no more than 40minutes to clear more than 50% of the foredeck area in this way.
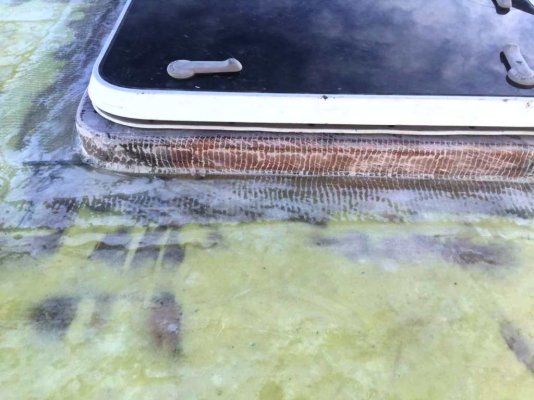
Delighted with our progress, we turned our attention to the Port side, still with its teak boards (and screws) intact. With good grace, my boatbuilder mate agreed to now try my originally-suggested approach and using a circular saw this time to cut through the teak and the 5mm (3/16”) ‘glass layer, we cut out and prised up 3’ x 4’ panels containing teak, screws, black muck and top ‘glass layer in one clean go. In under 2 hours, we had accomplished more than we would have achieved in 4 days’ hard yakka otherwise.
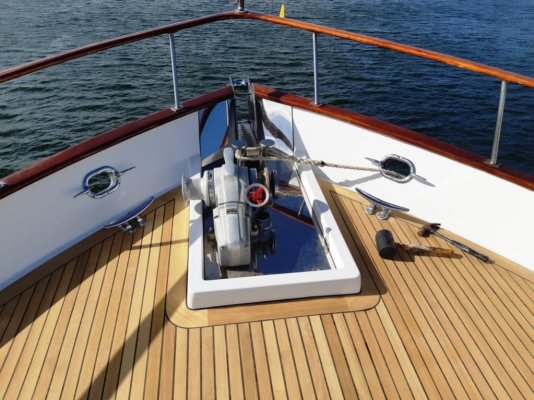
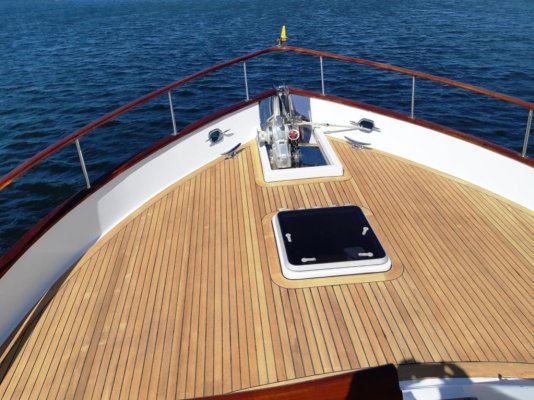
Some photos attached to prove I am not making this up. From the top:
1. Teak removed and black sticky exposed Stb side 2. Test holes revealed lack of adhesion between 'glass top deck and core. Talcum powder over black sticky 3. We started sanding the black sticky...but not for long 4. Complete cut-out panels with teak, screws, black sticky and top layer of fibreglass 5. Quality core material...not!
Tomorrow, we will lightly sand the blocks of core material and then screed over it with a runny epoxy, to fill the voids. Thickened epoxy over this and then a couple of layers of ‘glass, should give us a surface good enough to take the pre-fabricated teak panels (no screws!) I have decided to go with as a finished surface. Before that, the windlass ‘well’ and a ‘glass frame to replace the teak original around the hatch in the centre of the foredeck will have to be fabricated and installed. I will post on those components as progress permits.