RT Firefly
Enigma
Greetings,
Looking good M. L_t. How about this instead? (Members please note the alcohol content).
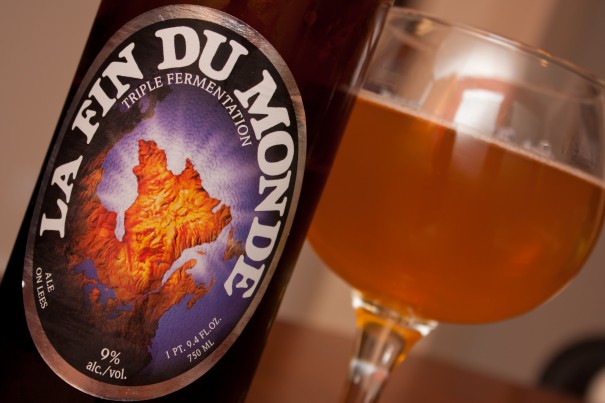
This is brewed in Mr. L_t's home province (Quebec) about a 2 hour drive from where I think he lives...
Looking good M. L_t. How about this instead? (Members please note the alcohol content).
This is brewed in Mr. L_t's home province (Quebec) about a 2 hour drive from where I think he lives...


 :
:


