Bleuvet rejuvenation

The friendliest place on the web for anyone who enjoys boating.
If you have answers, please help by responding to the unanswered posts.

Lou_tribal

Guru
Joined
Jan 20, 2016
Messages
4,375
Location
Canada
Vessel Name
Bleuvet
Vessel Make
Custom Built
We are in the process of a rejuvenation of our boat. Started some weeks ago as soon as snow melt made it possible.
First thing, new paint in the aft bilge, deep cleaning of the bilge pump that was in a disgusting state, re wiring of the bilge pump with waterproof removable connectors (the PO the wire to force the pump on), and some new grease on the shaft bearing and gimbals (is it the right term?).

New fresh bilge paint (Interlux bilgekote):
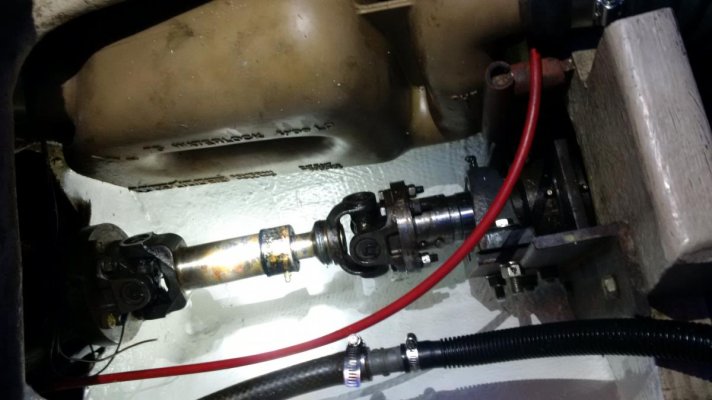
IMG_20170507_105957.jpg

Waterproof connectors for the pump (coming from solar panel world):
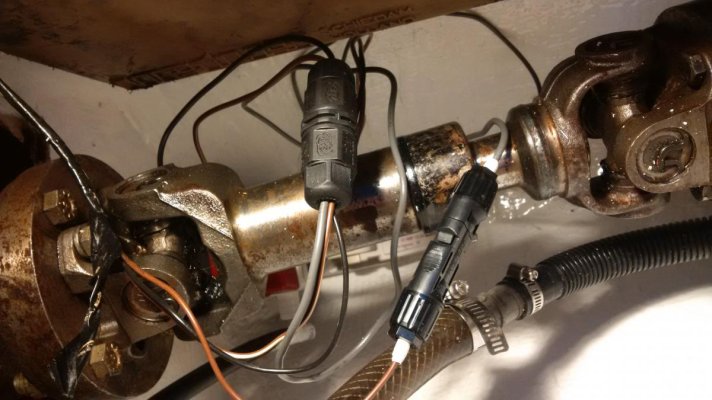
IMG_20170507_134931.jpg

Pump cleaned and finally back in place:
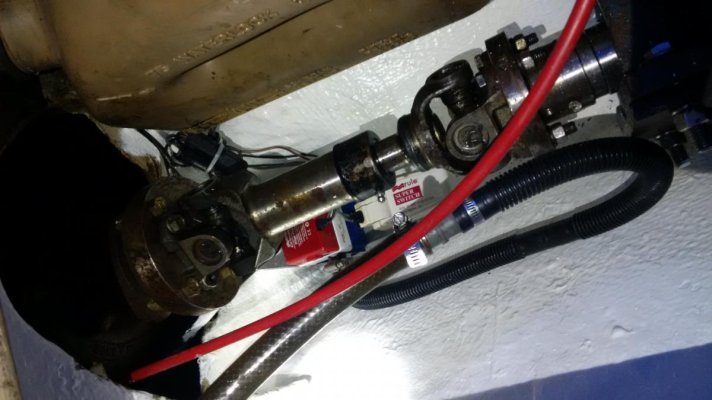
IMG_20170507_143526.jpg

V-sitting and saloon benches were sanded, one coat of Interlux Pre-Kote applied, awaiting for 2 coats of off-white Interlux Brightside (we wanted clean benches before putting the new cushions on).
New cooler in the bow insulated and sanded, next step will be to join the insulation plates and glaze it with FB and epoxy.

Lot of work coming ahead!

L.
 
Another day, another step forward (at least it is in the right direction).
First, joints of insulation plates of the new cooler are done just need to wait for them to dry and I will be able to glazed everything in epoxy and fiberglass.
Second my beloved wife sanded the boat bottom to fix some anti-fouling defect. During haul out we saw some flaking anti-fouling so time to sand it and apply a new coat.
Last, first coat of finish on the benches in the V sitting and the little saloon. First time we tried the roll and tip technique and we were really amazed about the result.
Tomorrow is another day, lot still to do!

My beloved wife full equipped and ready to sand

20170512_153419.jpg

When I look at this I think this is a real mess!

20170512_181611.jpg

(sorry for the poor pics)

L.
 
Looking good!
 
Another day of labour:
1. Last paint coat on the benches.
2. Replaces grease zerks on the rudder post tube, and greased the rudder post.
3. Remove the old anodes, well what was left of the old anodes, replaced the rudder anode and prepared support for the other ones.

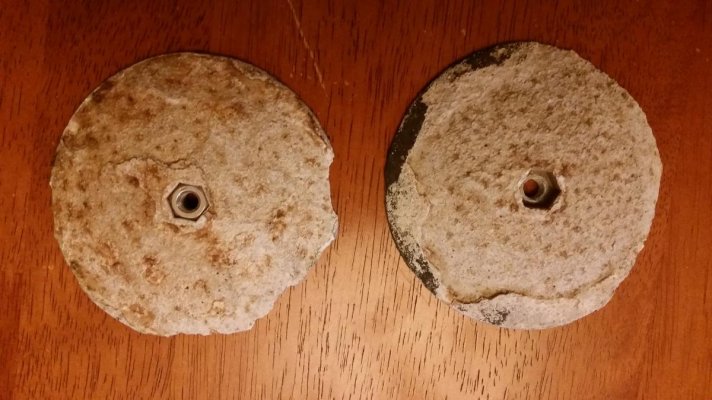
Below what was left from one of the anode... the one that was in best shape :nonono::

20170513_195454.jpg

L.
 
Greetings,
Mr. L_t. If you're in fresh water only you should be using magnesium or aluminum anodes (might be remembering but it's NOT zinc).
 
Greetings,
Mr. L_t. If you're in fresh water only you should be using magnesium or aluminum anodes (might be remembering but it's NOT zinc).

You are totally right Mr Firefly, my replacement are all magnesium :)
I found out that not only the PO put the anodes on paint, but also put some paint on it... very useful. Anyway it will soon be back to normal use :)

For one of the anode, the nuts is so rusty that I will need to cut it to be able to remove it. About the anode on the rudder, well the only left part was the stainless screw, but it is like brand new I will keep it for reuse :D

L.
 
I found out that not only the PO put the anodes on paint, but also put some paint on it... very useful. Anyway it will soon be back to normal use.
Anodes will last a lot longer if you paint them, but the adjacent props, shafts etc,not so much.:blush:
 
Anodes will last a lot longer if you paint them, but the adjacent props, shafts etc,not so much.:blush:

Yeah I guess the PO realized that the rudder was thicker than the anode so it would need more time to dissolve and he would be able to save 20$ of anode :D

L.
 
On the menu today:
1. changing anodes: Removing old anodes well in fact cut the bolt in two with a metal grinder as it was so corroded that I was not able to remove it. Than of course cleaned the paint on the two shaft support where the anodes should go. The support were in stainless steel but to be sure it won't corrode there was 3 coat of 3 different color of paint on it.
2. Some touch up on the antifouling. It was nt in a bad shape so we wont recoat it integraly, just did some touch up on place that where bubbling.
3. Removed the wrap, yeah the Bleuvet can see the light (30C today, amazing afternoon).
4. Sanded some chipped paint area on the hull, 3 or 4 spots from the PO and 1 spot due to my lack of skill when docking on port side (prop walk bring me to starboard in reverse), I admit, I am still ver bad when dcking port side.

L.
 
Another weekend working on the boat:
Saturday:
1. Sanded some spot to repair on the exterior paint, followed by 2 coat of primer.
2. Finish the installation of the new anodes and tested continuity, everything should be in order.
3. Fiberglass on the new cooler in the bow.
4. Redid the caulking on one of the ER air intake vent on the hull. Found out that the hole cut in the hull was not epoxied on the cut. Sealed the cut with epoxy, used Sikaflex 291 for the caulking, everything should be water tight now. (side note: on another post I was talking about tubing for the vent. Finally I will keep the ugly evil dryer plastic tubing for now and will replace it later on when I will work on the main saloon. The reason is simple, there is no access to it from inside the boat at this time!).

Sunday:
1. My lovely wife cleaned the whole hull, what a job!
2. Some more fiberglass on the new cooler.
3. First oat of paint, wrong white, this one will be sanded and act as a third primer coat.
4. Changed all the o-rings on the fuel fill, water fill and even on the waste cap. Was expecting a flow from hell when opened the cap but not at all.
5. Changed the emergency donuts rope it was totally consumed by the sun.
6. Replaced the engine control on the flybridge, this damned one! It was painful even if so simple. First to remove the old control I needed to disconnect cable from the transfer unit. Was not really sure I wanted to do that but hey let's take some risk, cables were disconnected in 10 minutes. Then I removed the old control, and took a look at the new control install manual... and I realized I was in deep s**t. The lever can be install to push or pull for power and to push and pull for forward gear, excuse my ignorance, I did not know... and I did not notice how it was on the old lever. Ok I looked at the transfer unit and decided to go with push for both. I started to install the new lever, ready to finish the install, damned I forgot the neoprene gasket, ok remove it, put the gasket and install it back... than I realized I forgot the base for install, ok remove it ... OK now I am ready for a dry fit. Damned I have the drill but forgot the bits at home, a quick drive to the nearby shop and problem solved, finished the mount, reconnected the cable on transfer unit... damned it is not correct it was a pull for both not push! Had to redo everything. Finally it is replaced, I will not go over some of the mount or unmount as I thing I did it 6 or 8 times but it took me almost the whole afternoon (this is what happened when you are not well prepared). Positive point now I am able to remove, replace the control in less than 10 minutes!
Talking about transfer unit, I am not familiar with these things, but I discovered that mine was home made by the boat builder, and it is really clever made. I will take picture about it tomorrow.

This is it for the weekend next chapter tomorrow.

L.
 
Nice work! Sounds like a standard boat project weekend!
 
Nice work! Sounds like a standard boat project weekend!

Thank you! It was a good weekend except that we planned to take tomorrow easy and work on some woodwork for the boat but at home. Finally we will need to go back to the boat for some more fun as we were not able to do everything we planned. Tomorrow will be hydraulic bleeding, fuel filter change, ER cleaning, and fiberglass in the cooler. Of course if everything goes as planned what I am very doubtful :D

L.
 
When you think you will be done... you find you have ore to do :)
The menu today:
1. Bleed the hydraulic lines, a bit messy like detailed in another thread but at least here we are, rudder is moving fine. Maybe some bubbles remain but I will check from time to time.
2. Sorted all the dock lines.
3. Cleanup of the forward bilge that was full of residue.
4. We started the engine YEAAHHH. After one winter on the land, it was time to reconnect the batteries and start the beast. It was a moment of terror, was not knowing what to expect. Turned the key. Checked the battery voltage, 12v to 13v after one winter disconnected. Then was THE time... turned the key a little more... and BANG in a fraction of second the beast was running, started like a swiss watch, even the marina mechanic was surprised. At first he was searching for the priming pump, told him that I was not sure but I think there is none and that I was told the engine should just start like that... and indeed it did.
5. Vacuum on the carpet that was full of dirt after sanding the v-sitting.
6. ER cleaning and degreasing, still need to rinse. In the next days we will be back there to rinse with the hose to have a bright clean ER.

We should be back on the water by the end of the week but so many things still to be done before departure June 1st!

L.
 
I know it lacks pictures, and everyday I go to the boat I think I must take some, and at the end of the day when the sun set I think "damned forgot" :D
I swear your honor, next time I will take some!

L
 
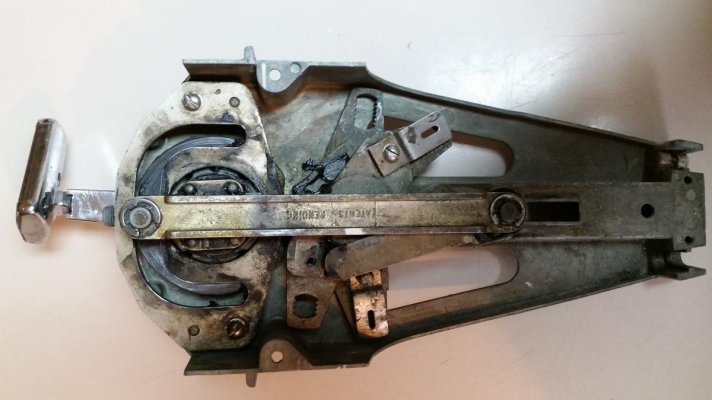
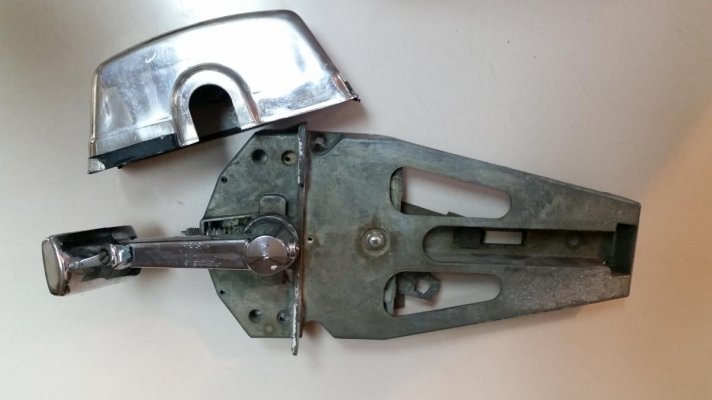
Here is the venerable 23 years old engine control I replaced. It is still working fine but deserve some rest :)

20170523_172741.jpg
20170523_172919.jpg

L.
 
Man you two are really gettin after it . Nice work .
 
Man you two are really gettin after it . Nice work .

Thank you :) Unfortunately I won't have enough time before our cruise departure next week to do everything I would like to do so we will cruise in a work in progress boat :ermm: Anyway it is mostly cosmetic work in progress so no drama.
L.
 
Update:
Yesterday was another busy day. Went to the boat to cleanup the ER. We degreased the whole compartment and rinse with the hose. Every thing is clean as it has never been.
Put the hull plug back in place.
Wet sanded first coat of paint touch-up, second coat applied.
All antennas and anchor light back in place.
Cleaned the radar arch top, it was reaaally dirty, I guess the PO never went there to cleanup.

We are scheduled to be back on the water Friday 8AM woohooo! I will take some picture of the event.

At least we did everything that needed to be done before getting splashed, next weekend will be a busy one checking all electricals, lights, installing propane, finishing the cooler etc etc etc. We are getting there finally.

Note: I will need to recheck my hydraulic. Yesterday I found out that some hydraulic fluid leaked through the vent at the upper station, not sure why. Also found that when moving the rudder from port to starboard everything is fine (7 turns) but when doing the opposite I have around 1 more turn to do, must still have some air trapped in the line.

L.
 
Update after being splashed:
1. Changed a ER vent. A dock line had gone on it and with the pressure the vent worn s now it is back clean and new.
2. Replaced shower faucet cartridge. We discovered yesterday that during winter the faucet cartridge broke, must due to the freeze.

Note: I always asked myself if it worth the price to buy a Moen faucet considering the price difference with some other brand. Today I found out why it worth it. My cartridge broke apart. I went t a Home Hardware store and find out that the cartridge replacement is free... for life! The vendor even advise me to replace it every 2 years at most to be sure not to have any issue! Now I am sold to Moen :)
3. Fix the engine control cable mount for gear (see my other post to for details). Everything should be back to work now.
4. Installed our new teck flag pole with support.
5. Installed new blinds on windows.
6. Installed linens on the aft railings.

And some more little things here and there (without mentioning the traditional apero).

L.

(picture to come, I swear)


3.
 
As our cruise departure plans have changed a bit due to late opening of Rideau canal locks and also some familly issues at the worst moment I decided to take advantage of having some more time to tackle more work.
So I started on building my new BBQ / cooktop support for my flybridge. Basically it will be a kind of drawer with my BBQ on the top, and my cooktop in the drawer.
I started by spending my day of yesterday to rip some raw mahogany to laminate parts to get from this:
IMG_20170603_165934.jpg

to something a bit cleaner like these that will be the top BBQ support:

IMG_20170603_170111.jpg

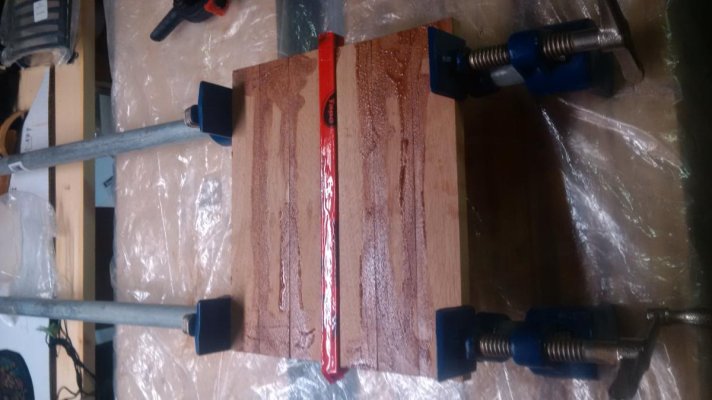
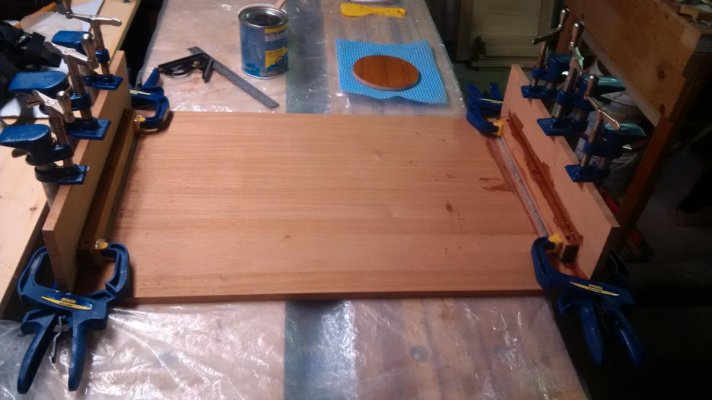
Here some more glue job:

IMG_20170603_170140.jpg
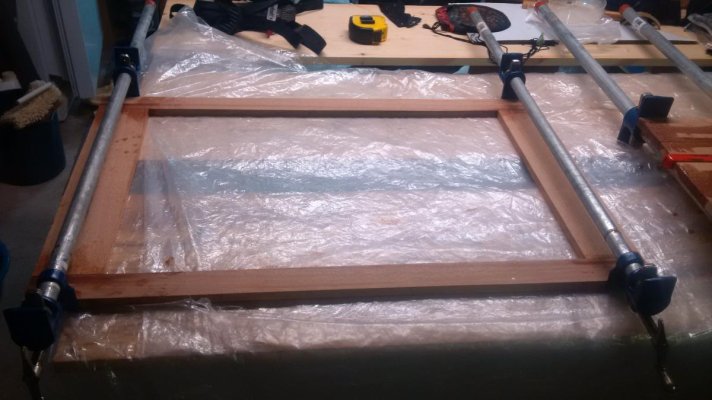
IMG_20170603_170153.jpg

The last one will be the base plate to receive the cooktop frame. I choose t make it like a frame and close it using plywood to save some precious mahogany in place it will not be seen as here the "hole" will be covered by the cooktop frame.

At the end it will look like this:

model.jpg

where the green is the base plate, the yellow the cooktop frame with the cooktop and the orange the BBQ support that will slide to discover the cooktop.

Too much fun! :dance:

L.
 
Greetings,
Mr. L_t. You're a man of many talents. Have you considered the underneath of the top BBQ support (the underneath of the orange piece)? IF you slide your cook top into it's slot while hot, it may char the underneath of the orange piece. How about a piece of sheet tin in there? I know, I know, you're not going to put it away hot but just sayin'.....

(Having spent some time in the south, what you will probably be using to grill is just that, a grill NOT a BBQ) THIS is a BBQ.

mT5mgYW6jTlOEFHd6YoAUag.jpg

MR RTF, let say a grill I do not have enough space for this BBQ and my family is not big enough to have the need to cook a beef in one piece :)
The cooktop I will install will be a two burner propane one so as soon as you close it it should be cold enough to not burn the wood. But indeed I will be careful not to close it if red hot.
Anyway thank you for your advice!

L.
 
You are going to need a bigger boat for your grill.
 
Greetings,
Mr. L_t. Actually I think there may be one for sale and you will see it on your Rideau cruise.

28a276527577dc38c5c668379f7b867c.jpg
 
That one looks great, just a bit of wax and it will be ready to go.
 
Some more wood butchery today.
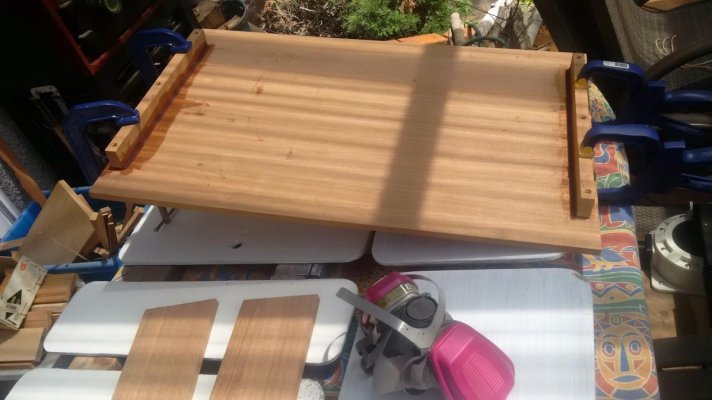
Continued by gluing 2 backing support on the BBQ (Grill for Mr RTF) plate:
IMG_20170604_140115.jpg

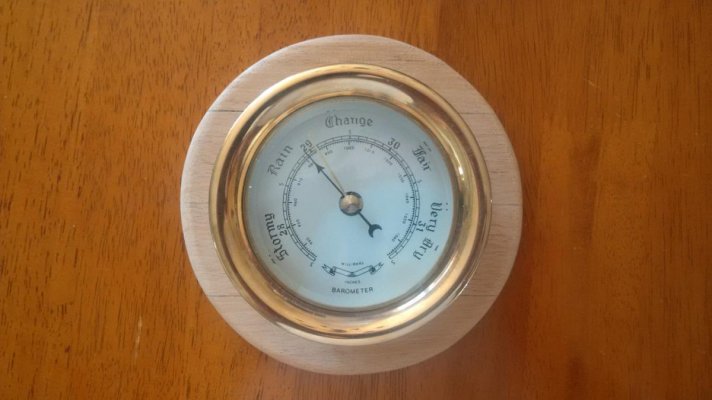
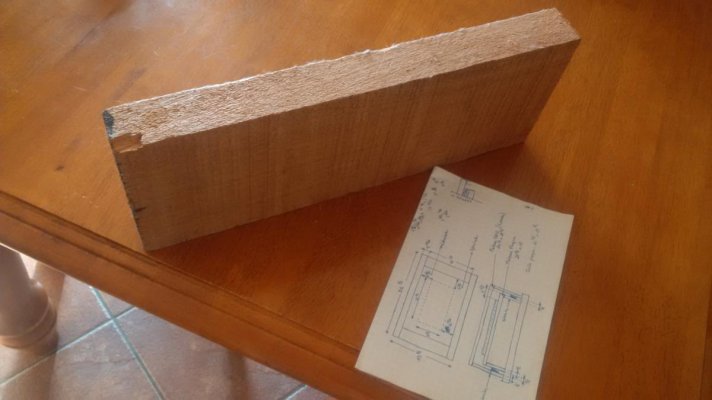
While my favorite juice (epoxy) is drying, I took some cut leftover to do a backing plate for my new barometer I received in gift from y beloved wife:
IMG_20170604_135911.jpgIMG_20170604_135939.jpg

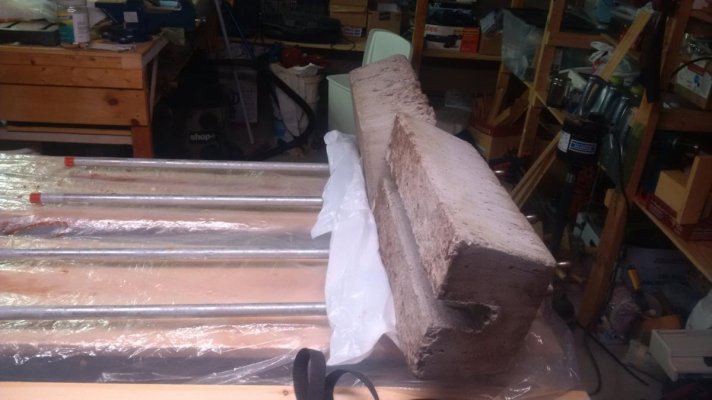
Then it was time for more laminating job, brutal mode:
IMG_20170604_145154.jpg

Now as I have no space left to lay down thing to glue, sand or paint it is the sign time has come for a cold one.

bouteillepilsner_seule-250x569.png


L.
 
And another day, woke up, took a coffee, and ran frantically to my tools and wood for more butchery.
Today it is raining so not much sanding outside.
I took the opportunity to carve the rabbet in which will come the bottom plywood plate (it will be hidden by the cooktop support so no need to waste precious mahogany there).
After a couple of hours playing with the wood chisel and sanding it clean it looked like this:

IMG_20170605_145818.jpg
IMG_20170605_145838.jpg

Coming from pure tradition of wood butchery I like to make wood chips :D

Then it was time to play with some holy juice (a.k.a. epoxy) to assemble the BBQ (Yes Mr RTF, Grill :D) support sidings and top:

IMG_20170605_161930.jpg

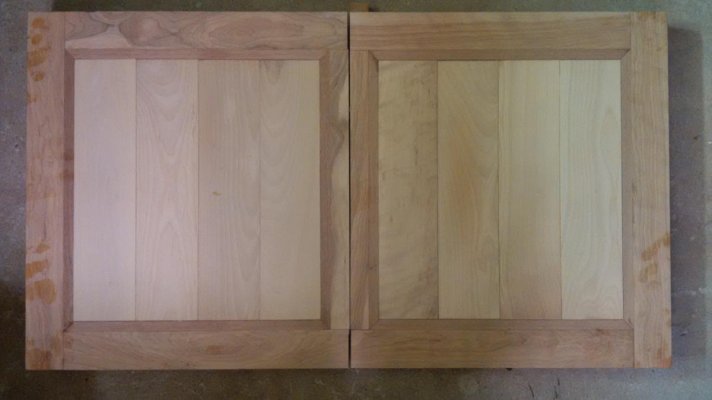
Finally it was time to cut some more wood, but this time I switched to some Canadian Birch to build the legs of my new low table in the saloon. This table is made of birch and maple with a thin accent of mahogany. The table will be fold-able like a suitcase to store it.
While not finished yet (as many things I started to work on), here are the two parts making the table top:
IMG_20170605_165432.jpg

And the legs, that will fold inside the table, will look like this:IMG_20170605_170057.jpg

Now time for... a cold one of course!

L.
 
Back
Top Bottom