23' trailer cruiser

The friendliest place on the web for anyone who enjoys boating.
If you have answers, please help by responding to the unanswered posts.

Scratchnsaw

Senior Member
Joined
Jan 30, 2014
Messages
348
Location
United States
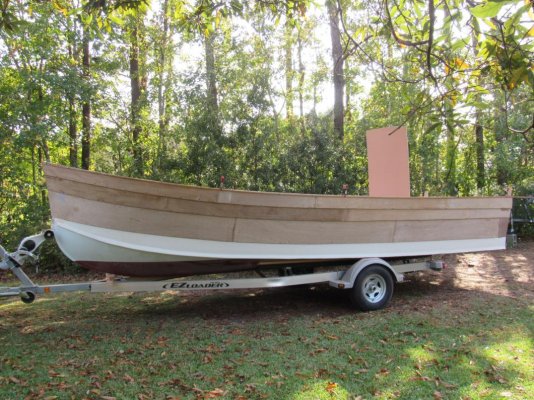
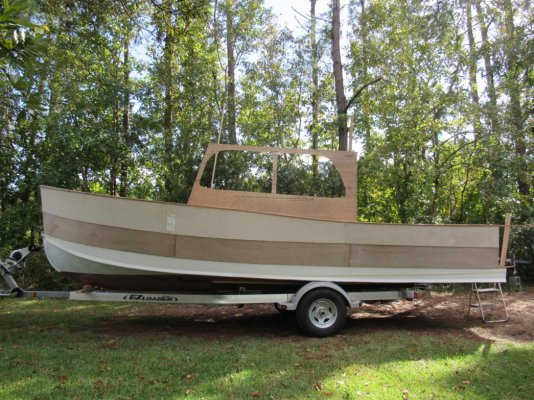
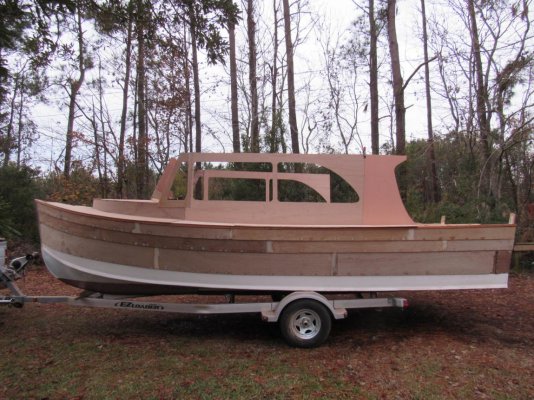
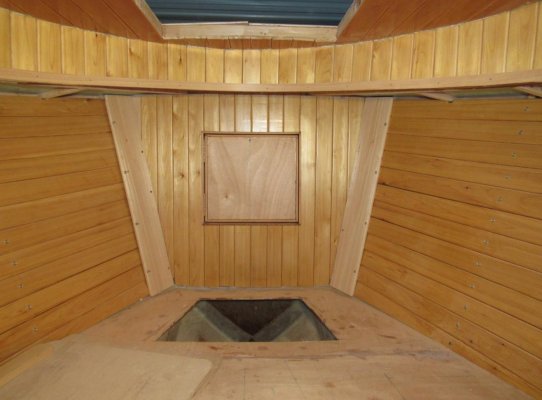
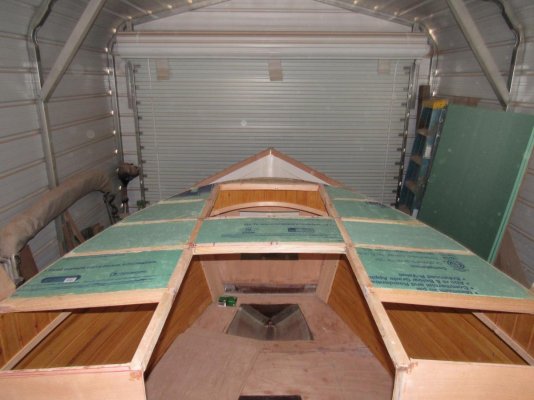
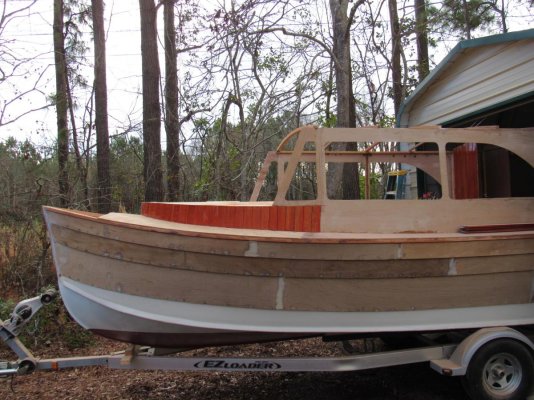
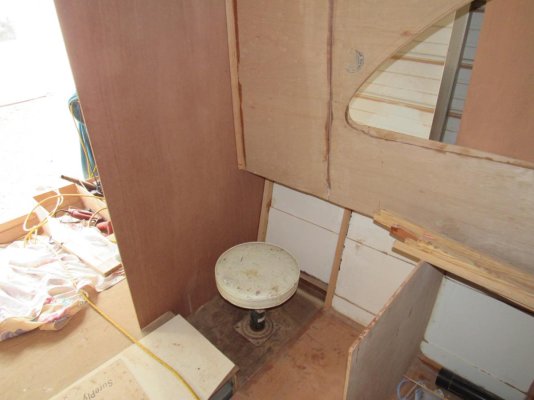
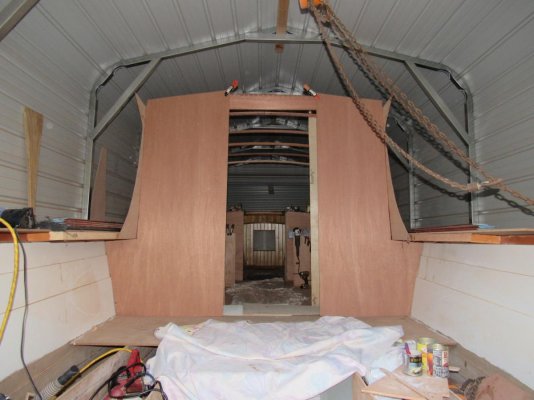
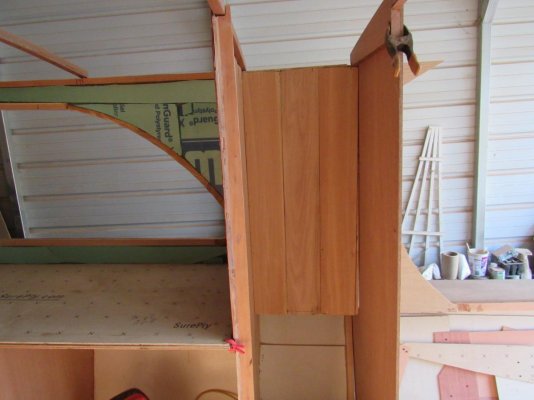
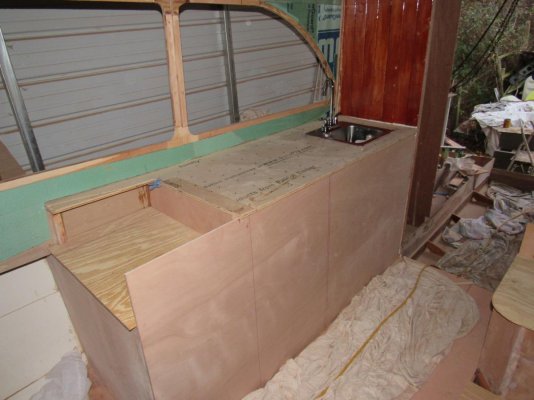
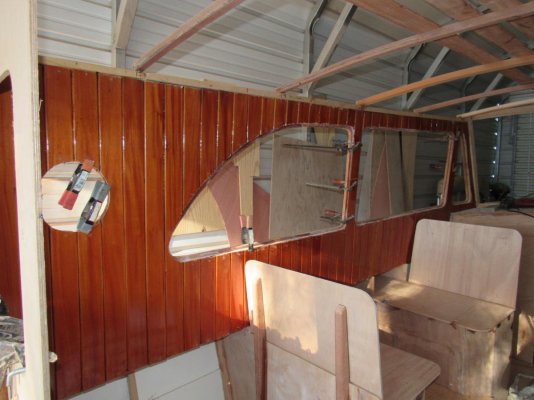
Its been a while since I have been logged in. But I still read the board from time to time. While my hull will not be some fancy condo, my SWMBO and I have started a new cruiser for hopefully a next summer launch and shake down. We will not be able to long ventures, but plan on two to three week excursions at a time, if things goes as planned and the country does not go to pot. ;)

I need to figure out how to post pictures here. I see a section for videos, but only have still photos. Any help? I have all but quit photobucket crap, as its almost impossible to load for some reason.
 
Click on your name near the upper-right of the page. From there, "Albums" are in the right-hand column. You can create albums and upload photos to them.

Click on any photo, and below the full-size image will be a text box with "BB Code" in it. You can copy and paste that code directly into the text of your post.

And welcome back! Sounds like you've got a great boat for how you plan to use it. In my book, that's the "best" kind of boat.

As for the country going to pot, that's already happened. Go boating and take your mind off it all!
 
Last edited:
Well I finally got this picture stuff figured out. The hull is a glued plywood construction method with a touch of lap planking added to what would have been a slab sided finish. This unfinished build finishes off at 23' 7" and meets the requirement for towing at a beam of 8' 6". While its not going to be a floating condo like so many of the in water hulls, it will meet out needs with all the creature comforts of running water, shower and a composting toilet. I have patterned the back bulkhead, which is showing and have started to configure the cabin side window shape with some previous set ups to get all the proportions and spacing throughout the running length correct.
 

Attachments

  • IMG_0327.jpg
    IMG_0327.jpg
    202.3 KB · Views: 252
I will finish off the hull profile with a raised bulwalk on the covering boards after I install them in a similar manner of the top of the pattern, except probably a bit more sweep to it.
 

Attachments

  • IMG_0283.jpg
    IMG_0283.jpg
    201.3 KB · Views: 235
Well for anyone interested in the early stages of our little condo on the water,,, We are making progress and have the final cabin profile worked out. We will have the main window open with the aft and forward one fixed in position. The front middle one will open. I insulated the trunk cabin roof and the side decks in hopes that this will minimize any sweating in the cooler climates while cruising in those times.

The forward area is juniper lined veneers, and glued to a substrate, except for the hull sides. They are fastened to their own hull mini frames, and the voids are insulate while also allowing the nice smell from the unfinished backs to encroach the semi closed area.

More to follow...
 

Attachments

  • IMG_0440.jpg
    IMG_0440.jpg
    101.1 KB · Views: 334
  • IMG_0465.jpg
    IMG_0465.jpg
    198.4 KB · Views: 336
  • IMG_0466.jpg
    IMG_0466.jpg
    197.8 KB · Views: 287
  • IMG_0477.jpg
    IMG_0477.jpg
    102.1 KB · Views: 342
  • IMG_0485.jpg
    IMG_0485.jpg
    109.5 KB · Views: 343
  • bow stateroom wood.jpg
    bow stateroom wood.jpg
    99.4 KB · Views: 350
The main hatch will be big enough and custom made for easy access to the forward cleats and bow pulpit anchor in case I get too lazy to use the walk around, which is also wide enough for walk around with the proposed bulwalk. And yes all the wood is the same, even though with the lighting the wood shows a different shade. But I cut the veneers from two similar boards. Its a real pleasure to work with. And I did all the cosmetics and finish off the boat and then glued them up. This saves a ton of time to and a lot of extra work in closed quarters.


Hopefully we will have it water ready without many of the live aboard features by the first of June and do a small shake down and then finish it up for a winter trip on the west coast of Florida next winter.


At least this gives us something to push towards, as these types of projects always seems to get side tracked. But we have the bug and its later than we think, as the story goes. ;<}
 

Attachments

  • IMG_0470.jpg
    IMG_0470.jpg
    117.7 KB · Views: 315
  • IMG_0471.jpg
    IMG_0471.jpg
    101 KB · Views: 311
Last edited:
Well a few more tidbits,,, I have added mahogany veneers to the trunk back to the cabin. I have also worked out room and the arrangement for the full stand up head. It will be fore and aft. I will add the forward bulkhead with windows in both , with the option of curtains. This gives me more available light and vision towards the transom and portside. With this layout I get a wider door for light and access to the interior for a more open feeling.
 

Attachments

  • IMG_0565.jpg
    IMG_0565.jpg
    193 KB · Views: 221
  • IMG_0557.jpg
    IMG_0557.jpg
    110.8 KB · Views: 224
  • IMG_0556.jpg
    IMG_0556.jpg
    86.3 KB · Views: 233
  • IMG_0552.jpg
    IMG_0552.jpg
    105.7 KB · Views: 240
Does anyone else have any problems of a photo enlarging and blacking completely out when you click on the thumbnails to enlarge them? Its impossible to anything on the screen. This happens to me on every other thread too.
 
Everything appears to function well for me. If you are on a mobile device (Android or iOS) delete your app and load the new one from the store or Play. They've been redone lately.
 
I am on a simple desktop , Windows 7. Nothing works for me when I click on any photos on the site that's on any thread. It just goes black. Oh well, not too smart anyway with these electron things.
 
Well some progress,, I have the cabin layout completed. The galley will have a full sized single sink on one end. On the other end I will have a two burner stove. Below the stove I will have a 12 volt frig-freezer combination.

On the other side a dinette with tons of storage is locked in. Behind the dinette I am creating a hidden head. The fold down bulkhead will rest on a half fixed knee half way, and a hinged short door. On the top and when in use, a bifold type door that will rest against the back bulkhead will fold back over the short partisan and close everything up.

With this setup, this gives me a cabin that has an open feeling and almost full vision aft, with the large entrance area down the centerline.


The area behind the galley counter is a full sized juniper lined hanging locker, with two drawers below it. I will be carrying 20 gallons of fresh water, which I think will be enough for the needs of two to three days, except any showering on deck.
 

Attachments

  • interior room.jpg
    interior room.jpg
    110.2 KB · Views: 198
  • hanging locker, cedar lined.jpg
    hanging locker, cedar lined.jpg
    92.6 KB · Views: 203
  • galley counter.jpg
    galley counter.jpg
    108.4 KB · Views: 201
  • head.jpg
    head.jpg
    105.8 KB · Views: 197
  • head hidden.jpg
    head hidden.jpg
    100.2 KB · Views: 203
  • dinette arrangment.jpg
    dinette arrangment.jpg
    101.3 KB · Views: 205
Last edited:
I love that little dinette. I long for one on our Willy.
We'd loose prime storage space.
And there's always something more important.

The fwd corner wondows look like Peter's CHB 34.
 
Storage?? I am actually overloaded with storage space on this cruiser, including that dinette area. Every void will have something in it. Heck the seat tops extend under the covering boards giving me an open area for my SWMBO can store a readily available bird book.

I will have a hinged hatch on the step box. between the seats. The seats will end up with single shelves and hinged doors in the upright panels. I have yet to rough in the seat backs. But the forward seat back will do double duty for facing forward when its fully operational. I will have storage below decks with a hatch down the center line for canned goods.

Of course the forward cabin has storage under the bunks. And I will add enclosed cabinets under the covering boards in the forward cabin too. They will not be in the way of sitting upright on the bunks either. The more I think about it, I will probably end up with about the same amount of weight in gear and provisions as the entire boat weighs.

I am more than ready for a short cruise when the weather gets warmer. Just got to keep at it.
 
Very nice!
Higgins boats, PTs and D98 Mossies were all made of plywood.
What is your propulsion choice?
 
Looking great!
A trailer cruiser certainly has it's advantages. You are certainly making the most of the available space.
 
Well I finally got this picture stuff figured out. The hull is a glued plywood construction method with a touch of lap planking added to what would have been a slab sided finish. This unfinished build finishes off at 23' 7" and meets the requirement for towing at a beam of 8' 6". While its not going to be a floating condo like so many of the in water hulls, it will meet out needs with all the creature comforts of running water, shower and a composting toilet. I have patterned the back bulkhead, which is showing and have started to configure the cabin side window shape with some previous set ups to get all the proportions and spacing throughout the running length correct.

Pretty looking hull; What design is it?

I'm considering a trailer boat build too, and was looking at the glen-l tug boat designs which have the plumb bow the same as your build. I'm presuming its a planing hull; what sort of ob power are you going to fit?

Its going to be lovely boat. :)
 
I plan on using an outboard. Right now it looks like a Honda, either 60 hp or 90 hp, if I end up adding a lot more gear and rigging when I get the boat rigged the way I like it. The bottom is a planning bottom, with some added refinements along the chines that increases the ease of getting on plane.


The boat is my own design after I began by looking at the Bluejacket hull. But it was not wide enough and I did not want the higher profile while wanting the walk around too.


So I went on my own using some previous ideas from my own previous shallow water cruiser. I also had to deal with a limited sized work space and a fixed height on my door to boot. The length was also restricted while knowing how much room was required for the creature comforts.
 
Great job! Is that the trailer you plan on using?
 
No, the trailer is just a work trailer that's narrow enough to go inside the shed and allowed me to work on the sides and install the covering boards. It also allowed me to pull it outside to get the cabin proportions and profile like I wanted. I will use a tandem axle trailer that's another four feet longer and with brakes when I am to the point of launching.
 
No, the trailer is just a work trailer that's narrow enough to go inside the shed and allowed me to work on the sides and install the covering boards. It also allowed me to pull it outside to get the cabin proportions and profile like I wanted. I will use a tandem axle trailer that's another four feet longer and with brakes when I am to the point of launching.

Will you get in under 2 tons all up weight?
 
My last 24 with a 40 hp. Suzuki weighed 3000 on the trailer. I am anticipating this one to come out in and around 35 to 38 hundred ready to hit the water, fuel, engine . without extended cruising gear.
 
Well a few more bits and pieces as I make my way thru the galley setup. I built cooler seat from a fiberglass mold that I have for larger fishing hulls. I have a full two inch insulation around the entire unit and will have a fully insulated lift up lid. Under the cooler helm seat I will have my dry cell house batteries.

Behind the seat I will have a Isotherm 49 12 volt frig. Next to that going aft will be a section of galley drawers. Next will be a full door for access to the water tank fittings and plumbing and water pump behind a custom garbage can door.

I found some nice portholes on EBay for 36 bucks, tempered glass and a half inch of gasket. I have never seen that much on them. So hopefully they will seal completely as they age for a long time.

On the back deck I am in the process of building in a hull door for a side access to floating docks and my tender. The door will allow this old phart the ease to get off and on without all the extra climbing and a balancing act for both SWMBO and me.

Cheers..
 

Attachments

  • built in cooler seat.jpg
    built in cooler seat.jpg
    89.6 KB · Views: 139
  • foamed in cooler seat.jpg
    foamed in cooler seat.jpg
    106.7 KB · Views: 138
  • hull door.jpg
    hull door.jpg
    91.4 KB · Views: 144
  • opening porthole.jpg
    opening porthole.jpg
    89.6 KB · Views: 154
  • galley layout.jpg
    galley layout.jpg
    104.7 KB · Views: 154
Well the seat cooler is completed with the lid foamed and ready for barrier coating. My dinette is roughed in with its parts. I have a combo seating arrangement for the passenger seat using the front seat, which flips into notches of the seat base and will have slotted locking brackets mounted to the seat bases on both sides. The back seat will be rigid mounted in place and will not flip.

My galley drawers are all done. They will have wooden fronts and drop into their locations with sea notches at the base fronts.
 

Attachments

  • IMG_0740.jpg
    IMG_0740.jpg
    104.9 KB · Views: 141
  • dinette seats facing table.jpg
    dinette seats facing table.jpg
    99.8 KB · Views: 140
  • dinette seats facing foward.jpg
    dinette seats facing foward.jpg
    104.2 KB · Views: 147
  • IMG_0720.jpg
    IMG_0720.jpg
    113 KB · Views: 143
These shots shows the details. All the seat bases and backs will of course be trimmed out, with sumbrella covered cushions. The overhangs are needed to allow me to have the proper seating deminisions when facing both ways, with the seat back cushions in place. Having the brackets and supports outside the base also eliminates any restrictions for using the insides of the bases. Cheers
 

Attachments

  • aft dinette supports in place.jpg
    aft dinette supports in place.jpg
    102.8 KB · Views: 145
  • seat back supports.jpg
    seat back supports.jpg
    95.6 KB · Views: 138
Last edited:
Coming together nicely! Clearly a craftsman with a plan.

Ted
 
Thank you OC Diver. Hopefully things will get to be more interesting from the snail's pace that's been caused by the poor and cooler period of the year. .

Well it does not look like much progress, but its time consuming dry fitting and then removing and gluing back up. Then it takes a couple of days to dry before working around it for the trim.

One side is done and ready for window trimming. I will not install the glass until I get the cabin exterior sides done and the trim molding sanded , primed, and painted.

These veneers are Honduras mahogany, 1/4" x 3" wide, edges rounded over, then stained and varnished. This emulates the old style T& G planks without all the wood and added weight that goes with the thicker and solid planks.

I will do a final coat of semi gloss in them before the trimming is done. Then the trim will be painted, or that's the plan right now, unless I get some extra energy to do the same as the veneers..
 

Attachments

  • IMG_0770.jpg
    IMG_0770.jpg
    113.3 KB · Views: 137

Latest posts

Back
Top Bottom