foggysail
Guru
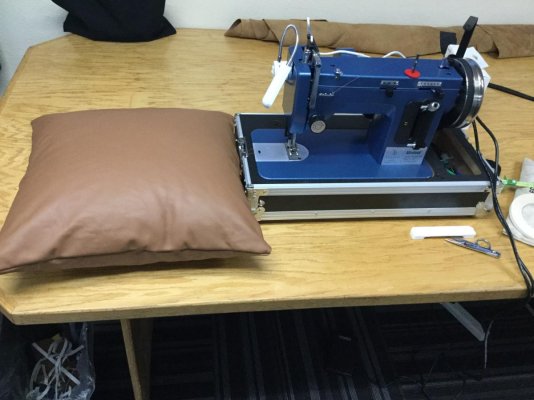
A large flat surface to do layout and lay pieces flat while sewing is really helpful...maybe essential...to doing a neat job. You might look for a location ashore to set up when doing lg pieces.
Another worthless comment
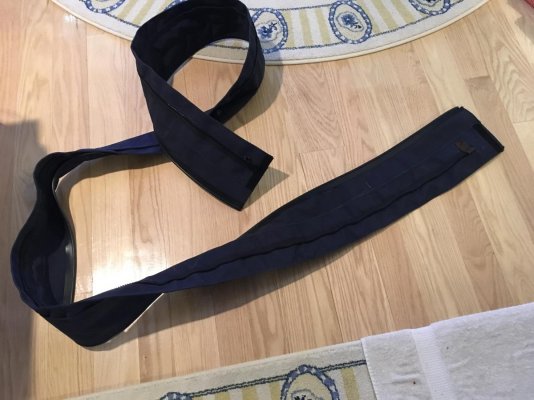
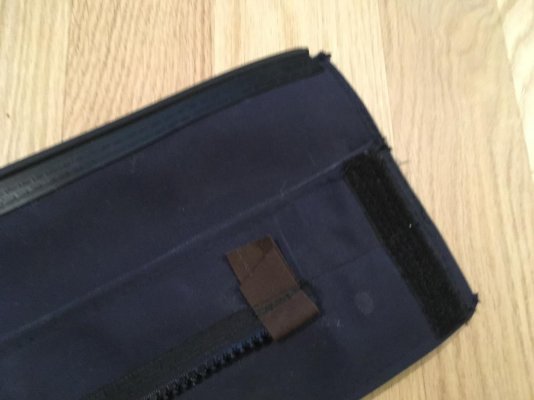
") , if you have the luxury of a large sewing surface, I highly recommend that you cover the top area with a decent bath towel. I have ruined vinyl pieces because of the table edges scrapping the poop out of the vinyl. I attached my towel with velco so it is easy to remove when not needed.
, if you have the luxury of a large sewing surface, I highly recommend that you cover the top area with a decent bath towel. I have ruined vinyl pieces because of the table edges scrapping the poop out of the vinyl. I attached my towel with velco so it is easy to remove when not needed.I first tried a cheap Wally World towel, works if you want to put up with the towel disposing thread loops as it unravels. Better to spend a little more for the towel.

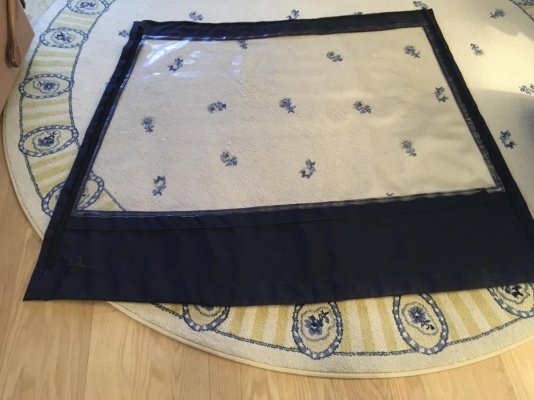

 You have to think in reverse, since you sew it inside out.