Krogen 42 Fuel Tank Replacement

The friendliest place on the web for anyone who enjoys boating.
If you have answers, please help by responding to the unanswered posts.
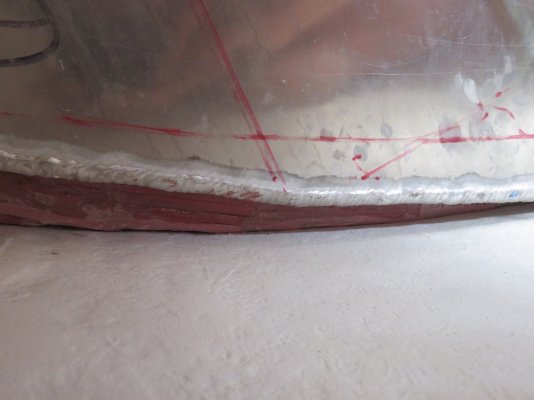
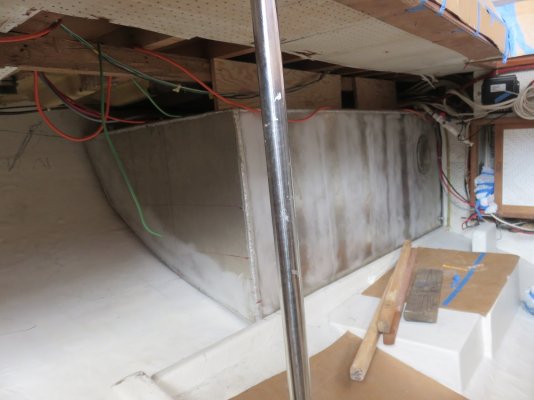
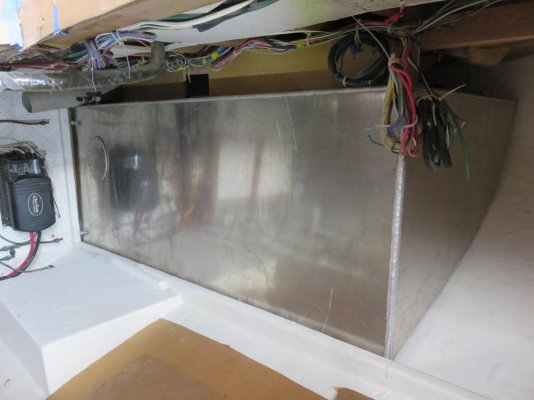
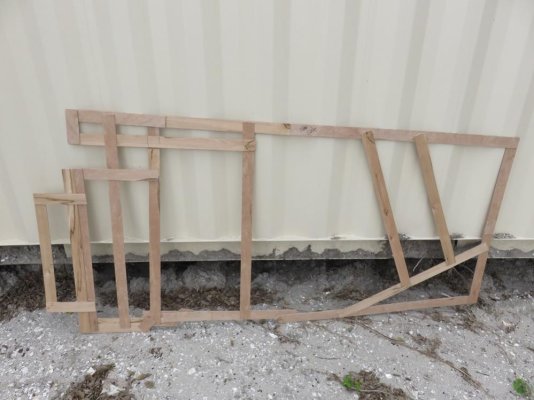
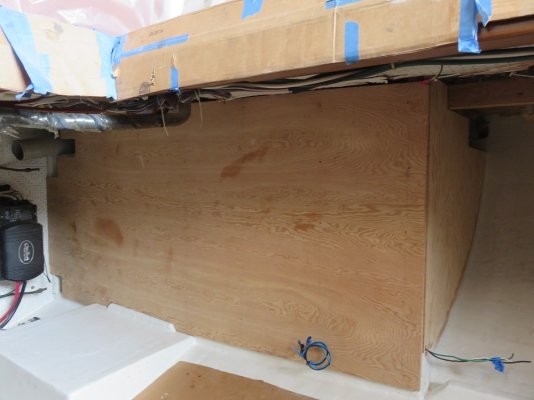
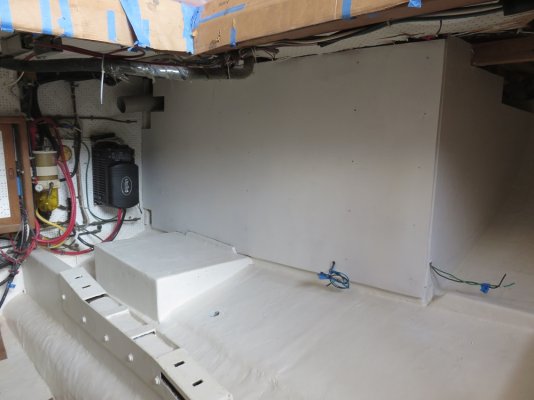
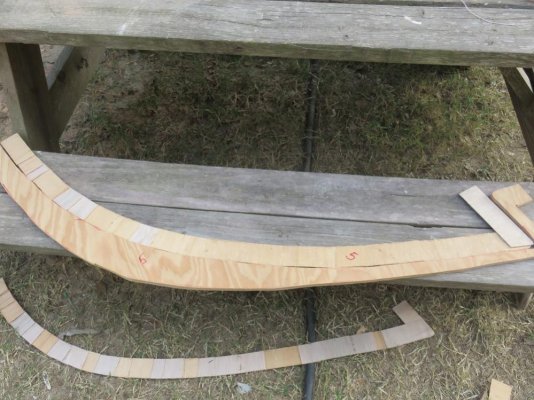
We installed the starboard tank and finished the exterior tank plywood today. I have no idea what builders used before there were hot glue guns to make templates. We got the front panel right on the first try. We'll install the perforated aluminum when we do the ceiling and have the port tank completed using the same templates.

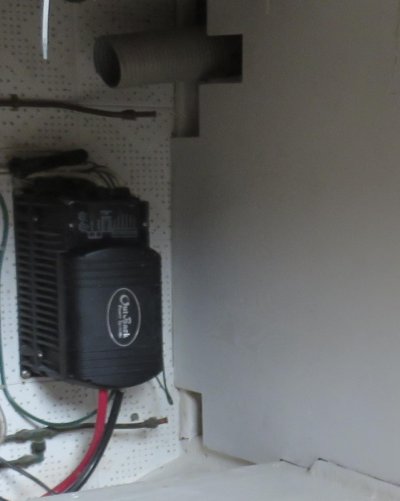
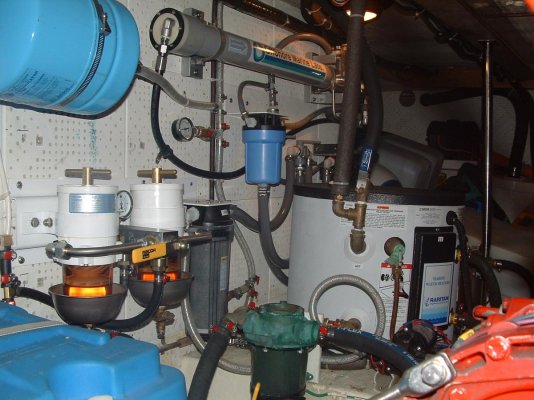
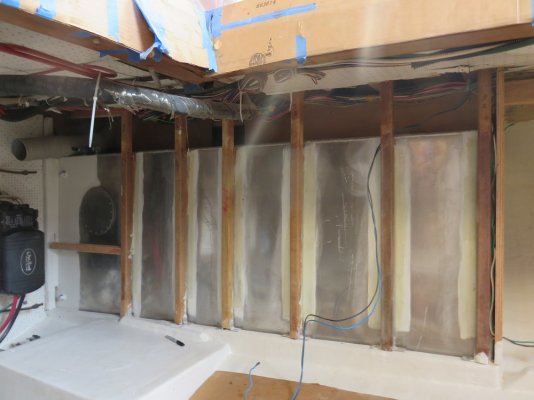
The engine room is getting smaller which is a good sign.
 

Attachments

  • a.jpg
    a.jpg
    66.5 KB · Views: 249
  • aaa.JPG
    aaa.JPG
    153.8 KB · Views: 205
  • b.JPG
    b.JPG
    182.7 KB · Views: 201
  • c.JPG
    c.JPG
    189.1 KB · Views: 208
  • cc.jpg
    cc.jpg
    112.3 KB · Views: 194
  • d.JPG
    d.JPG
    168.7 KB · Views: 209
  • dd.jpg
    dd.jpg
    79.2 KB · Views: 189
  • e.JPG
    e.JPG
    187.4 KB · Views: 191
  • f.JPG
    f.JPG
    163.7 KB · Views: 225
  • g.JPG
    g.JPG
    158.4 KB · Views: 216
We installed the port tank Wednesday morning and removed it Wednesday afternoon. It did not have enough contact points on the hull. How many are enough? I have no idea but there were 3' sections that had no contact. We used a bore scope and an 1/8” x 8' piece of fiberglass to check the contact at the bottom and radius against the hull.


With the tank back on the ground, we made templates of the hull contour, transferred those to plywood and and laid those on the tank. The tank was off as much as an inch in several areas. We called the tank manufacturer to verify dimensions. It looks like they mirrored the original tank (minus the 22” we cut off) and that it, the original tank, was a poor fit from day one. This may also help explain why this tank was 15 gallons smaller than the starboard tank.


With the templates, we laid up some GPO3, ¼” and 1/8” strips with epoxy to build up the exterior of the tank. We then faired the GPO3 so it would slide against the hull during the re-installation. We don't have to worry about the tank making contact with the hull now. Lots of air space. When the tank goes back in on Tuesday, it should fit as it was originally designed.
 

Attachments

  • 1.jpg
    1.jpg
    187.6 KB · Views: 167
  • 1a.jpg
    1a.jpg
    123 KB · Views: 177
  • 2.jpg
    2.jpg
    72.8 KB · Views: 169
  • 4.jpg
    4.jpg
    78.6 KB · Views: 172
  • 6.jpg
    6.jpg
    72.1 KB · Views: 182
  • 7.jpg
    7.jpg
    130.2 KB · Views: 167
Larry.... Did you have enough material? Need me to get some more down to you?
 
Larry, sort of owe you an apology for not stopping by. Been at Ortega River Marina for several days (had a commitment in Lake City), and didn't call or stop by to offer supervisory assistance or incredible insight. :rolleyes: When I was doing my boat, the last thing I wanted was a peanut gallery telling me how they thought I should do it. Hope the project stays on track and you will forgive my poor manners.

Ted
 
Don't block the sight glass with that wall...

Scott: Thanks for checking. We dry fitted everything before hand and checked again this morning. I'm hooking up the old fuel system as is, with the sight tubes and we'll plan the new system later. All's good on the starboard side. Now I just have to cut a new hole in the side deck for the new 2" tank fill. Measure, measure, measure and drill once. One more pucker factor task. :)
 

Attachments

  • IMG_0019.jpg
    IMG_0019.jpg
    78.2 KB · Views: 155
Larry.... Did you have enough material? Need me to get some more down to you?

Mark: Thanks but we're good. I used all but 2 strips of the 1/8" you sent me and 80% of the 24"x48" sheet of the 1/4" I had. You're right, the stuff is brutal on saw blades. My carbide blade on the table saw might be ready for the dump.
 
Larry, sort of owe you an apology for not stopping by. Been at Ortega River Marina for several days (had a commitment in Lake City), and didn't call or stop by to offer supervisory assistance or incredible insight. :rolleyes: When I was doing my boat, the last thing I wanted was a peanut gallery telling me how they thought I should do it. Hope the project stays on track and you will forgive my poor manners.

Ted

Ted: We had a few moments there when we could have used some 'incredible insight' - or at least someone to share a cry-in-your-beer moment! We'll have to discuss this oversight on your part further in person in Ft Pierce. Sorry we missed you.
 
Greetings,
Mr. LM. Just curious. Why are you boxing in the tanks with the plywood panels? Esthetics? Noise?
 
Ted: We had a few moments there when we could have used some 'incredible insight' - or at least someone to share a cry-in-your-beer moment! We'll have to discuss this oversight on your part further in person in Ft Pierce. Sorry we missed you.

Guess the first round is on me in Ft. Pierce. :blush:

Ted
 
Greetings,
Mr. LM. Just curious. Why are you boxing in the tanks with the plywood panels? Esthetics? Noise?

RT: I know, I hated to cover up those new tanks but I need the area for the mounting of systems. With the shorter tanks, the water heater will go at the aft end. All the other stuff will go back on the wall as it was. Here's a picture before I started of the starboard side looking aft.
 

Attachments

  • 1.jpg
    1.jpg
    152.7 KB · Views: 83
:popcorn: This popcorn is delicious. Thanks Al.
 
Here, Dave...try it with this IPA! One of our local brews.

track-7-panic-ipa.jpg
 
Larry: Having that original tank so far out of spec is concerning. I mean...I know there's a bit of difference in every boat, but that kind of difference sure could explain why I haven't heard of a single tank job that fit as expected, even when done by copying that original tanks. What you're doing should take care of it, but If not to your satisfaction, what about expanding foam?
 
Larry: Having that original tank so far out of spec is concerning. I mean...I know there's a bit of difference in every boat, but that kind of difference sure could explain why I haven't heard of a single tank job that fit as expected, even when done by copying that original tanks. What you're doing should take care of it, but If not to your satisfaction, what about expanding foam?

Expanding foam is a no, no.
 
Larry: Having that original tank so far out of spec is concerning. I mean...I know there's a bit of difference in every boat, but that kind of difference sure could explain why I haven't heard of a single tank job that fit as expected, even when done by copying that original tanks. What you're doing should take care of it, but If not to your satisfaction, what about expanding foam?

If the CPO3 doesn't work, I'll take many ball size dollops of slow cure thickened putty. Place those against the hull then put the tank back. I'll wax the CPO3 first just in case the tank every has to be removed again. This would be the absolute last ditch effort. :eek:

Expanding foam is a no, no.

:thumb::thumb::thumb:

Why? Does it hold moisture?

No foam for Hobo. It traps/holds moisture against the tank. Foamed-in-tanks was a regular installation practice, years ago, with more failures than successes. We replaced the tanks on our sailboat in 1997. The boat was a 1981 and foam was the reason the tanks rusted out. Water was trapped on the bottom and couldn't dry out
 
Incredible work, Larry. This is my nightmare job but you're demonstrating that it's doable.

Forgive another armchair quarterback question. If, God forbid, you got substantial water behind or under the tanks, how would it get past the stringer at the base? Will you drill limber holes or is there another way to keep water from collecting at the base? Or maybe standing water evaporates quickly enough and the only concern would be soaked material in prolonged contact with the tanks, which you have eliminated with the GPO3? Just trying to understand.

 
Incredible work, Larry. This is my nightmare job but you're demonstrating that it's doable.

Forgive another armchair quarterback question. If, God forbid, you got substantial water behind or under the tanks, how would it get past the stringer at the base? Will you drill limber holes or is there another way to keep water from collecting at the base? Or maybe standing water evaporates quickly enough and the only concern would be soaked material in prolonged contact with the tanks, which you have eliminated with the GPO3? ...

Thanks for the support. Believe me, it's always welcome and helps when things go a bit south. :) And don't worry about the questions. They keep me on my toes. :D

If/when water gets behind the tanks, it will run down to the stringer and run toward the 2 limber holes forward. The holes are just under the nipple. There is at least a 1/2" trough the entire length and I can inspect it by the limber holes. And yes the GPO3 does not absorb water.
 

Attachments

  • IMG_0004.jpg
    IMG_0004.jpg
    95.4 KB · Views: 177
We have contact! :dance:
 

Attachments

  • IMG_0009a.jpg
    IMG_0009a.jpg
    166.8 KB · Views: 198
  • IMG_0017a.jpg
    IMG_0017a.jpg
    134 KB · Views: 175
  • IMG_0018a.jpg
    IMG_0018a.jpg
    166.6 KB · Views: 179
  • IMG_0028a.jpg
    IMG_0028a.jpg
    172.6 KB · Views: 196
Back
Top Bottom