Peter B wrote:
Fotoman wrote:
Thanks for the comments. I used a
cover stain primer (a suggestion from Marin if I remember correctly). Simple to apply and very cheap (less than $20 a gallon at Lowes). It will stick on pretty much any surface without sanding and it dries pretty fast.
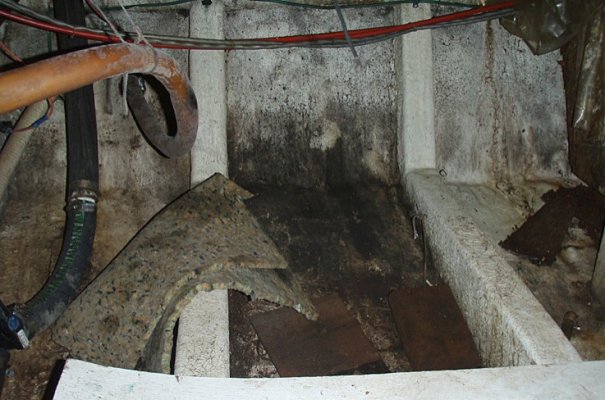
Nothing special to clean. Just water, bleach, Comet, pine cleaner and a lot of elbow grease.
The PO was about 70 years old. I'm guessing he didn't feel like doing hard core yoga to clean the bilge. I'm 40 and in great shape and that was one of the hardest job I ever had to do on a boat.
I'm not sure what to do about the tiles just yet. I saw some similar ones at the hardware store.
-- Edited by Fotoman on Tuesday 1st of June 2010 11:50:17 AM