sbu22
Guru
- Joined
- Mar 16, 2011
- Messages
- 1,253
- Location
- US
- Vessel Name
- Panache
- Vessel Make
- Viking 43 Double Cabin '76
I have benefitted for years from TFers that have posted their projects. This is a relatively minor improvement project, run on a budget, that may constitute a little help to someone.
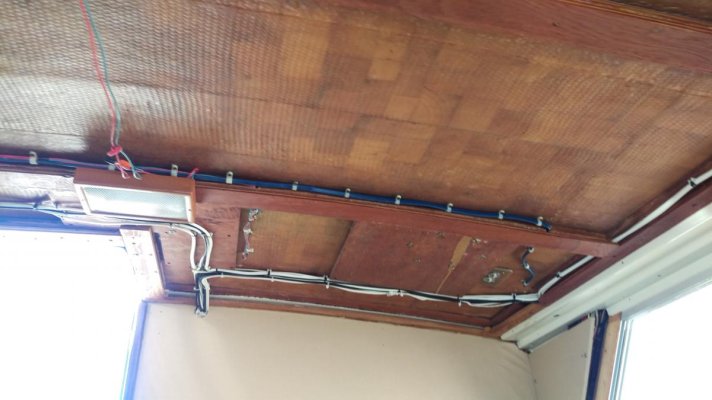
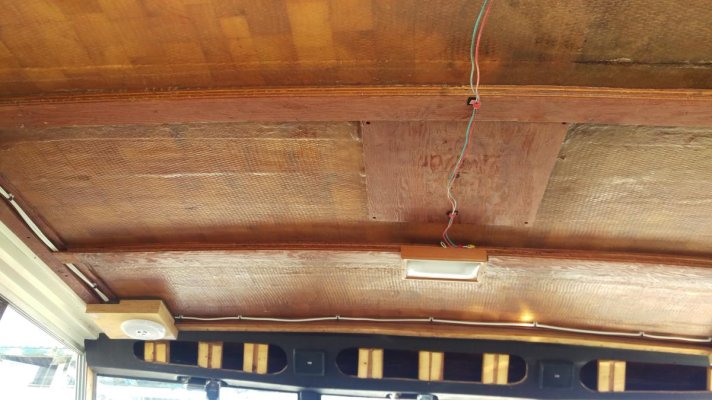
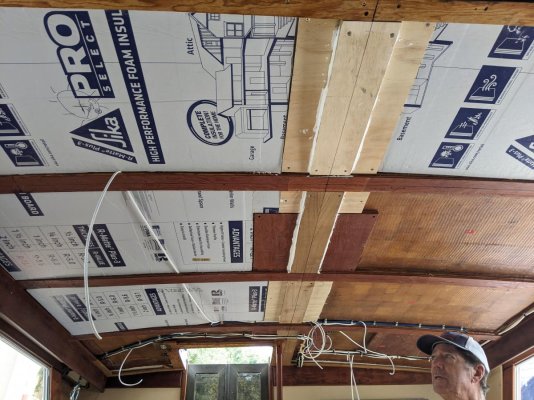
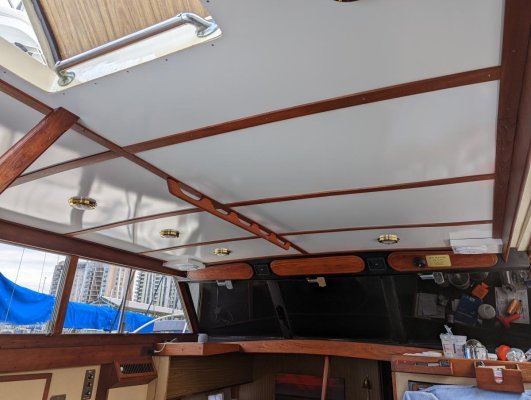
This project started with the addition of a Garmin chart plotter/radar installation. I added a mast (I just don’t like radar arches for no particular good reason) aft of the saloon for the radar. This resulted in needing wire runs through the saloon overhead to the flybridge. The original fabric headliner, still in good shape, needed to be removed to accommodate the wire runs. 28,000 staples later, it was removed, leaving this:
This project started with the addition of a Garmin chart plotter/radar installation. I added a mast (I just don’t like radar arches for no particular good reason) aft of the saloon for the radar. This resulted in needing wire runs through the saloon overhead to the flybridge. The original fabric headliner, still in good shape, needed to be removed to accommodate the wire runs. 28,000 staples later, it was removed, leaving this:


")
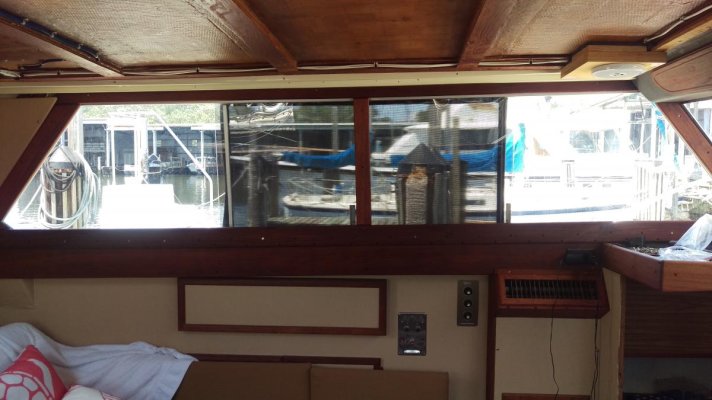
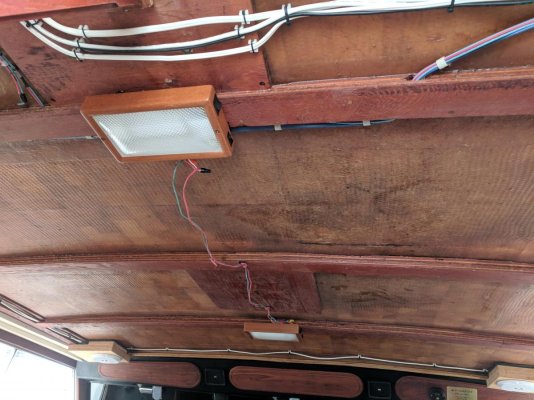
 ) It looks like a bead board and has different pattern spacing one each side.