JD5652
Veteran Member
- Joined
- Feb 20, 2019
- Messages
- 90
- Location
- USA
- Vessel Name
- Miss Maggie
- Vessel Make
- 1976 Hatteras 58 LRC
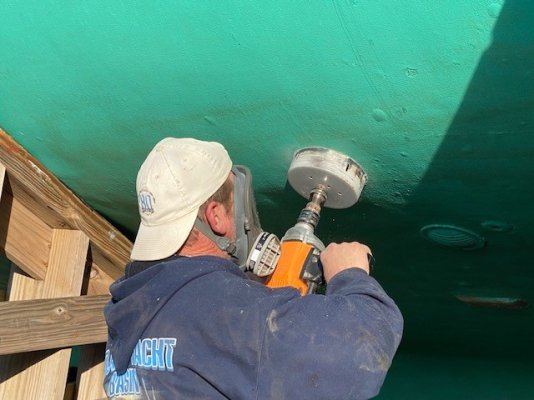
This thread will document installation of a NIAID Stabilizer System in a 1976 Hatteras 58 Long Range Cruiser.
I chose the NIAID system for multiple reasons:
- History and Reputation of the System and Company
- Tried and True Technology
- Worldwide Support for Maintenance and Support
- Comparable Price of Other Systems
- USA Engineered and Manufactured System
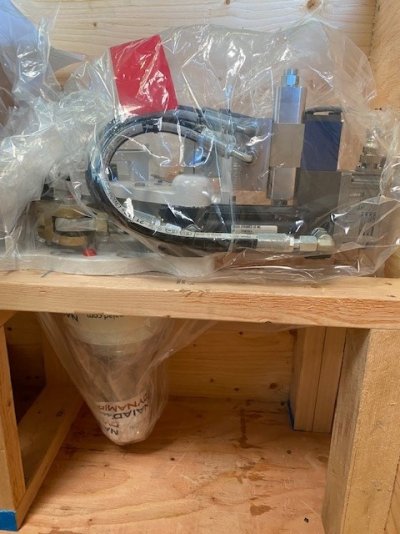
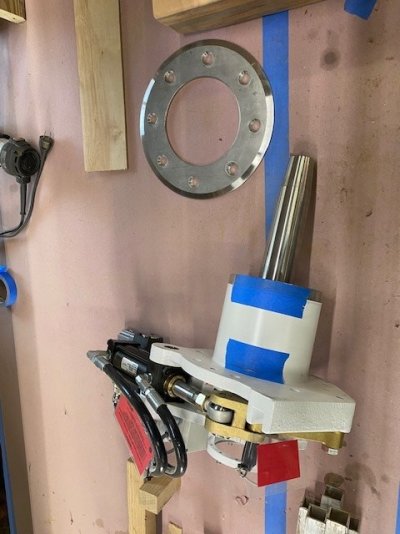
The system consists of the following Major Components:
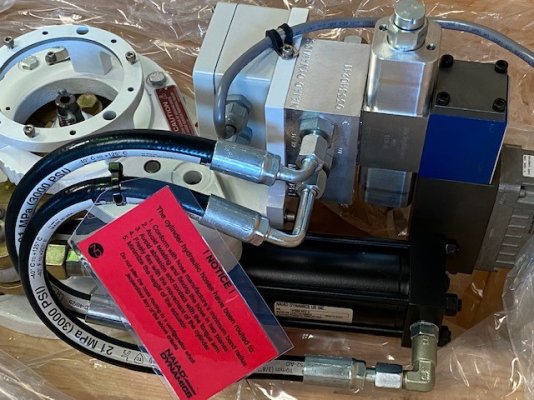
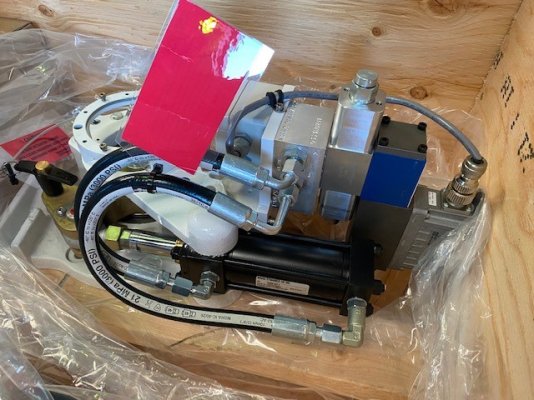
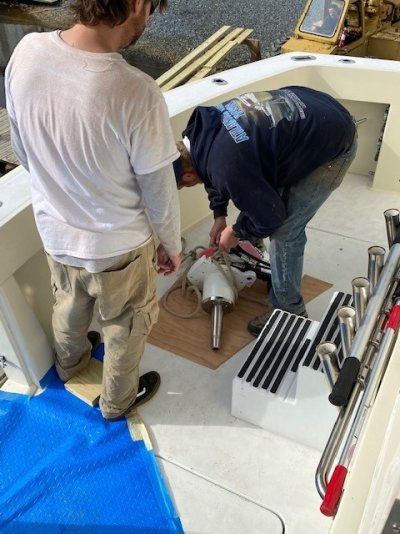
- Model 252 Electro-Hydraulic Actuator
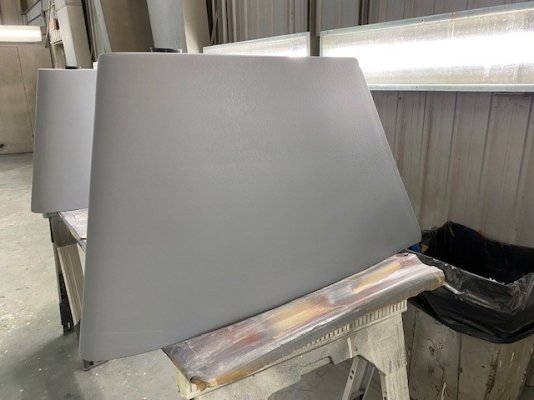
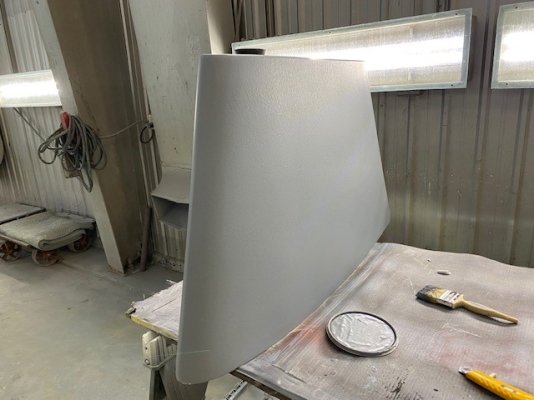
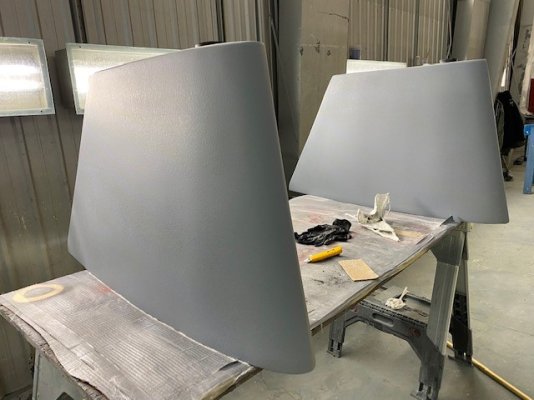
- 6 Sq Ft Fins
- Oil reservoir with Integrated Heat Exchanger'
- Engine/Gear Driven Oil Pump
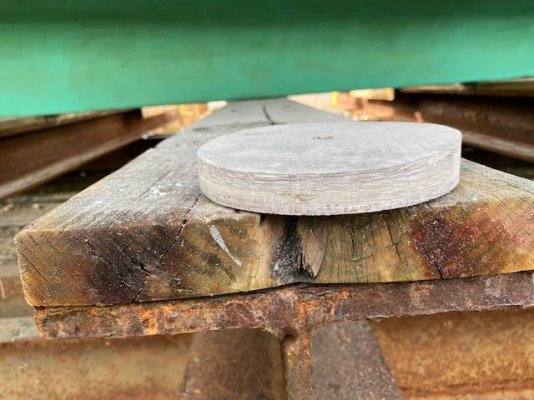
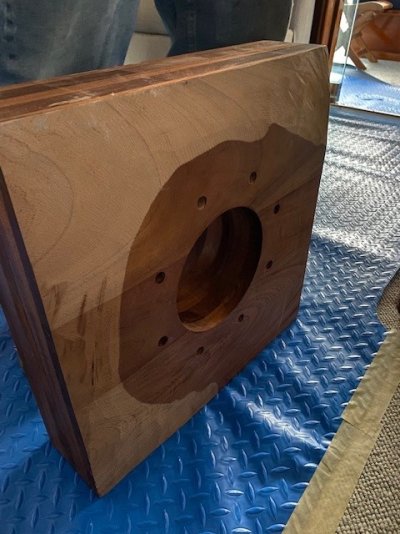
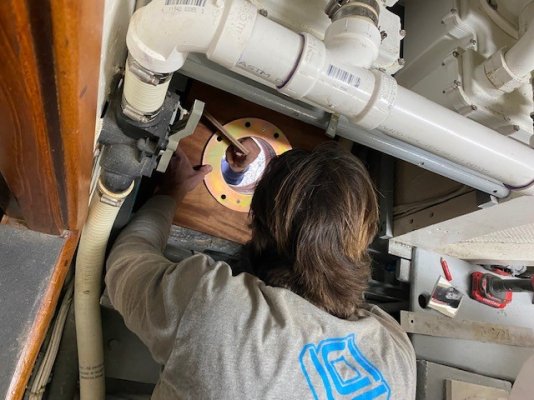
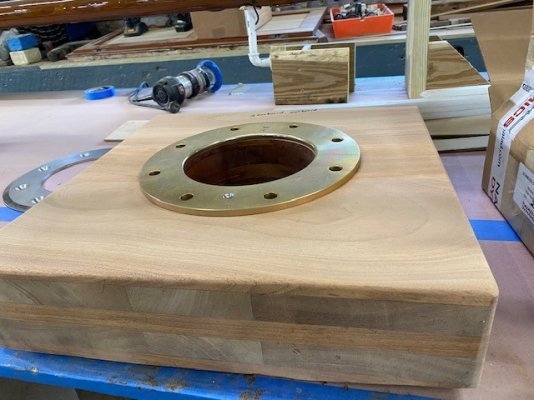
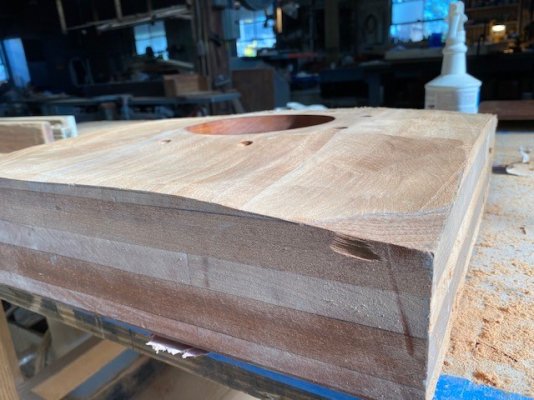
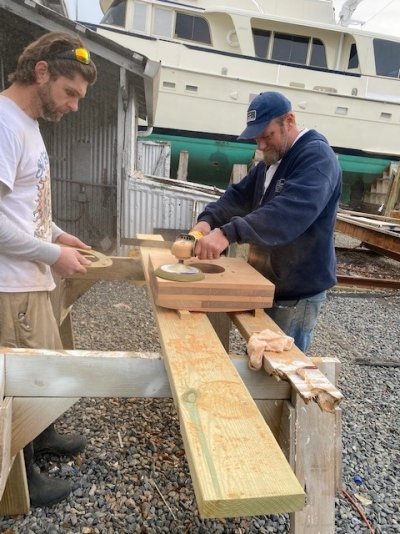
- 18" x 18" x 5" Mahogany Hull Reinforcing Blocks
- Center Lock Control Valve
- DC-DC Converter (10-36 VDC input - 24 VDC Output)
- Multi Sea Controller
https://www.naiad.com/wp-content/uploads/2020/07/Product-Flyer-162-302.pdf
https://pdf.nauticexpo.com/pdf/naiad-dynamics/multisea-ii-stabilizer-control-system/25361-15823.html
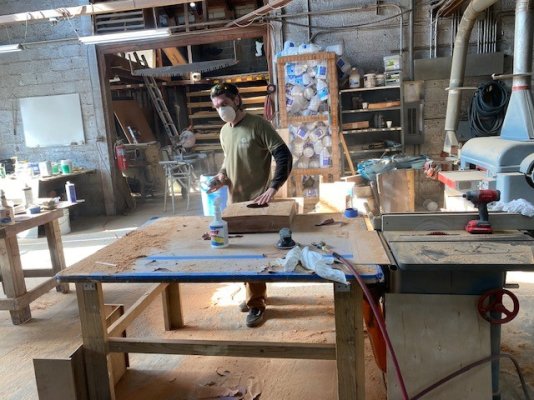
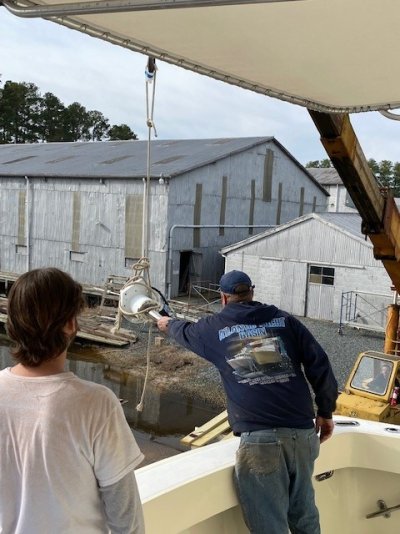
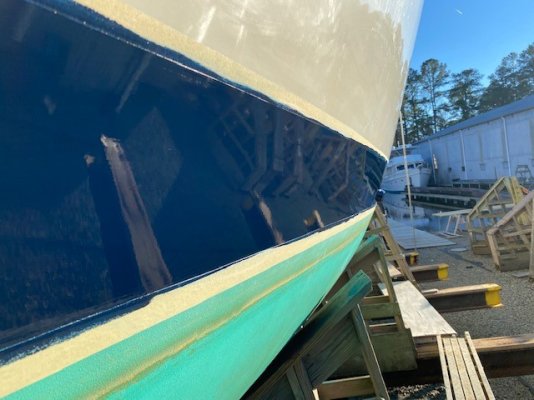
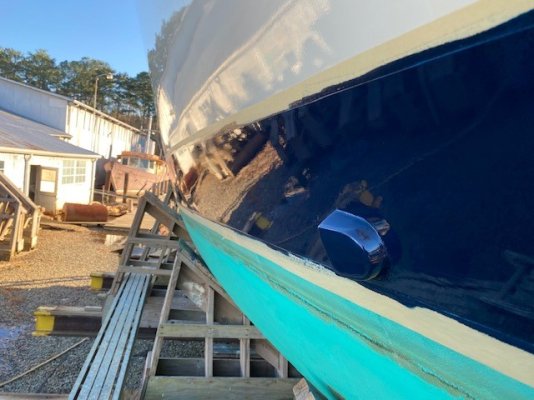
System install began on Tuesday 1/13/22 at Atlantic Yacht Basin. They will be performing the complete install.
This is the initial thread and I will post up progress and it goes along.
I chose the NIAID system for multiple reasons:
- History and Reputation of the System and Company
- Tried and True Technology
- Worldwide Support for Maintenance and Support
- Comparable Price of Other Systems
- USA Engineered and Manufactured System
The system consists of the following Major Components:
- Model 252 Electro-Hydraulic Actuator
- 6 Sq Ft Fins
- Oil reservoir with Integrated Heat Exchanger'
- Engine/Gear Driven Oil Pump
- 18" x 18" x 5" Mahogany Hull Reinforcing Blocks
- Center Lock Control Valve
- DC-DC Converter (10-36 VDC input - 24 VDC Output)
- Multi Sea Controller
https://www.naiad.com/wp-content/uploads/2020/07/Product-Flyer-162-302.pdf
https://pdf.nauticexpo.com/pdf/naiad-dynamics/multisea-ii-stabilizer-control-system/25361-15823.html
System install began on Tuesday 1/13/22 at Atlantic Yacht Basin. They will be performing the complete install.
This is the initial thread and I will post up progress and it goes along.
Attachments
-
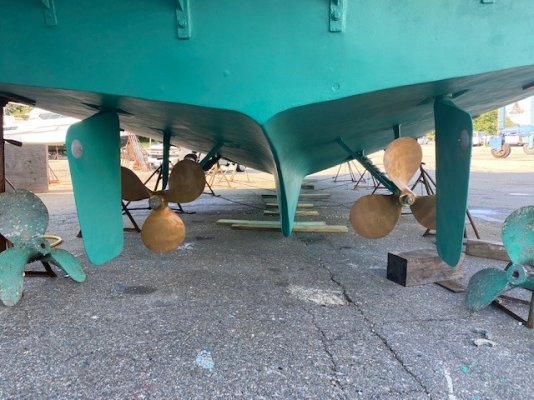
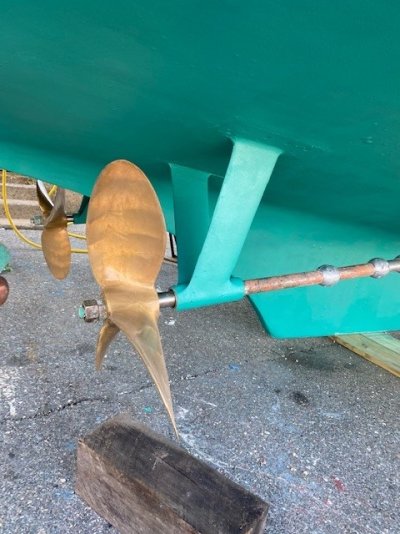
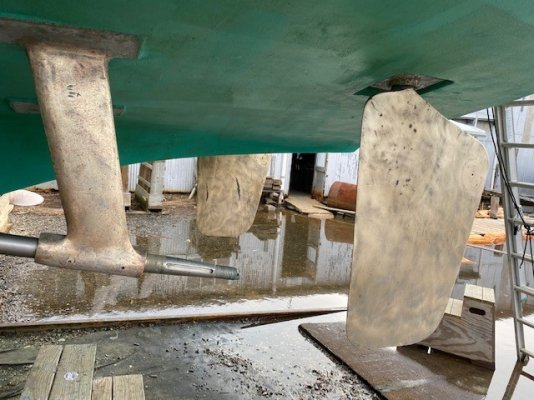
 Railway 01.jpg90.9 KB · Views: 62
 -
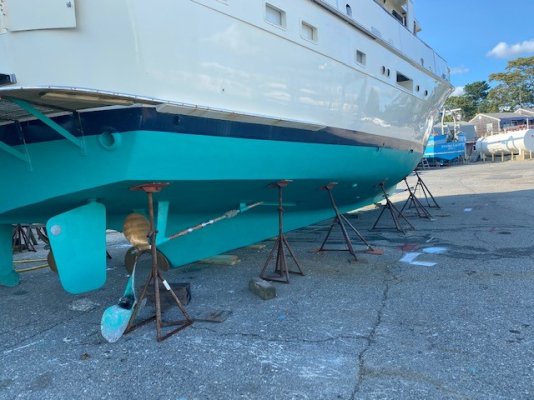
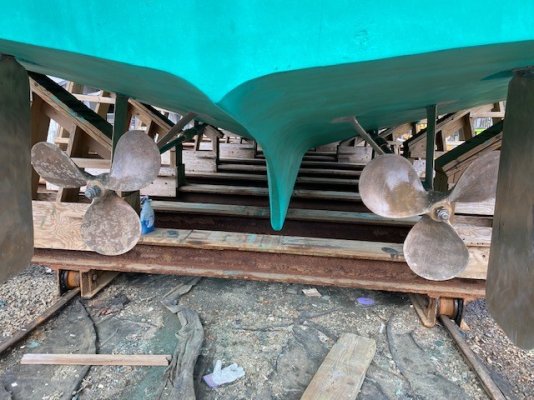
 Railway 02.jpg93.3 KB · Views: 59
 -
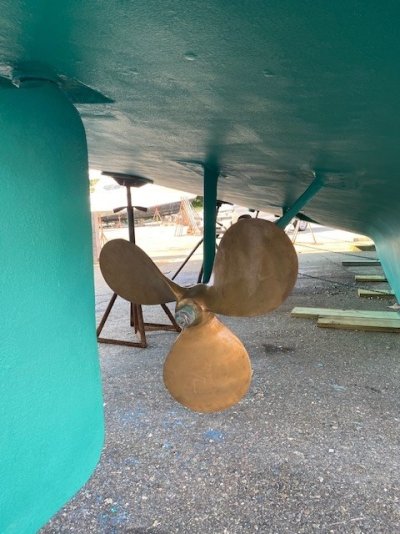
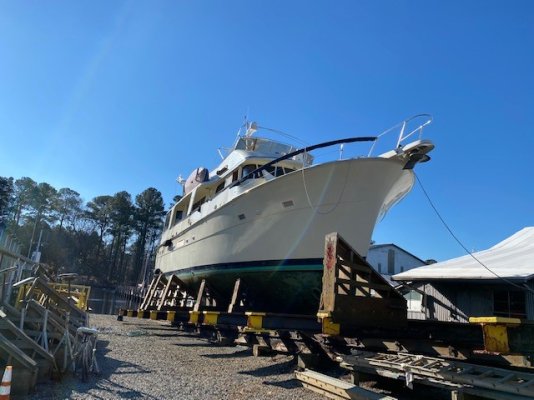 Railway 03.jpg80.2 KB · Views: 49
 -
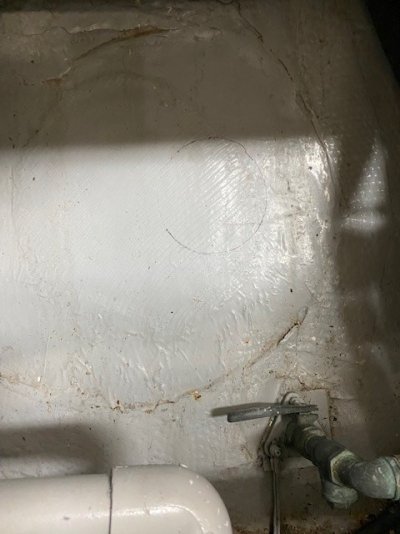
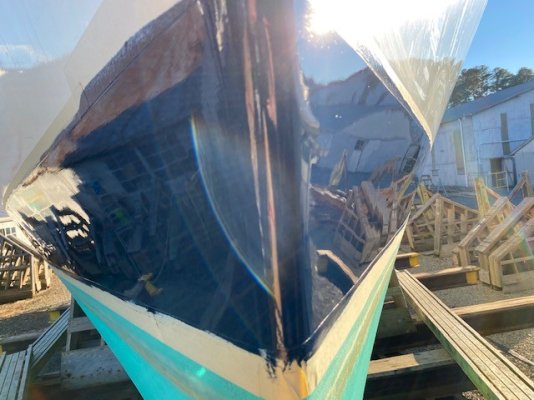
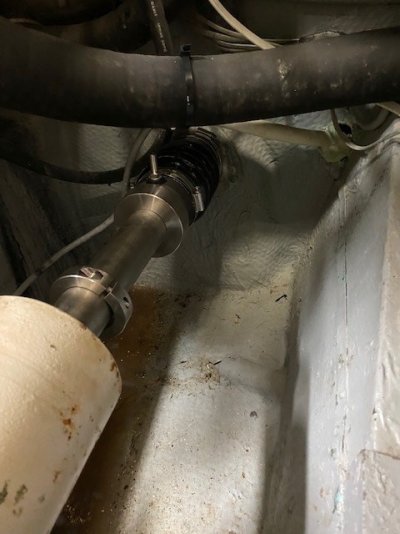
 Hull Hole Port Inside.jpg86.7 KB · Views: 50
 -
 Hull Hole Port.jpg100.9 KB · Views: 47
 -
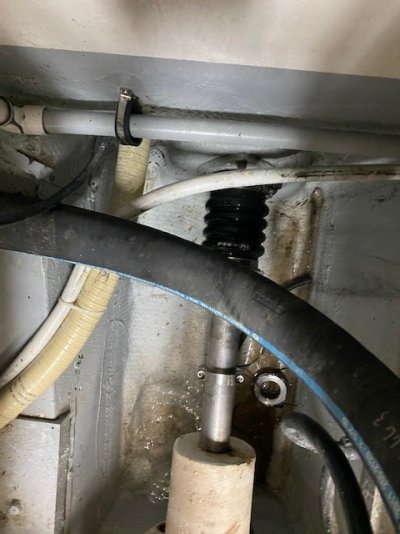
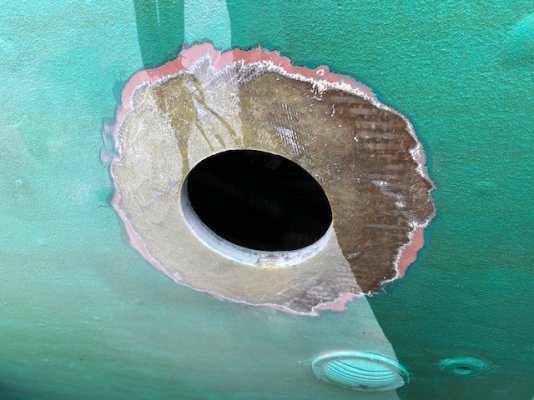 Hull Hole Stbd.jpg100.3 KB · Views: 51
 -
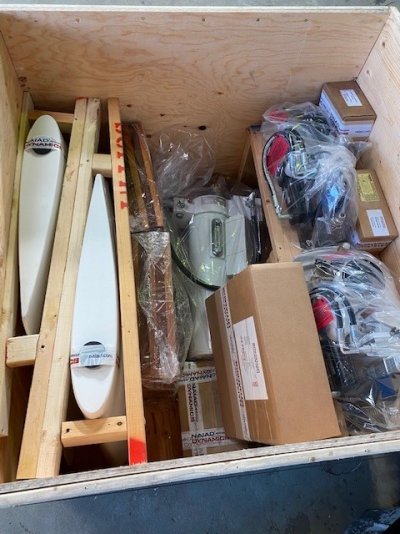 Stabilizer Crate Parts Overall 05.jpg102.5 KB · Views: 48
 -
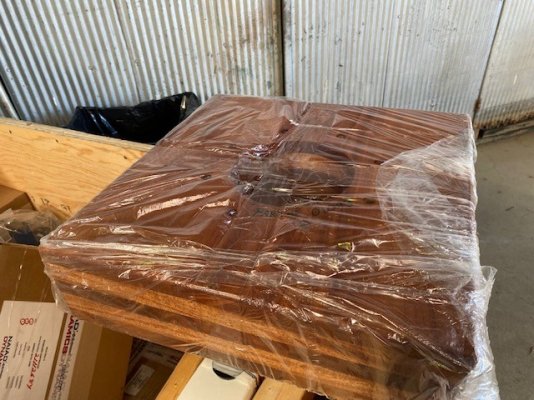 Stabilizer Crate Parts Support Block 04.jpg113.4 KB · Views: 49
 -
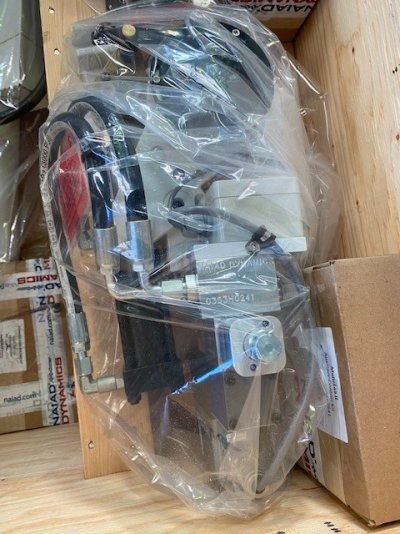 Stabilizer Crate Parts 01.jpg110.4 KB · Views: 47
 -
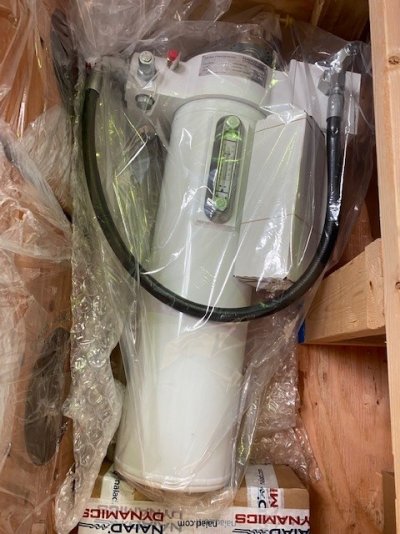 Stabilizer Crate Parts Oil Reservoir 03.jpg102.1 KB · Views: 47
Last edited: