Comodave
Moderator Emeritus
- Joined
- Jul 2, 2015
- Messages
- 21,284
- Location
- Au Gres, MI
- Vessel Name
- Black Dog
- Vessel Make
- Formula 41PC
Nicely done.
I think I am going to do this over the winter. A couple questions:
-To confirm, you used the Flexa Marine Vinyl Fabric?
-Did you use the existing pieces as a pattern to cut the new strips ahead of time? If not, how did you trim to size?
Thanks and nice job!
@Newtrawlerowner, when you had the headliner open did you think about adding some insulation up there?
@jefndeb, definitely looks like that water drip has some minerals or salt in it. Check what's above it or where it can be traveling from.
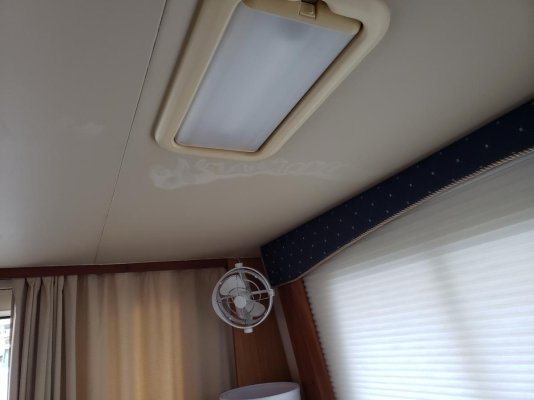
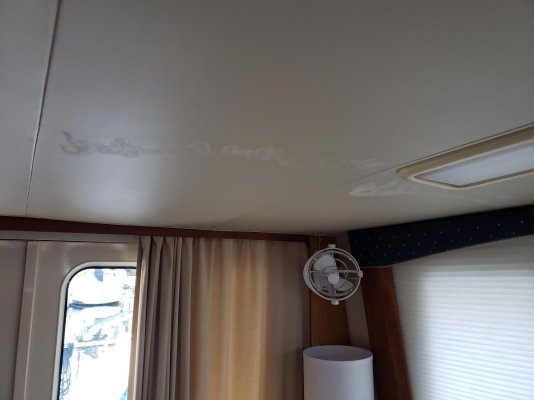
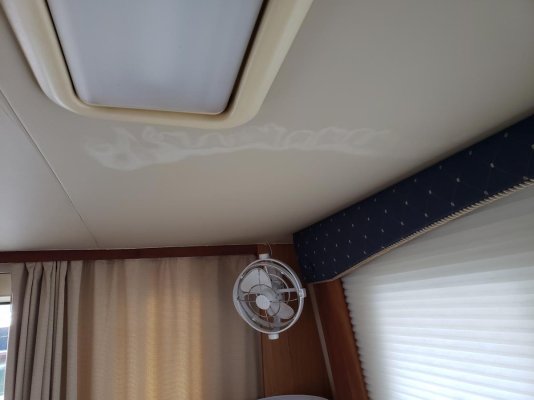
Speaking of headliners.....Anybody have an idea as to what might be causing this issue with our Mainship 400 headliner?
Its kinda like the material got a chemical or something on it but it hasn't been touched.
Its getting worse over time it seems...might have to do what was done here.....
I didn't. I would suggest against that. When I purchased this boat there were several water leaks from the fly-bridge that i finally tracked down and sealed. Insulation would have held the water and probably created some serious mold issues.
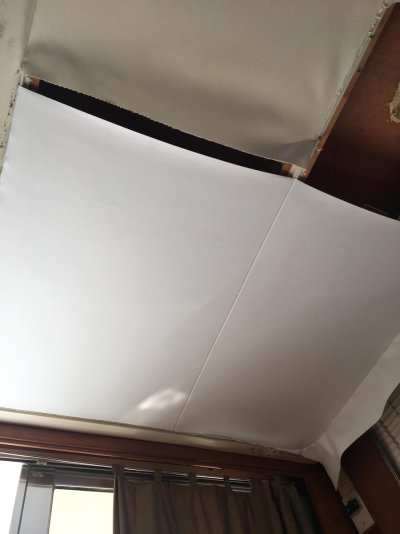
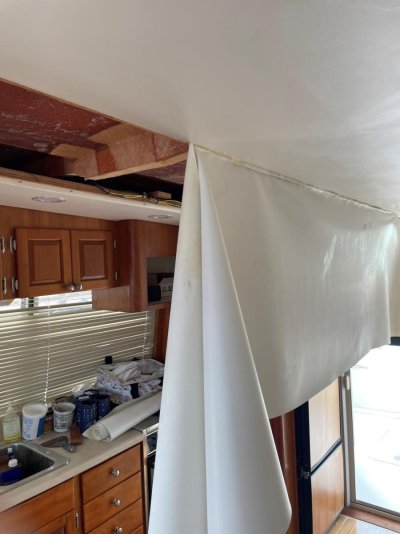
Well, there's no turning back now. Removed the ceiling lights and the window valence to clear the way for the new install. Need to remove the blinds as well. Pulled down the two strips to the port side to see what I am dealing with and I think the rest of the job will go well. I think I am going to use the old pieces as a pattern to cut the new pieces. I think Newtrawlerowner used the new vinyl in it's full width but I am thinking it will be easier to work with with the more narrow strips. That's the way the factory did it.
It's really not that hard of a job and I was worried about it so thanks to NTO for being the pioneer and posting the excellent descriptions.
I found in my local Target these OXO cake knives which I think will be just the ticket to tuck in the curves around the cabinet.
I didn't. I would suggest against that. When I purchased this boat there were several water leaks from the fly-bridge that i finally tracked down and sealed. Insulation would have held the water and probably created some serious mold issues.
You did a wonderful job with your headliner replacement.
However regarding to your statement, I totally disagree. The job of insulation is to make your boat more comfortable against outside temperatures. The job of the flybridge is to keep the water out. The job of the owner is to seal leaks in the flybridge.
We certainly don’t NOT insulate boats and houses because we’re afraid that there may be a leak one day that will cause mold to grow.
Looking good so far Gary! Please keep us updated as your project progresses.
Are you going to switch out the lights? Also, did you stick with a cream color or change to white?
Thanks,
Doug
Do you recall specifically where your leaks were coming from? When you took off the headliner were they pretty obvious?
Thanks,
Doug
The overall length is 15 feet so you'll need 10 yards of material. About $70 plus shipping.
As it turning out that each run should be done individually, is the material required estimate still good?
Thanks....
Skip
Tampa
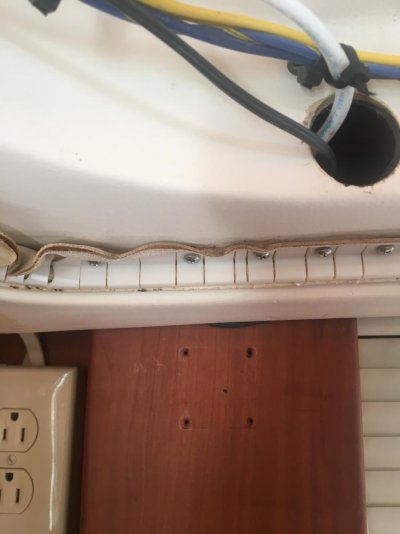
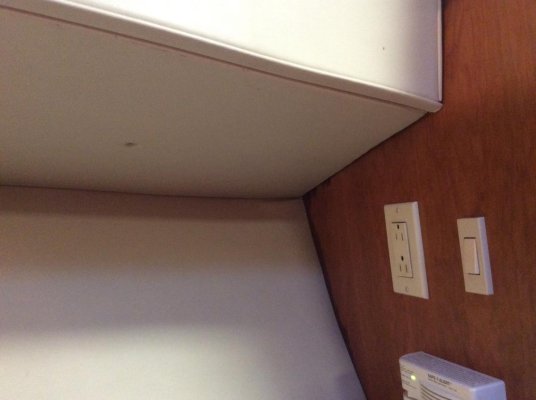
Does anyone know how to remove the headliner under the deck walkway in the main stateroom? You know, around the perimeter of the bow where there is a walkway which creates a lower ceiling in the stateroom. There are screws at the end of each “panel” and it appears that if you remove the screws, the panel will come down, but it’s not coming down easily and I don’t want to force it and break it. I don’t think the track method is used here, the seem like panels with vinyl attached. Kind of seems like the vinyl from the lower bow sidewall wraps up and is stapled to the top of the removable panel
I am in the process of replacing all vinyl in v- berth now.
Those panels are held in place by the vinyl pushed into a track that is screwed into the face of the panel AND 1or 2 screws at the forward end of each panel.
I found that when they built the boat, they stapled the vinyl and foam to the topside of this panel, then pushed it into place and screwed as I just described.
Removing it will require cutting the vinyl and foam.
BTW there is almost no way of removing that panel without replacing the vinyl and foam on the hull.
Neither are glued down. I’ll post in-process pictures so you can see what I did.
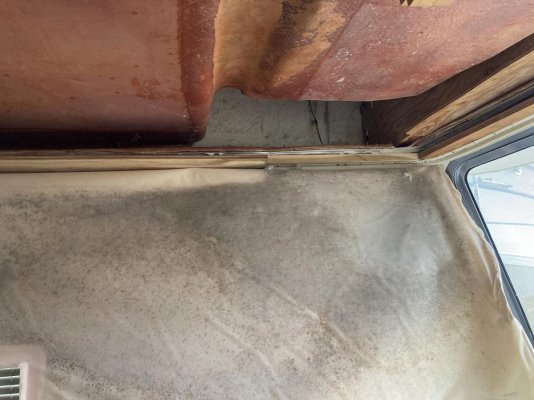
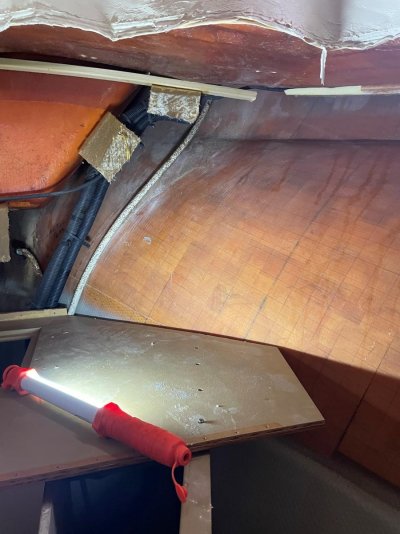
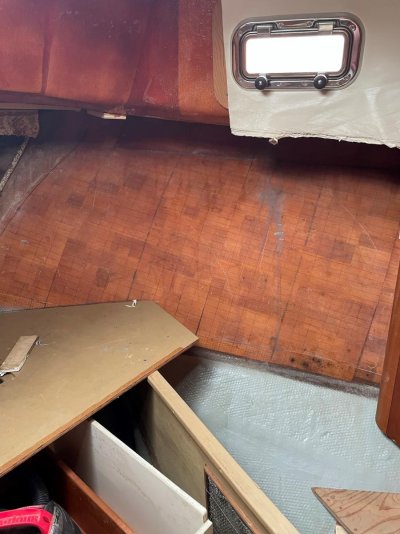
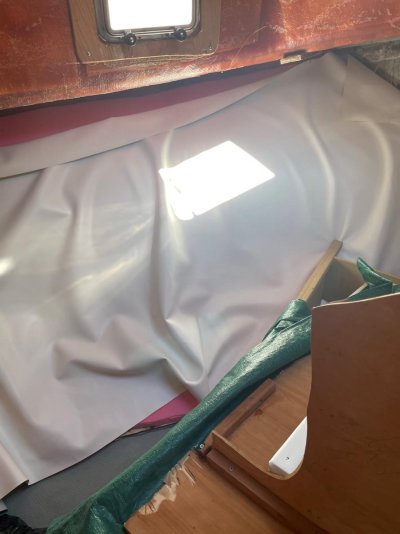
Thanks, it would be much appreciated. I really hope we don’t have to cut the vinyl and foam and replace the vinyl on the hull! Is it possible that we can leave it attached on the outboard side and hinge it down so we can access the area? We have a leak I suspect is coming in from the rubrail. You can see it on the wood in the right side of my picture, up in the back corner under the vinyl

You probably can remove the panel without the vinyl and foam, but I don't know how you will be able to see anything. You will also more than likely damage the vertical vinyl panel between the lower wood piece and the upper headliner. In my case I was planning on replacing so I didn't need to be too careful and the vinyl was old and tore pretty easily. Not so when the foam is with it.
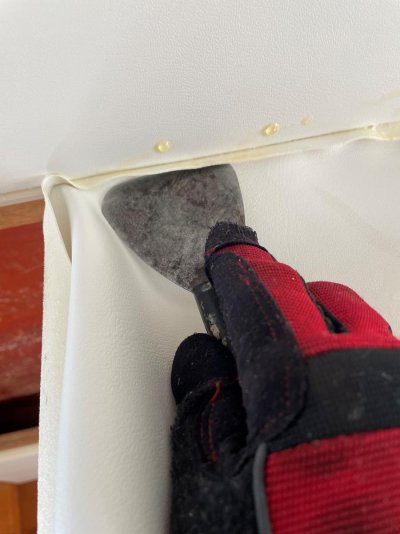
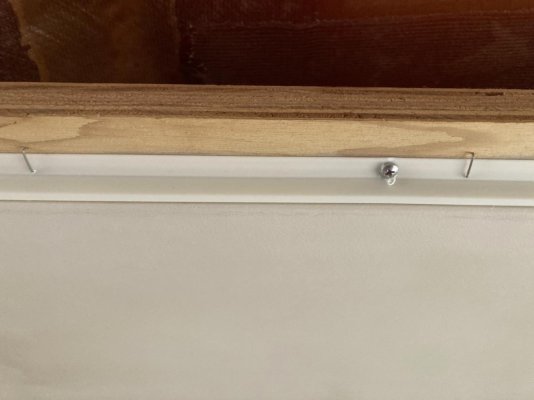
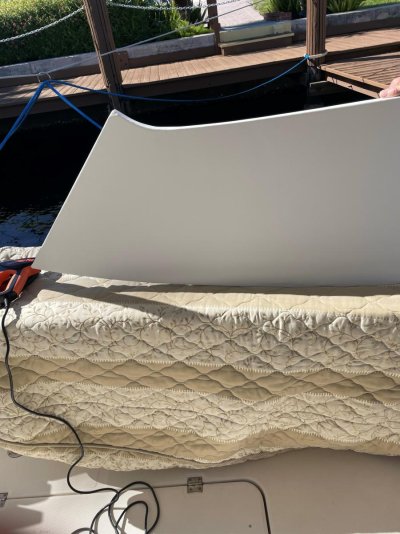
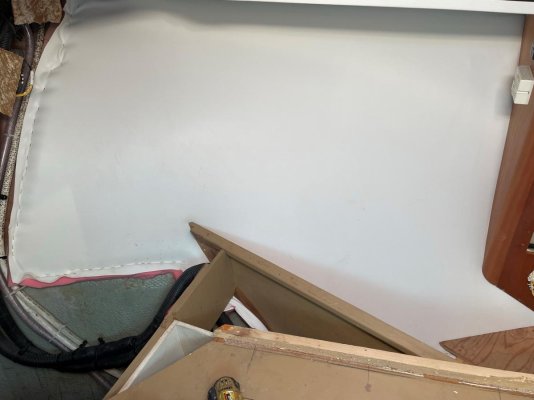
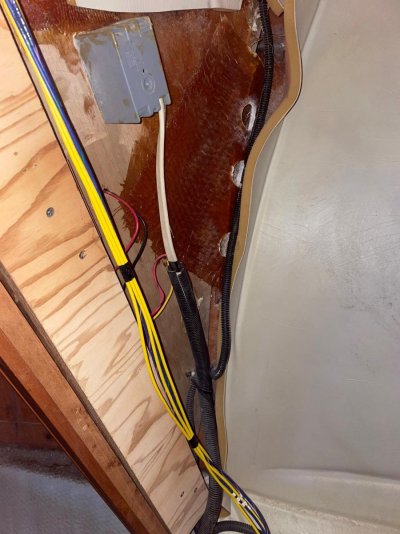
Here are some pictures of my process. I completed the side panels and the underside wood panels. I have not installed the vertical piece of vinyl or headliner. If you look at picture with me holding the staple gun, I'm stapling the vinyl to the starboard horizontal panel before I push it up into place. That's where I think you're going to have some challenges reinstalling.
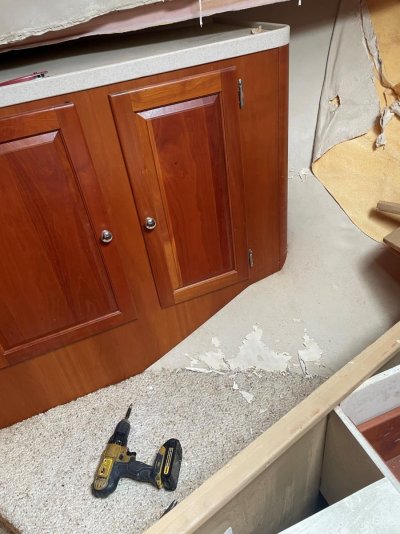
Its difficult to communicate the challenges I had doing this. Removing the old vinyl was not as easy as it might seem due to the way they installed it initially. I ended up completely removing the port hanging locker and laying it up on the bed frame.
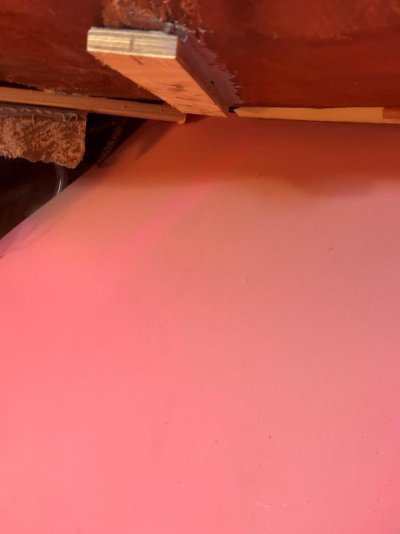
I glued wood strips to staple the new material to below the floor and up the hull behind the headboard. You can see the stapled material in one of the pictures. I included a picture inside the starboard hanging locker. If you look you can see that they used fiberglass to attach the locker to the hull. I had to drill holes in that piece to remove the staples that held the old material. Then push the new foam and vinyl into this same seam and finally staple it in place. Overall I'm extremely pleased with the final results. But this project like the main salon headliner was by no means easy.
Thanks so much for the pictures. I suspect the leak is from the rubrail in vicinity of port light. So you don’t think I’d be able to see the deck/hull interface to apply some sealant? Too cold (teens to 20s this week) to take off rubrail and seal from the outside
If you suspect rubrail I wouldn't attack it from inside. The easier and best way is from outside. See Bacchus website... Projects Pg 4 for details and a link.Thanks, it would be much appreciated. I really hope we don’t have to cut the vinyl and foam and replace the vinyl on the hull! Is it possible that we can leave it attached on the outboard side and hinge it down so we can access the area? We have a leak I suspect is coming in from the rubrail. You can see it on the wood in the right side of my picture, up in the back corner under the vinyl
For a temporary fix I have had very good luck with foil faced tape. It conforms well to shapes and sticks well. I have used it at times for trying to find a leak source by coving areas sequentially. Once found it can be an effective temp solution until time, Wx etc permits a more permanent fix.Thanks so much for the pictures. I suspect the leak is from the rubrail in vicinity of port light. So you don’t think I’d be able to see the deck/hull interface to apply some sealant? Too cold (teens to 20s this week) to take off rubrail and seal from the outside
Thanks for the info.
Skip
Tampa
If you suspect rubrail I wouldn't attack it from inside. The easier and best way is from outside. See Bacchus website... Projects Pg 4 for details and a link.
Very common on Mainships and others to leak at runrail.