Marco Flamingo
Guru
- Joined
- Jan 7, 2020
- Messages
- 1,110
- Location
- United States
- Vessel Name
- CHiTON
- Vessel Make
- Tung Hwa Clipper 30
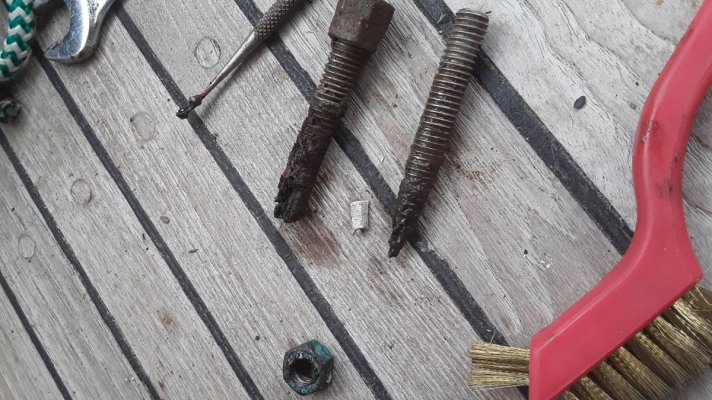
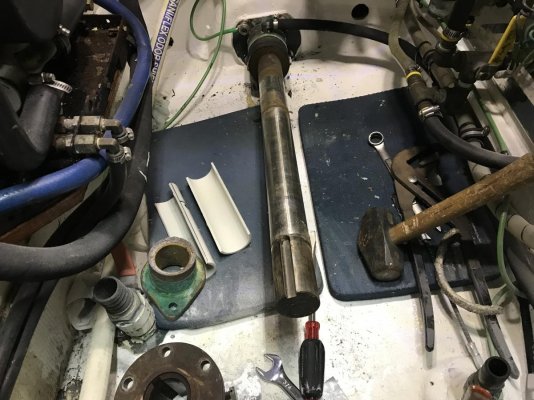
I'm getting ready to work on my packing gland. I've never done this boat, it has required tightening more often, and the plunger looks to be close the as far as it can go. So, sort of routine maintenance.
I guess the old packing slowly wears away, otherwise there would be no reason for periodic adjustments. Which made me wonder why I would bother pulling out what remains of the old stuff. Getting it out and dealing with the inrush of water is the most tedious part of the job. Why not just put in two, or better yet, three new wraps of packing? Let the old stuff continue to disappear.
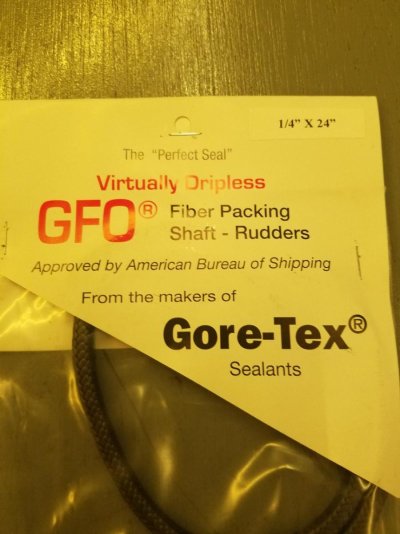
Which then made me wonder why cut three individual pieces. Wrap the stuffing around 3 1/2 times and then cut the start and finish with a long taper. One might say that the start and finish might not be perfectly flush, although having removed old stuffing I'd say that material mushes up a lot. And unlike the three section method, with the single piece method there would be no seams (which also depend on the stuffing's ability to mush up in order to seal).
Is removing the old and adding three separate rings just tradition that can be ignored?
I guess the old packing slowly wears away, otherwise there would be no reason for periodic adjustments. Which made me wonder why I would bother pulling out what remains of the old stuff. Getting it out and dealing with the inrush of water is the most tedious part of the job. Why not just put in two, or better yet, three new wraps of packing? Let the old stuff continue to disappear.
Which then made me wonder why cut three individual pieces. Wrap the stuffing around 3 1/2 times and then cut the start and finish with a long taper. One might say that the start and finish might not be perfectly flush, although having removed old stuffing I'd say that material mushes up a lot. And unlike the three section method, with the single piece method there would be no seams (which also depend on the stuffing's ability to mush up in order to seal).
Is removing the old and adding three separate rings just tradition that can be ignored?
")
 Bingo, give the man a cigar!!