HeadedToTexas
Guru
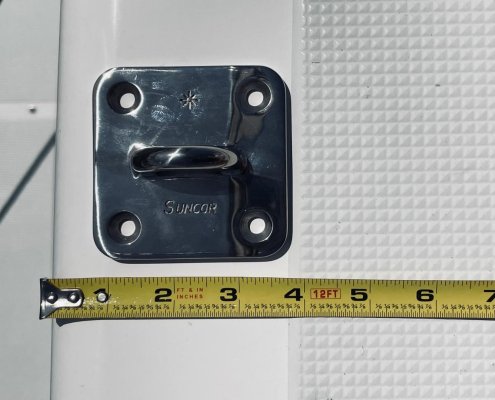
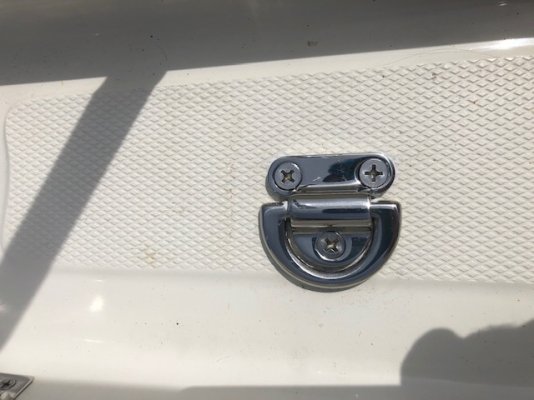
I am adding a couple cleats to the swim platform of my 2007 Mariner 37 for temporary use with my dinghy while loading and unloading. Is the swim platform cored, and assuming so, how close to the edge does that core extend? Any way to know where the core ends and solid material begins?
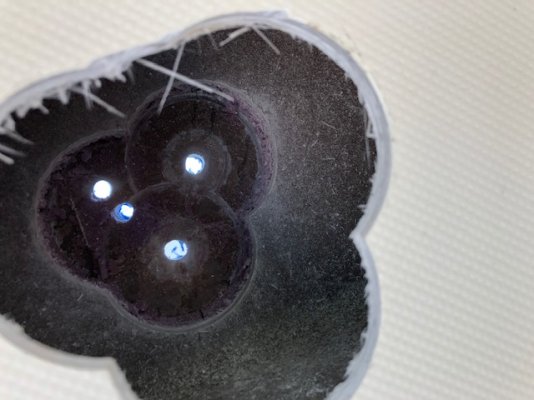
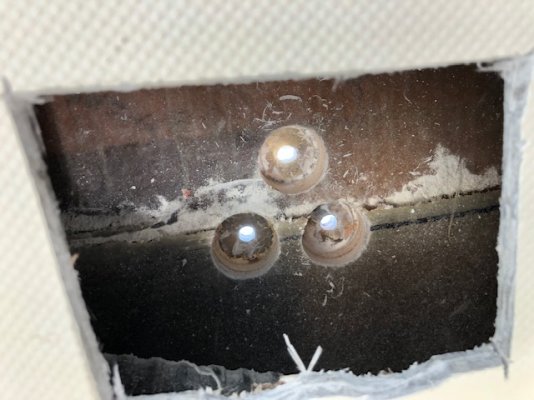
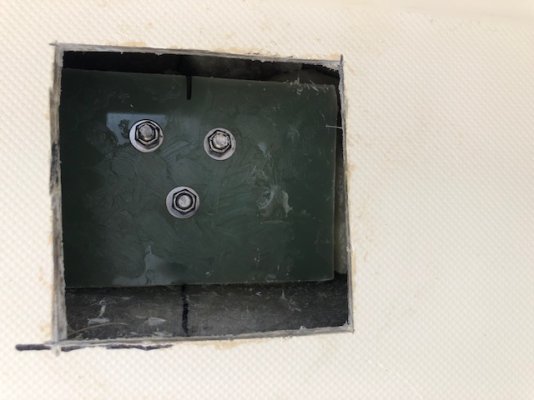
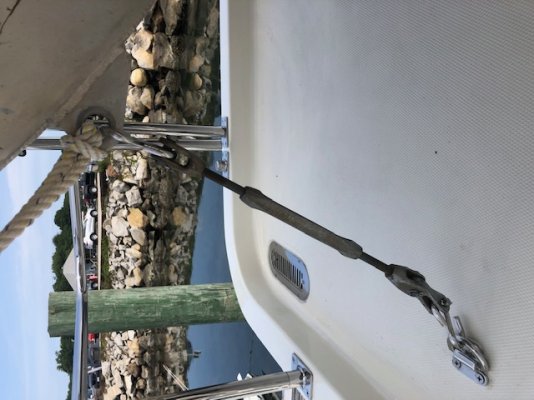
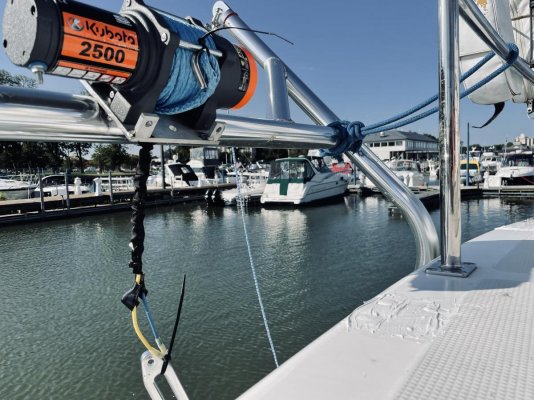
On a similar note, my dinghy davit system requires a few components to be through bolted and mounted with backing plates on the bridge deck overhang. Any way to know where the core ends and the solid material begins?
On a similar note, my dinghy davit system requires a few components to be through bolted and mounted with backing plates on the bridge deck overhang. Any way to know where the core ends and the solid material begins?