Mischief Managed
Guru
- Joined
- Oct 24, 2018
- Messages
- 678
- Location
- USA
- Vessel Name
- Mischief Managed II
- Vessel Make
- 1992 Tollycraft 44 CPMY
My boat is equipped with a pair of 375 HP 3208TA engines that are 29 years old and have about 2000 hours on them. I knew that the head gaskets were a known problem on these engines when I bought the boat and decided to replace them with re-designed parts from CAT over the Winter. The work is complete on my starboard engine and about 70% complete on the port engine. I found that 3 out of the 4 head gaskets had already failed, but none of the failures were catastrophic, yet. If you have 3208TAs, I strongly recommend that you budget some money and time for this work.
I used the opportunity to:
It's been an interesting project. I was hoping to make a video of the work, but gave up when I ran out of memory on my phone. Feel free to PM me if you need any tips.
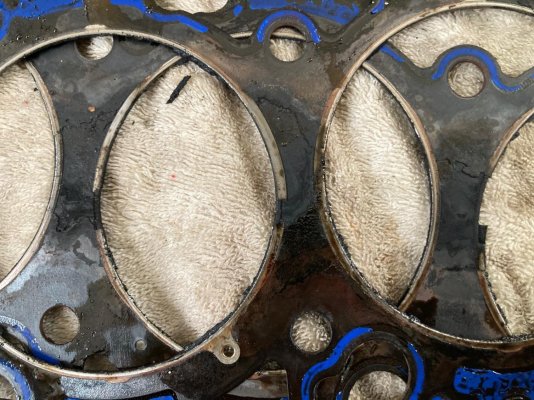
Here's a picture of two failed head gaskets stacked. The shiny metal ring is supposed to go all the way around each cylinder hole, it's missing where it has failed and burned away. Three cylinders on this engine had this problem but it had no symptoms except some coolant loss, which may not have been caused by this failure.
I used the opportunity to:
- Rebuild the water pumps, heat exchangers, and transmission oil coolers.
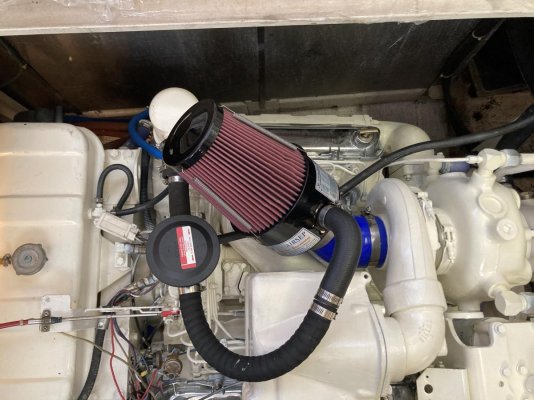
- Add remote cooling system drains and Walker Airseps.
- Replace all the hoses, hose clamps, cooling system gaskets, thermostats, fuel injectors, injection pump seals, zincs, belts, o-rings etc.
- Clean and repaint everything I could without removing the engines
It's been an interesting project. I was hoping to make a video of the work, but gave up when I ran out of memory on my phone. Feel free to PM me if you need any tips.
Here's a picture of two failed head gaskets stacked. The shiny metal ring is supposed to go all the way around each cylinder hole, it's missing where it has failed and burned away. Three cylinders on this engine had this problem but it had no symptoms except some coolant loss, which may not have been caused by this failure.