Max Simmons
Guru
- Joined
- Oct 15, 2007
- Messages
- 805
- Vessel Make
- Ocean Alexander 38'
Over the weekend I decided to do a little touch up on the caps and rails. There is also a mid-hull rub rail which had been raw over the last few years. It was originally varnished when I bought the boat 10 years ago, but I thought it would make better sense to just sand it down and let it go natural. I think that was about 5 yrs ago. Fast forward to Saturday and I decide it looked better varnished.
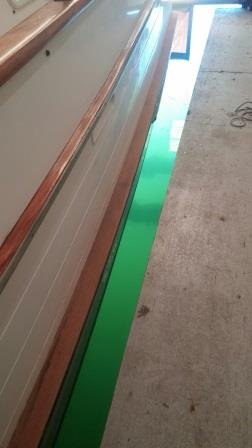
I removed the stainless steel trim and start sanding. It cleans up pretty nice and after a day of prep, I lay down the first coat of varnish, Petit Marine varnish, which I have had good results in the past. This teak is turning a much darker color than the rails and caps. My guess is that because the wood was in raw form over the last 5 years it is taking the varnish much differently than if I had re-done it way back when. The attached pic shows it (it's the lower one) before I applied varnish.
So, the question is should I have prepped this rail differently? Maybe a teak cleaner first?

")