socalrider
Guru
- Joined
- Feb 14, 2020
- Messages
- 1,012
- Location
- usa
- Vessel Name
- SEA WOLF
- Vessel Make
- 1979 CHB 41 Trawler
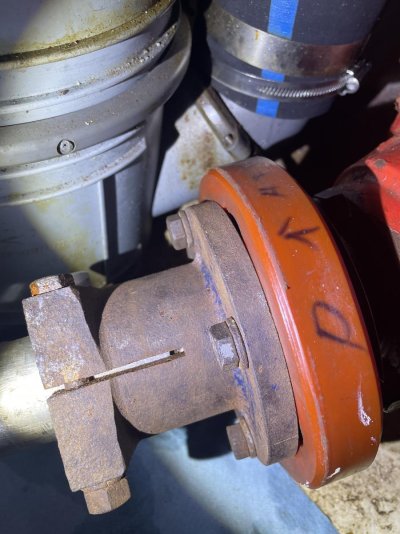
Busily installing my new water maker today and crawling around the engine room I noticed that my port side shaft is not fully engaged with my split shaft coupling -- yikes! On the starboard side the key is about flush with the coupling & the shaft is far enough into the coupling as to cover the split entirely.
I'm embarrassed that I didn't see this sooner. I have to believe it's been like this since I bought the boat a year ago (and had her surveyed); as the PSS shaft seal would be overly compressed if it had slipped recently - its compression matches the starboard side.
My thought is to loosen the pinch bolts and the PSS set screws and slide the shaft in until it bottoms (fingers crossed!), replace the bolts with new grade 8, button everything up, and maybe paint the whole unit. I thought I'd check in here before I screw anything up though!