markpj23
Senior Member
- Joined
- Mar 25, 2021
- Messages
- 199
- Vessel Name
- Black Horse
- Vessel Make
- Med Yachts 62
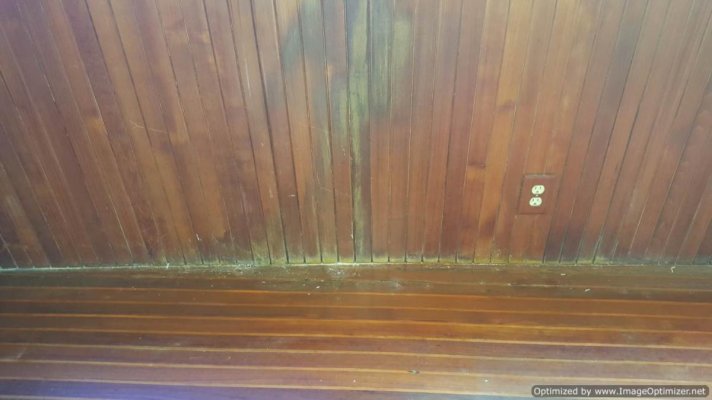
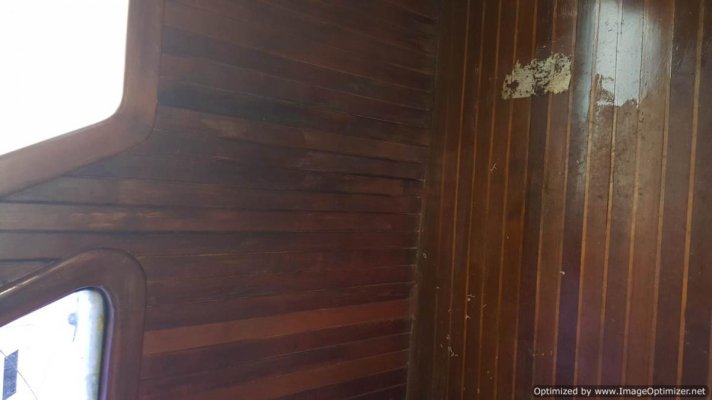
Obvious that the years have been rough on this old gal from a water penetration stand point. We believe the active leaks have been addressed but we'll know soon enough.
Any ideas for how we restore this teak? Or should we just call it a day and break out the white paint...
Any ideas for how we restore this teak? Or should we just call it a day and break out the white paint...