rslifkin
Guru
- Joined
- Aug 20, 2019
- Messages
- 7,594
- Location
- USA
- Vessel Name
- Hour Glass
- Vessel Make
- Chris Craft 381 Catalina
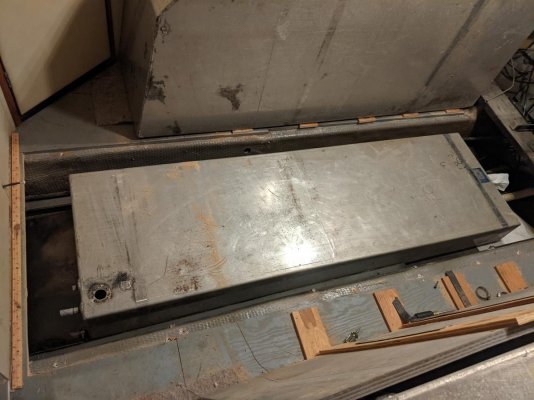
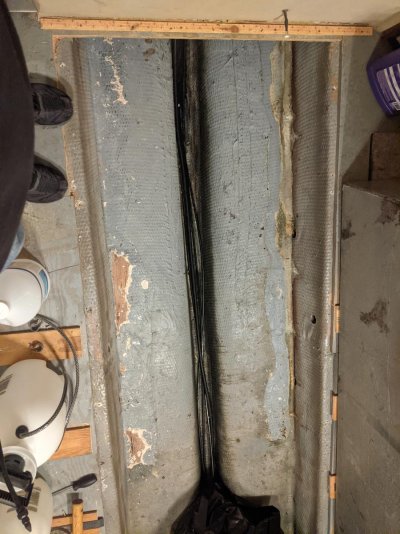
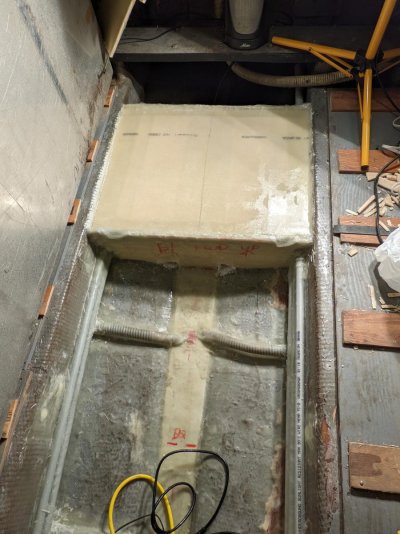
This winter's big project is to rip out my slightly leaky, too small aluminum water tank and replace it. I started out thinking plastic tanks, but due to the shape and size of the space, it'll have to be 2 tanks and I'll be stuck with an inaccessible connection between the tanks once everything is back together.
Currently, we carry 65 gallons of water. There's space for more, that's just the biggest single tank they could put in during construction. Plastic tanks would likely get me something in the 80-95 gallon range, but until I get the old tank out, I can't measure enough to know or order tanks.
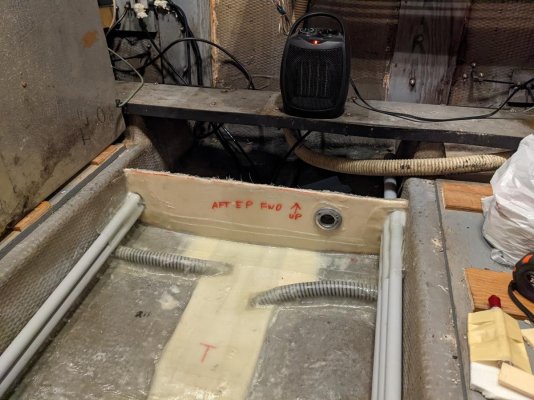
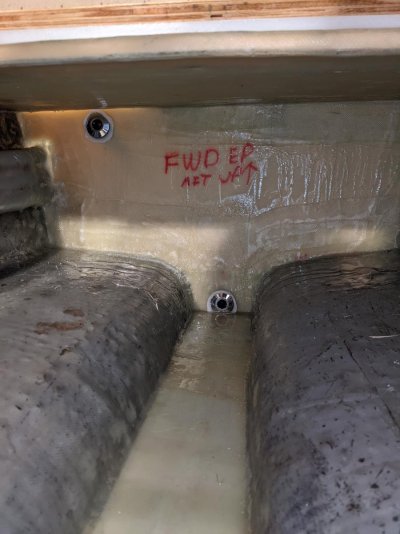
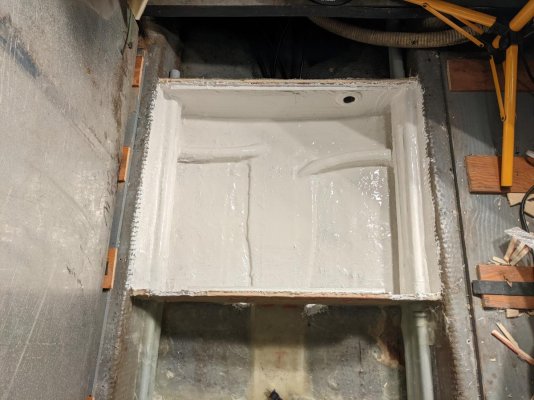
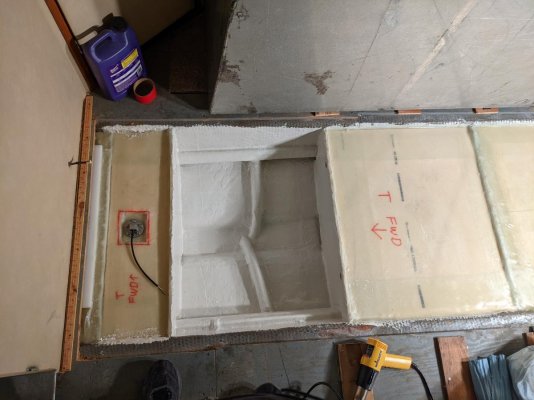
I'm now thinking I should just build an integral fiberglass tank in the area where the current tank sits. My math says I can easily get 100-110 gallons in there, plus the tank will weigh less than either the current or plastic tanks (with their supporting structure). Plan would be to follow the West systems method of slightly hardener lean epoxy for the build. And then paint the inside with Brewcoat or similar.
Thoughts?
Currently, we carry 65 gallons of water. There's space for more, that's just the biggest single tank they could put in during construction. Plastic tanks would likely get me something in the 80-95 gallon range, but until I get the old tank out, I can't measure enough to know or order tanks.
I'm now thinking I should just build an integral fiberglass tank in the area where the current tank sits. My math says I can easily get 100-110 gallons in there, plus the tank will weigh less than either the current or plastic tanks (with their supporting structure). Plan would be to follow the West systems method of slightly hardener lean epoxy for the build. And then paint the inside with Brewcoat or similar.
Thoughts?