Varnish, first time...

The friendliest place on the web for anyone who enjoys boating.
If you have answers, please help by responding to the unanswered posts.
Varnishing techniques

Ron, if your aim was to eliminate every imperfection in the wood then you are about 8 coats of varnish too late. Imperfections are supposed to be resolved before any varnish or stains are applied using flat board sanding, bleaching, staining, wood replacement, etc. Varnish is not wood filler. It will fill the wood grain with repeated coats and sanding flat between coats. Your beginning sanding might remove most of the varnish that you just applied leaving behind the varnish in the wood grain. To make this process easier most boat restorers use filler stain that fills most of the grain. Now to your question if you want to get to the quality of what 1500 paper will leave wet sand very curred varnish with 1500 quit followed by buffing with 3m finessit which is designed to remove 1500 grit swirls.. Antique boat restores use this process when completing a show quality concourse boat which will probably never see any water.
 
Go for removing all imperfections. Only then can you find out how good you are. Striving for a perfect finish is the sign of true craftsman.

With time it will get scratches and dings. Then you can repair it with your newly developed skill.

Only a certain level of skill can restore cars and boats. It is a labor of love many don't understand. To them it is just a car, or just a boat. You will know how good you are when another artisan compliments your work. Seek out those guys, they will share their secrets. Workmanship seems to be a dying art.
 
Ron, if your aim was to eliminate every imperfection in the wood then you are about 8 coats of varnish too late. Imperfections are supposed to be resolved before any varnish or stains are applied using flat board sanding, bleaching, staining, wood replacement, etc. Varnish is not wood filler. It will fill the wood grain with repeated coats and sanding flat between coats. Your beginning sanding might remove most of the varnish that you just applied leaving behind the varnish in the wood grain. To make this process easier most boat restorers use filler stain that fills most of the grain. Now to your question if you want to get to the quality of what 1500 paper will leave wet sand very curred varnish with 1500 quit followed by buffing with 3m finessit which is designed to remove 1500 grit swirls.. Antique boat restores use this process when completing a show quality concourse boat which will probably never see any water.

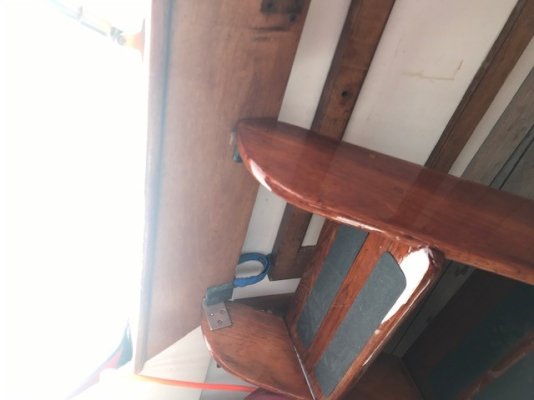
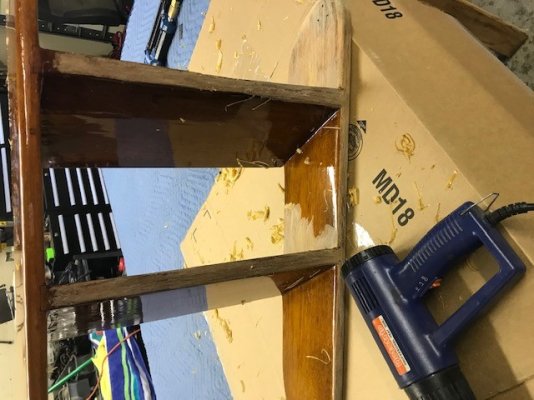
The wood is flat, my varnish is not!
I just now learned about sanding the final coat with 1000-2000 and buffing!
I know it does not need to be perfect, but I would like to do the best job that I can do. And really this is the current show piece compared to the rest of the boat! I have a lot more to do, about a winters worth of stuff I can take off the boat and bring home. Then with the rain stops and it warms up a little (I think we get 5 days of that a year here North of Seattle) I will do the parts that don't come off the boat!
 
Well after taking the finished piece down to the boat... its way too dark!
The Schooner Gold is very nice, but looks like I will strip it down and go with the standard Schooner to lighten it back up to match the rest of the wood....
 
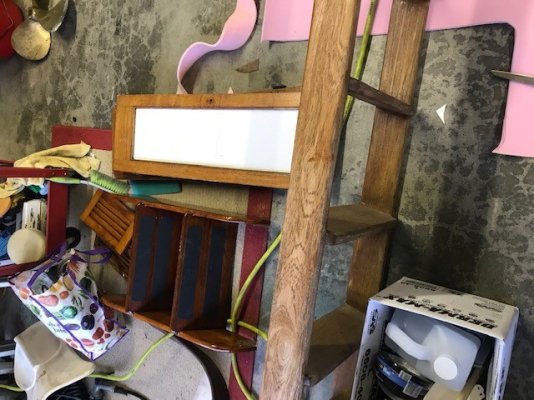
So I took them home and stripped them again. I also bleached them, and will try Interlux Compass Clear. According to an old fella on the interweb this was one of the best matches for what was stock.
 

Attachments

  • stepsinstalled.jpg
    stepsinstalled.jpg
    41.5 KB · Views: 54
  • steps12.jpg
    steps12.jpg
    87.9 KB · Views: 53
  • junk,jpg.jpg
    junk,jpg.jpg
    105.6 KB · Views: 47
The first picture looked perfect to me but then, exterior wood finishes and me do not go well together. SMIRK
 
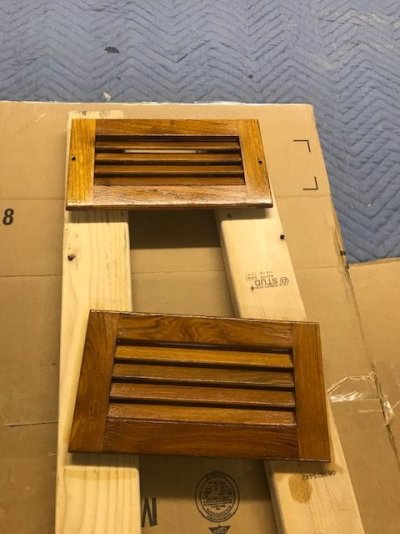
I am going to start with the side vents this time around. Stripped with a scraper and heat gun. Bleached and washed down. Sanded with 150/220. First coat of Compass Clear thinned at 35%. In a week or so I should be able to tell if its the right color.

I'm not so much held up on the correct factory color, I am hung up on matching as much as I can as a lot of the teak does not need to be refinished.
 

Attachments

  • Vents_5831.jpg
    Vents_5831.jpg
    48.8 KB · Views: 39
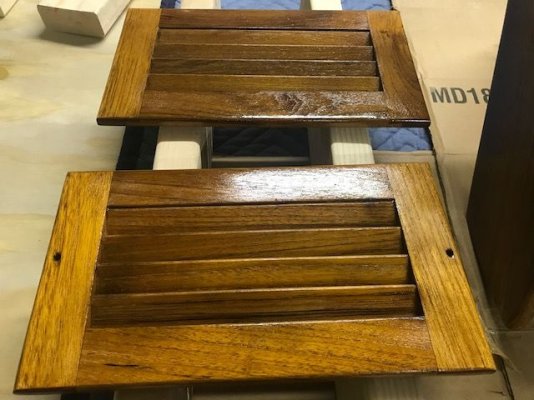
Second coat, looking a little more honey like!
 

Attachments

  • IMG_5854.jpg
    IMG_5854.jpg
    71.6 KB · Views: 41
  • IMG_5855.jpg
    IMG_5855.jpg
    56.8 KB · Views: 38
Second coat, looking a little more honey like!

Part of the beauty of teak is the variations in colour, brightness and grain patterns. I have some pieces that are quite a bit lighter or darker, especially after refinishing, than their neighbours, but so long as the lighter pieces still shine, they look great together.

I also use Epifanes, so I get a colour that is likely darker than the colour you are trying to achieve. I know a friend's boat always looks way too light, all over, and the difference can mostly be attributed to the varnish his pro finisher uses.
 
I am on coat #5 right now with the new lighter varnish. Its looking good, headed to the boat today to make sure it matches a little better than the last stuff.
 

Attachments

  • IMG_5972.jpg
    IMG_5972.jpg
    67.6 KB · Views: 50
  • IMG_5973.jpg
    IMG_5973.jpg
    70.4 KB · Views: 53
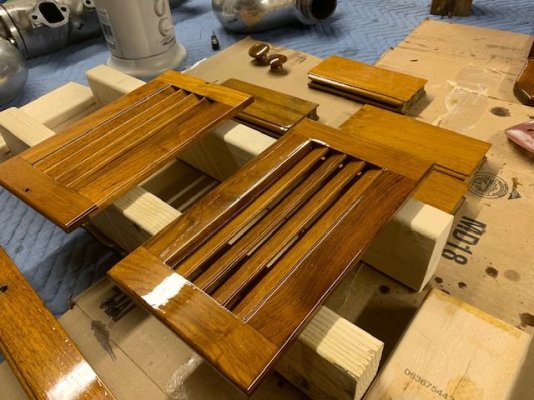
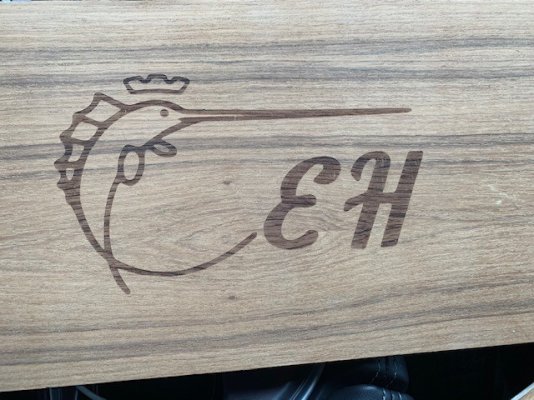
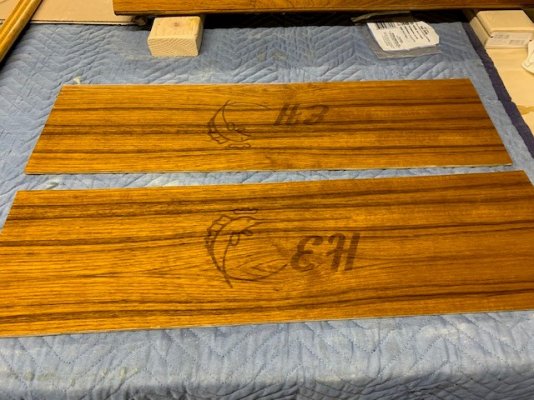
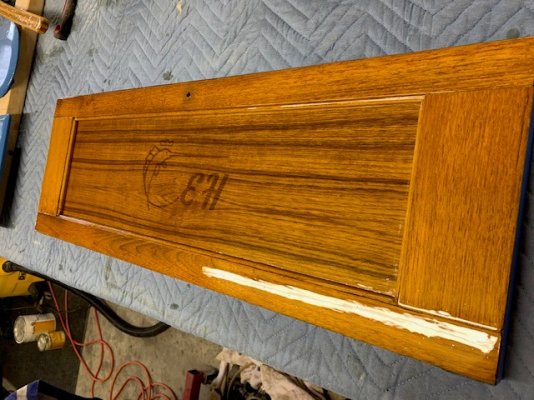
My custom laser etched transom cubby door covers are ready for Varnish!
 

Attachments

  • Fish.jpg
    Fish.jpg
    110.1 KB · Views: 45
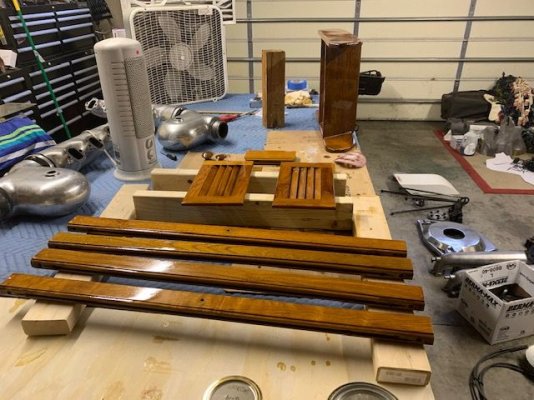
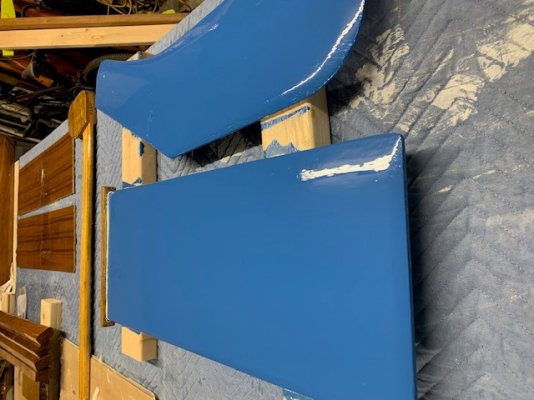
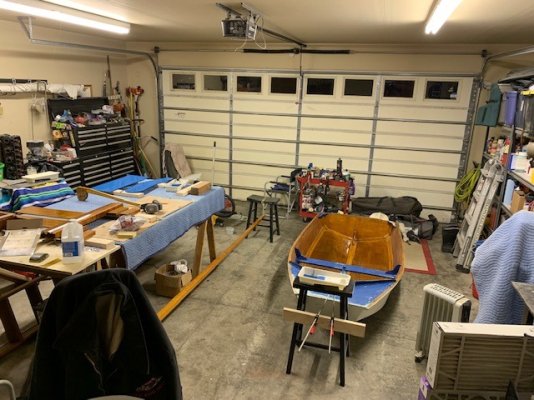
Still plucking away, more varnish on the doors, more varnish on the El Toro. A little primer on the hull and some first coat paint on the rudder/dagger.
 

Attachments

  • doors.jpg
    doors.jpg
    112.5 KB · Views: 40
  • paint.jpg
    paint.jpg
    77.2 KB · Views: 41
  • shop.jpg
    shop.jpg
    106.9 KB · Views: 39
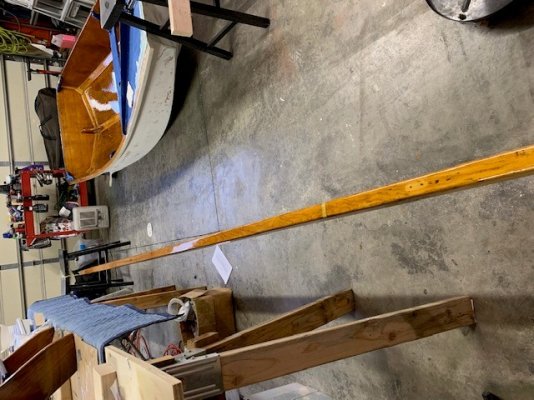
Got the last coat on the side cubby doors, and the mast/interior of the El Toro, now onto paint for the Eltoro!
 

Attachments

  • egg55.jpg
    egg55.jpg
    113.6 KB · Views: 29
  • eltoro5.jpg
    eltoro5.jpg
    107.3 KB · Views: 29
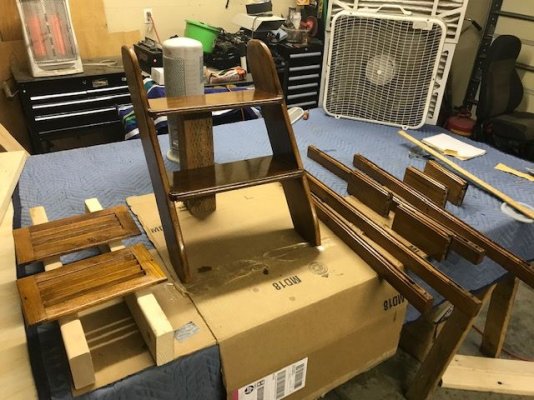
So the straight varnish came out good. I am now using interlux perfection plus 2 part varnish for the swim step. I am having problems with 100's of tiny bubbles appearing right before it flashes/drys. Any tips or tricks? Garage is about 60 when I lay it down. I am applying with a small brush to get between the slats. It takes about 35 min for a coat, then I turn the heater on to get the garage up to 70.
 
Dust is one way you can get hundreds of tiny bubbles. Many of them will break as it lays down, many won’t. Be a dust NAZI if indoors, vacuum everything, everywhere, twice and let the room dust settle. If using a bristle brush, especially if new, flick it in front of a bright light until there are no more dust particles coming out of it. Use a tack cloth on the wood before applying the varnish. Usually, it’s the application of multiple methods together that ultimately cuts down. But if you truly want a perfect surface, also plan on polishing by rubbing out the surface once it cures.

You can also try a small handheld torch and very quickly wave it over the surface. The momentary heat can cause the bubble to expand and instantly break. Works especially well on epoxy, but really easy to overdo it and singe the surface. Like most things varnish, one of the most important skills, the hardest to learn, is when to stop trying to fix the varnish and walk away. More things can be cured with application of sandpaper before the next coat than anything you do after laying it down until it sets.
 
I am having problems with 100's of tiny bubbles appearing right before it flashes/drys. Any tips or tricks? Garage is about 60 when I lay it down.... It takes about 35 min for a coat, then I turn the heater on to get the garage up to 70.

The story of why I ended up with 12 coats of (traditional) varnish on the companionway trim of a former sailboat might also be your issue?

I had the wood in a shop that was about 60º during the day, then after I varnished I'd turn a space heater on to help things out...

Every morning I'd enter the varnish area with anticipation. EVERY time there'd be specs of "dust" in the varnish. This was a dedicated clean room, I wet the floor down, wore a fresh Tyvek, filtered the varnish, and yet....still it persisted and by now I was on coat #11 :banghead:

Finally I read something that clicked: If the wood is getting warmer as the varnish dries it can outgas which makes tiny bubbles that can look like dust specs (apparently even on later coats). Hmmm

For coat #12 I made sure to varnish as the room/wood were cooling not warming up and success! No more "dust."

When you mentioned the heater it brought this memory back as a possibility.

You may be onto something here. When doing my normal Compass clear varnish I always lower the temp about an hour before I varnish to give me more lay down time and then I slowly bring it back up to temp. But I also never heat it all that high as I have never been in a hurry until this swim step.

And far as clean, I got that part down as non of my standard varnish shows no air bubbles, a small bit of dust yes but no air bubbles.

I wonder if I just need to keep the heat at 60 and not try to raise it over night to help in the speed of the drying. I am in a rush to get this piece done as I would like it finished in a week and a half when I have the boat out for bottom paint it will be easy to re-install out of the water.
 
How about heating up the room and the workpiece to, say, 75ºuntil a half hour before you varnish, and then turning it down to 65º? Maybe it would still keep your project rolling but the wood would be in a cool-down phase.

On mine I was sure it was not bubbles, because it looked like dust, but since it went away as soon as I went to "cooling wood" vs. "heating-up wood," (without changing any other variables), I guess it was very tiny bubbles.

Don't know how it would or might vary with a two-part coating.

The reason I cool the room down before doing the work is to add to the pot life/workable life of the product. The cooler it is the more time the varnish has to lay down flat before it hardens.
 
I see. That's a factor I don't have (in the same way) with the traditional varnish (Epi in this case). But perhaps the cooling trend could still be accomplished somehow -- if the warming trend is even your issue. Be interesting to see how it turns out and what you find.
 
I see. That's a factor I don't have (in the same way) with the traditional varnish (Epi in this case). But perhaps the cooling trend could still be accomplished somehow -- if the warming trend is even your issue. Be interesting to see how it turns out and what you find.

After I finish sanding all the air bubbles out my plan is to heat to 65. And then hold the room at that temp for application and drying. I will check it after 12 or so hours and if need be I will just wait an extra day before a re-coat. Its still faster then sanding !
 
Based on this, you're clearly one of the varnish demented, which I was for decades before entering rehab. Before that, I would have varnished my wife if she'd stay still long enough.

In any case, having maintained a 55' spruce mast, Port Orford cedar cabin sides, teak call rail, oak rudder skirt, etc. What I found was most durable was penetrating epoxy, wet sand smooth, then 10 coats of Flagship. Schooner flows and levels better, but Flagship has better UV protection. Use foam brushes, except for the penetrating epoxy, and don't bother sanding for the first 8 coats unless you need to because of bugs, etc., Then wet sand with 320 flat before the final coats, to which you can add a bit of boiled linseed oil for optimum levelling at the cost of longer dry time.

Epifanes is fine, but needs to be thinned to be workable, and I don't think is as durable as Flagship, but does have better color than Flagship, and about the same as Schooner.

I’m just now playing with the two part on a swim step... ran into a steep learning curve in regards to gassing out wood while raising temps. It set me back about 3 days and 100.00
 
After about 8 more hours of sanding air bubbles out, vacuuming, blowing down, vacuuming again, whipe down with cleaner, let dry, whipe with a tack cloth... heat the room to 62 and hold for two hours prior to mixing... it looks like I just heated the room too fast and the wood gassed out last time. I mixed it the same and applied it the same... but held the heat at 62. No bubbles!
 
Yay! It's such a boost coming back to your project and seeing that your newest coat of varnish turned out well. Ahhh.
 
I am starting on the varnish on the transom of my GB42. any suggestions on how best to strip the existing pealing varnish off? Heat Gun, and scrapper or just a sander?

any advise based on experience would be appreciated.
 
Great advice..they also have a 2 1/2 inch one. Then sand with 80 grit paper, then 100. Then solid stain then epiphany varnish.
 
Easiest is paint stripper and saran wrap. Paint the stripper on a section, then immediately cover with the Saran. Gives it time to work, then scrap off with a pull scraper.
 
Back
Top Bottom