sbman
Guru
- Joined
- Jul 25, 2017
- Messages
- 828
- Location
- USA
- Vessel Name
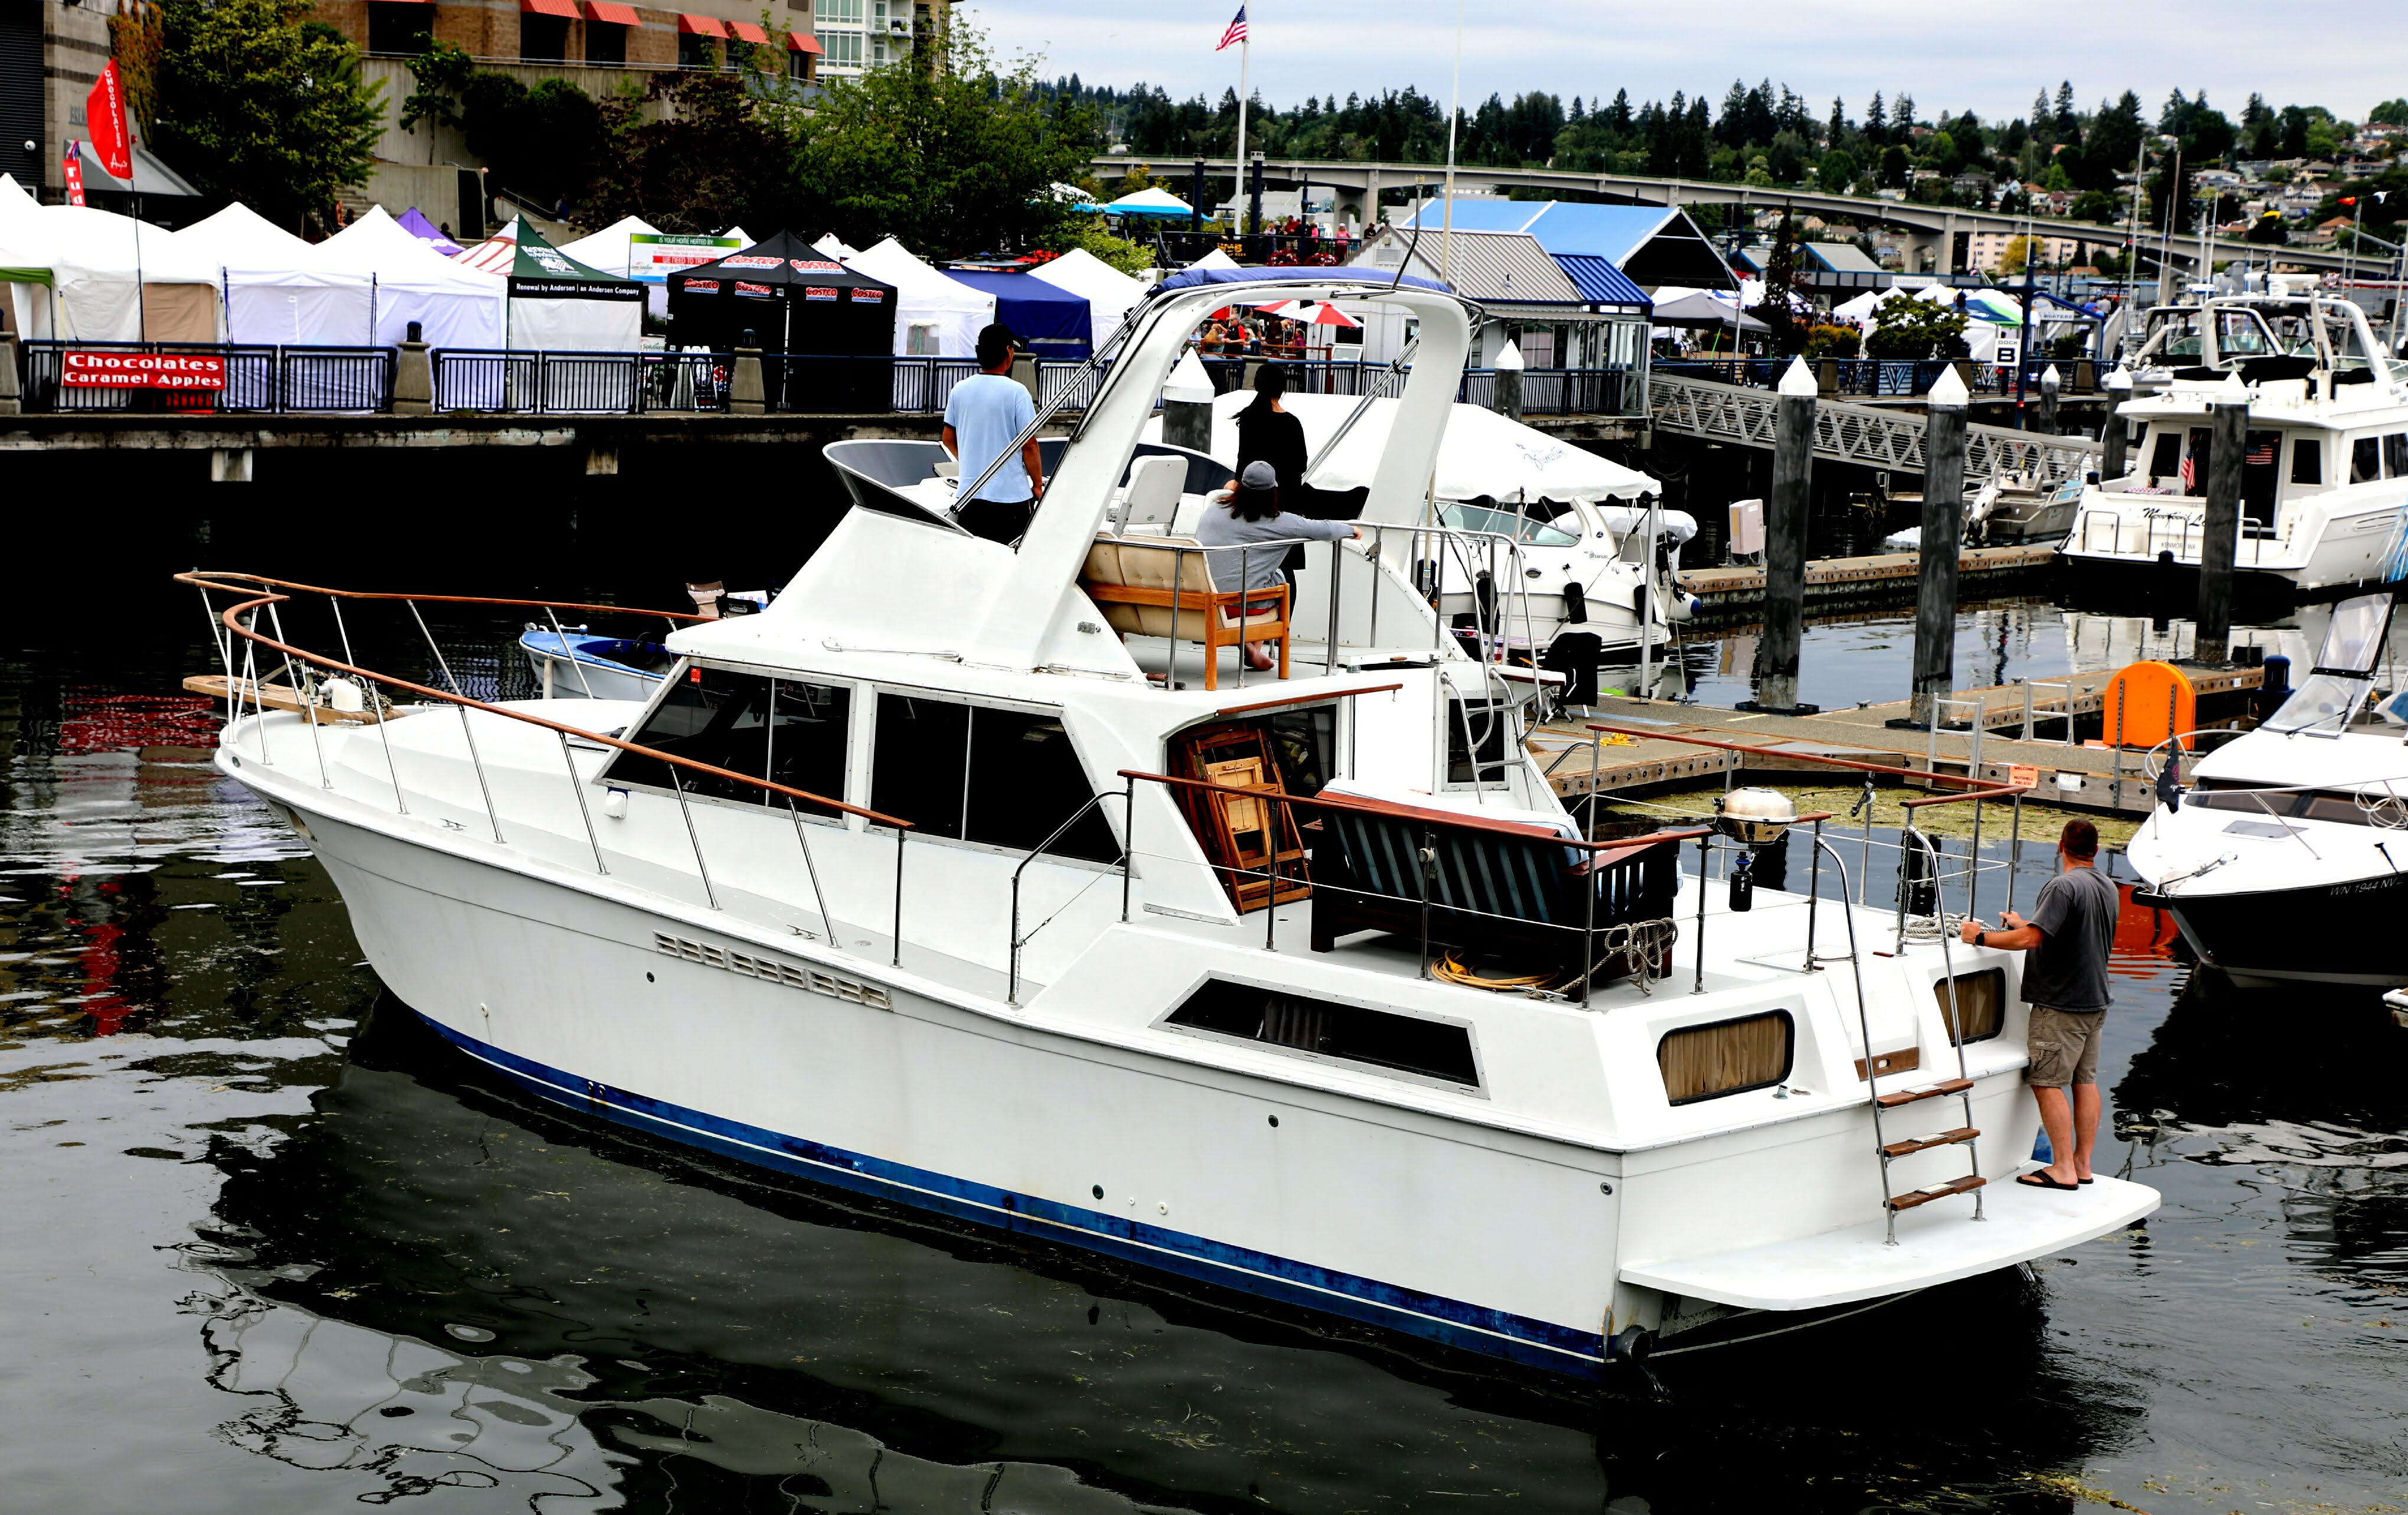
- Second Chance
- Vessel Make
- 42' Uniflite Double Cabin
Thank you for the compliment. It is a ton of work!
The weather is certainly a challenge, we have less heat here, but more humidity.
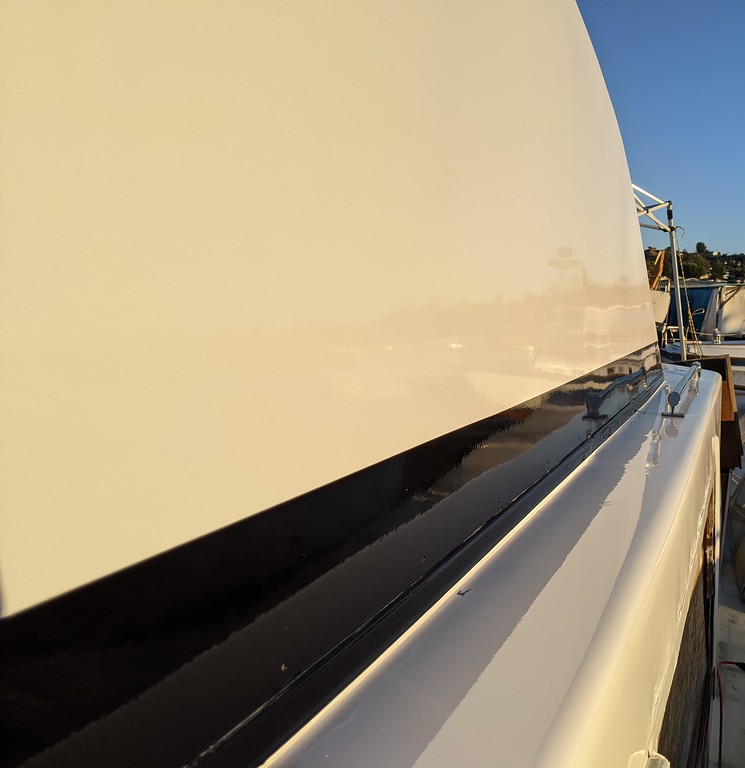
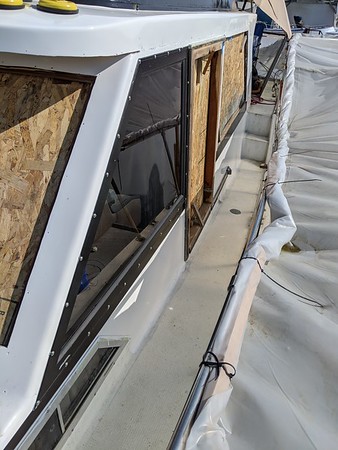
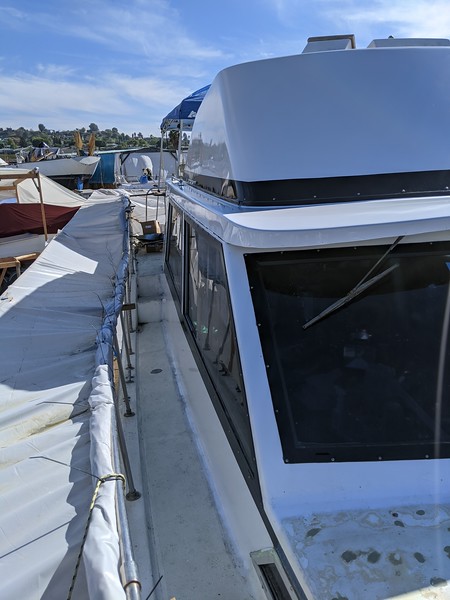
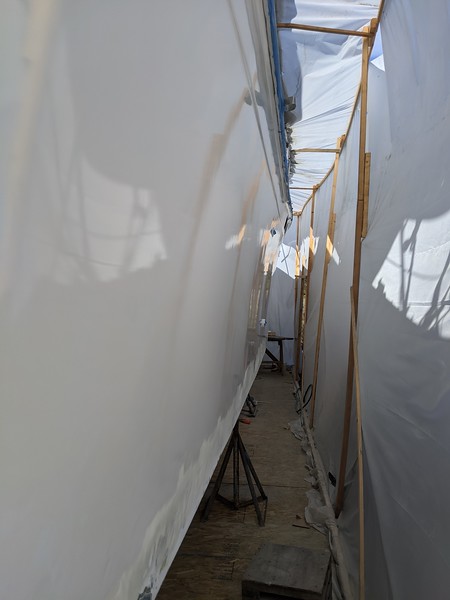
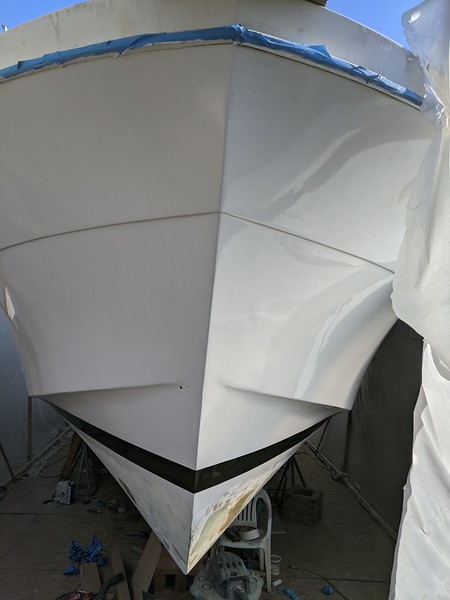
My first coat of the topcoat cured to a matte finish in almost the entire painted area, this was due to painting in the evening and as the temperature dropped through the night the temp/dewpoint spread narrowed to where we had ground fog and moisture may have even condensed on the surface. I've been painting in the morning since then, but I have to wait until the temp comes up away from the dew point, surfaces are dried but before the sun/wind/temperature becomes an issue. Lower areas of the boat have more protection from my makeshift tent, so I've been focused on the areas that are more exposed while the weather is as good as it's going to get.
I've decided to hold off on doing the decks to this level this season. I'm going to clean/scuff and make only repairs to potential leak areas then paint with a simple one part paint for now and get back to the water. I'm not willing to spend the 3-4 months it would take to do a top level job on them right now, I'll do that at a later date.
The weather is certainly a challenge, we have less heat here, but more humidity.
My first coat of the topcoat cured to a matte finish in almost the entire painted area, this was due to painting in the evening and as the temperature dropped through the night the temp/dewpoint spread narrowed to where we had ground fog and moisture may have even condensed on the surface. I've been painting in the morning since then, but I have to wait until the temp comes up away from the dew point, surfaces are dried but before the sun/wind/temperature becomes an issue. Lower areas of the boat have more protection from my makeshift tent, so I've been focused on the areas that are more exposed while the weather is as good as it's going to get.
I've decided to hold off on doing the decks to this level this season. I'm going to clean/scuff and make only repairs to potential leak areas then paint with a simple one part paint for now and get back to the water. I'm not willing to spend the 3-4 months it would take to do a top level job on them right now, I'll do that at a later date.
I know how much work this is. We rolled and tipped a 30’ boat in Tucson. The weather made it very difficult to do in that it got over 85 degrees by 6AM. We had to be done painting by then. Yours looks beautiful.


")