New construction: She:Kon

The friendliest place on the web for anyone who enjoys boating.
If you have answers, please help by responding to the unanswered posts.
Ken .. Ben .. Rick,
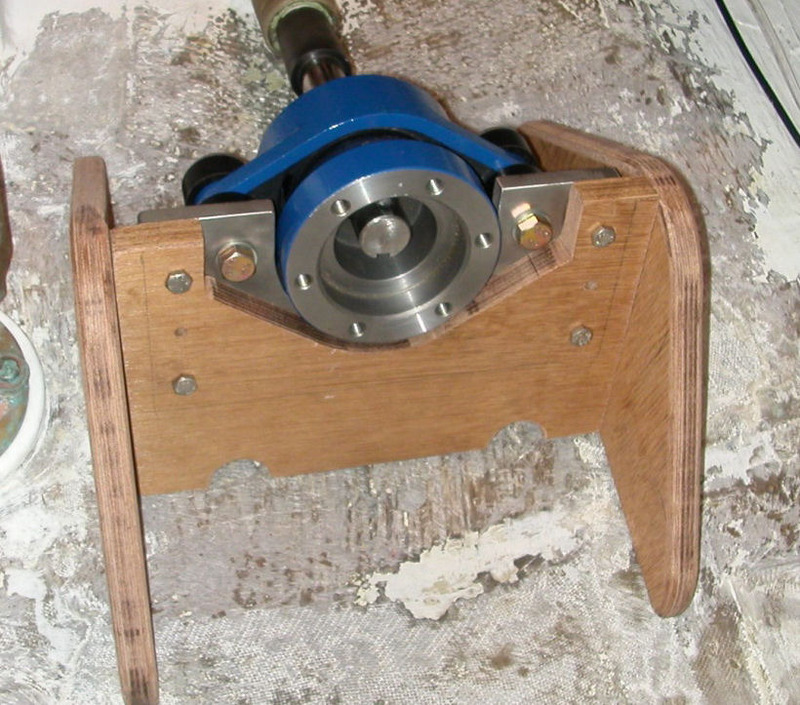
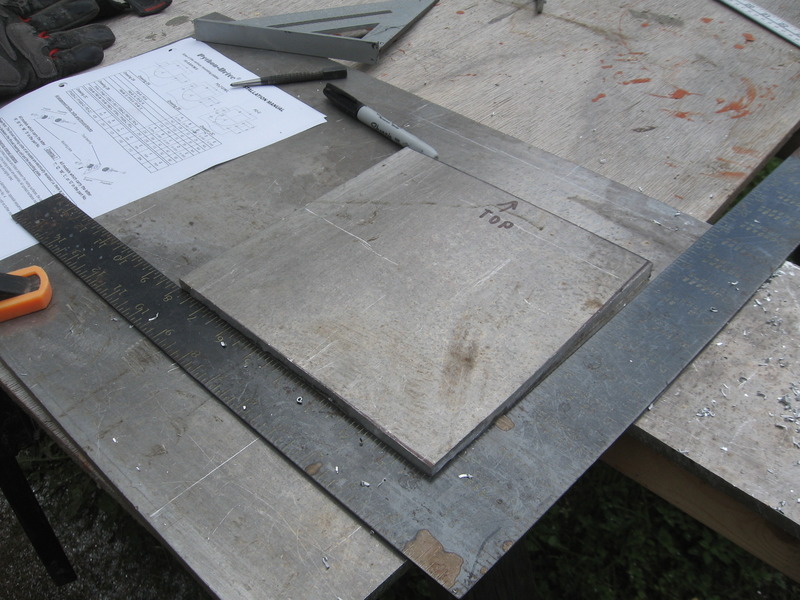
OK Rick. This is going to be a very efficient boat. Python Drive is a very good idea. That or Aqua Drive or perhaps there are others now. I did a Aqua Drive in my Albin. I had the smallest unit that only had two mounting ears. Four would have saved me lots of alignment grief. No way to adjust up-down pitch so needed to grind washers to assume the right angle as my mounting lay-up wasn't perfect. Need four ears IMO.

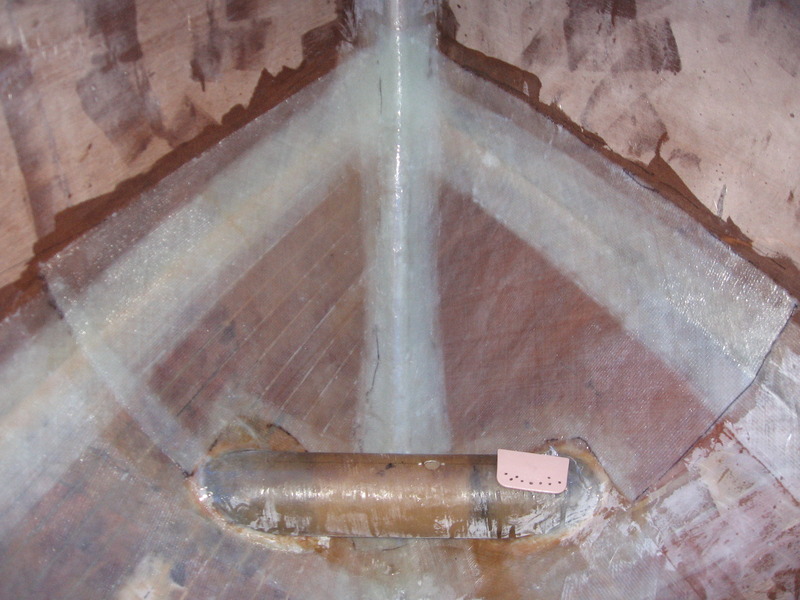
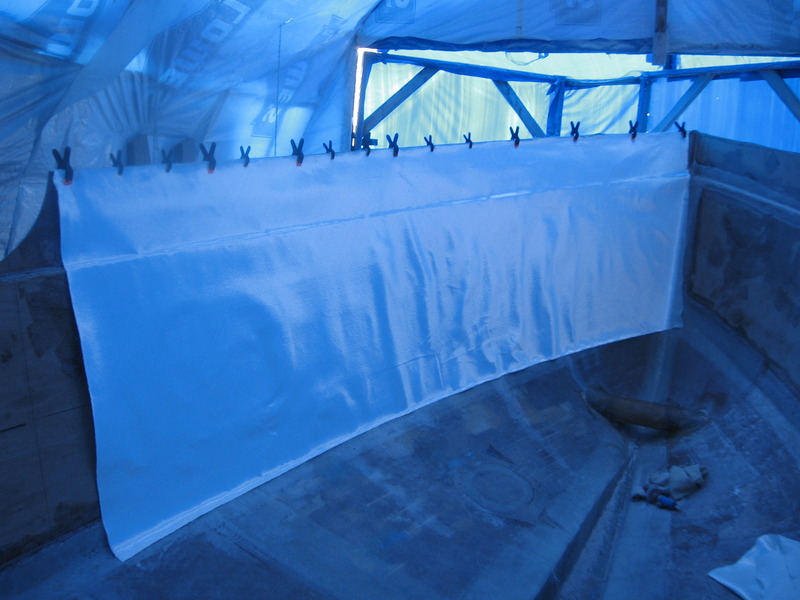
That smooth and easy rocker will guide the water back to the surface very gracefully. Wish most trawlers had an afterplane like that. Or even half like that as a SD. Gonna be a very nice boat Rick.
 
Hi, Ralph here with an update.

My Python drive has the two bolt arrangement. I've heard others having difficulty with alignment. My buddy Del put the same drive in his boat. He ended up building a bracket like this.

img_351364_0_0375b5d6aa78528ebb96e39b0b735deb.jpg


Careful construction made alignment easy. I think I'll follow exactly, as much as possible, what he's done.

I've head that some of the TW28's that have been build like to squat in the back end at hull speed. Likely falling into their own wake. One fella put huge trim tabs on his to help lift the stern. Mine will likely react a little different with the hull extension & engine placement being about a 2 feet ahead of it's normal position. We'll see.

Spent a little more time working on the stringers. Got it figured out how I'll join the sections together. Web log updated: M/V She:Kon: Stringers - continued

img_351364_1_33bb1c374d4400a9c0a23c54ddcf9b2e.jpg
 
Quick work with that router.Would it be stronger to use a thinner but block on each side?It would be a lot larger glue area.I thought the larger the glue area the better,and that's why we cut scarfs for larger stronger glue joints.
 
I've head that some of the TW28's that have been build like to squat in the back end at hull speed. Likely falling into their own wake.


Just means he is going too fast. you have time to research the hull speed myth. Some good discussions here.
 
Did you move to the southeast?That's the kind of weather we been having.Upper 90's and high humidity.
 
Rick the trick .... is to get it aligned pitch wise perfect when you attach your plywood mount to the boat. In your case you could bolt the plywood mount in place such that you could take it out and slot the bolt holes so the slotted holes would provide some adjustment .. pitch wise. I glassed mine in and it was not good enough in pitch. I used wedge shaped washers that I ground for the occasion. Was a PITA.
 
Rick the trick .... is to get it aligned pitch wise perfect when you attach your plywood mount to the boat. In your case you could bolt the plywood mount in place such that you could take it out and slot the bolt holes so the slotted holes would provide some adjustment .. pitch wise. I glassed mine in and it was not good enough in pitch. I used wedge shaped washers that I ground for the occasion. Was a PITA.
I see what you mean by having to adjust the pitch pitch now. I had a few ideas. A wedge shaped slot that would accept the thrust plate assy which would allow me to fine tune the plate/shaft angle exactly before gluing it all up. Couple of other ideas too. I know my shaft angle is 8 degs exactly so I can work with that to get very very close. I'll keep the washer idea in the databank should it be necessary.

Thnx. ManyBoats
 
Something you may not want to know is that alignment may be different when you launch the boat. Good luck.
 
Something you may not want to know is that alignment may be different when you launch the boat. Good luck.
Oh yeah, I fully expect that to happen. It'll take awhile to get it trimmed out.

I figure a 50 gal cask o' Rum will do nicely ballasting the bugger! :rofl:
 
First foray into cutting metal with woodworking tools! Laid out and cut the parts for the skeg.

spacer.gif
img_353539_1_c592631d3106989c39663f009ad418e6.jpg


Circular saw worked amazingly well but it killed my jig saw! :banghead:

Too friggin' hot to do any epoxy work. Hit 102 yesterday with the humidex. I was out of the shed by 10:30. Had a decent breeze so worked with my new lil' welder on some mods to the dingy trailer.

Lots of pics and a 'non-sanding' video on today's web log update: M/V She:Kon: The Skeg
 
Bit of welding this morning to finish up temporary bunks on my dingy trailer then started to lay out the thrust plate for the Python Drive.

spacer.gif
img_354084_1_7208e0be1cdf01d403a52d0f844e6766.jpg


Not much to look at right now. I have to get a 120 mm hole saw. That should be spendy! :facepalm: 
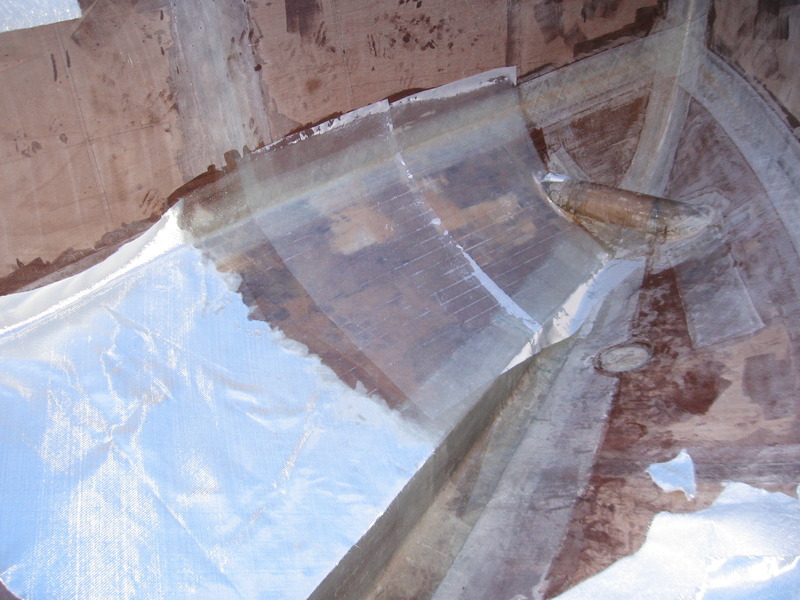
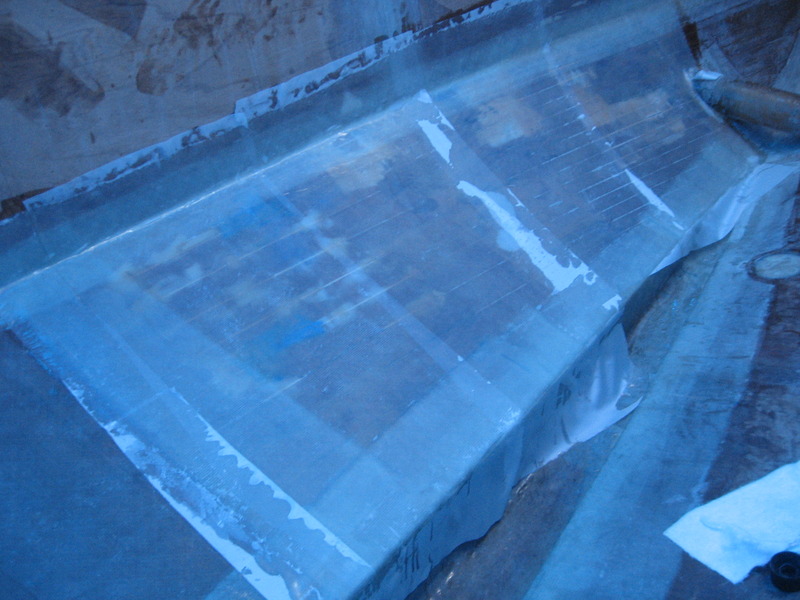
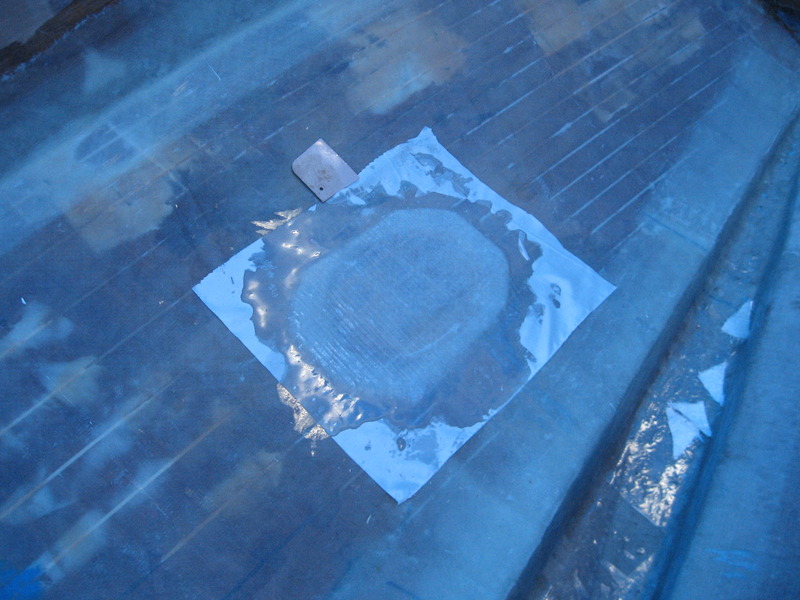
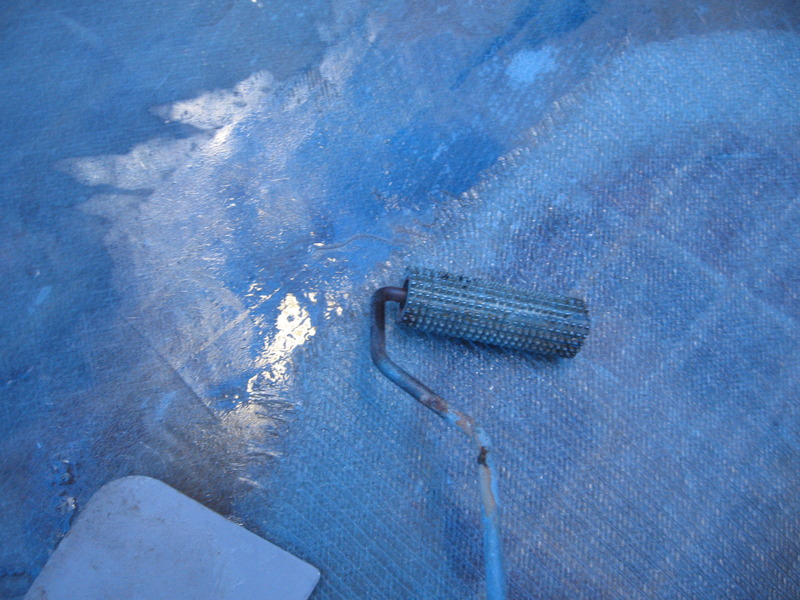
Couple of places I think I'll be able to use it later though. The clouds opened up so I had to call it quits.

Yesterday I beveled the edges of the skeg parts that'll get welded. Don't know if I did it right but it's done. I did it with my router.

spacer.gif
img_354084_3_3ccacfdb9c5b2fcc93860c0cf9a8bb36.jpg


Had good intentions of getting some fiberglassing done today but my back is kicking up a fuss. Dunno why that is. It's been really good for a couple of months now. Gettin' old suks! :nonono:
 
Heat wave has broken so I managed to get some fiberglassing done on the port side bottom panels. Took me three hours to do 20' of it. Sections are about 28" which is about as far as I can reach to squeegee it all out and add the peel ply.

After 1 hour, 3 sections.

spacer.gif
img_354714_1_6585da19276e553c0d6034c9487296b9.jpg


After 2 hours, 6 sections

spacer.gif
img_354714_3_9ab498512c975c39d193f473bcdfc91b.jpg


And after 3 hours all 9 sections gooped & peelplied.

spacer.gif
img_354714_5_ee726382712a5e46f483438f60526c1b.jpg


I'll finish up the port side tomorrow. I don't like working in the bow much. Gravity keeps pulling me & everything else into the bilge. :whistling:

Standby...
 
I got the rest of the port side done up to the bow thruster tube. I'll do the bow tomorrow with the extra heavy duty triaxial glass I have. Figured that's as good a place as any to use it up.

spacer.gif
img_355072_1_5a3c9535b61b8772db0302ee6708c3b5.jpg


Half way, about an hours worth.

Finished, just in time, two hours work & temps rising! About 85F in the shed right now.

spacer.gif
img_355072_3_900759b9668bd1546658a193c65a6145.jpg


Took off a strip of peel ply to the glass I laid down yesterday. Damn near perfect I'd say! :thumb:
 
Checked on my handiwork this morning. OMG The Mother of all Bubbles! Gawdammit! :facepalm:

spacer.gif
img_355444_1_f9354cf5ff7fe599fe626f1cfc6afa2f.jpg


It's about 12" wide by 10" tall. Cut it out and ground back to good glass.

spacer.gif
img_355444_3_0ce5a717fd5104a3b6ecc9e8efdd06e5.jpg


I'll add another later later for good measure.

spacer.gif
img_355444_5_adb71efbe8ad36e95553cc5b867c4933.jpg


Gonna babysit this one though. Make sure no more bubbles creep into the glass. :banghead:
 
Bubble update. I went out after about half an hour and the bubble was back! Not quite as big as before but it didn't have all day to form like the last one. I took the peel ply off thinking maybe that's trapping whatever off-gassing is going on. :banghead: Rolled out the bubble and let it sit. Another half hour later.

spacer.gif
img_355498_1_88267f6fe11b8e81f532864767cc715d.jpg


It's back again. Same size.

Got the bubble buster out and rolled the crap out of it again!

spacer.gif
img_355498_3_ab921233a4d92869761c34886ee872f1.jpg


The epoxy is at the ultra sticky consistency now so this thing should stick down. I'll keep checking every half hour.
 
I've been wacht'in.

Think I'll build a plywood boat.
 
It seams these large stitch and goo boats are a pain.Lucky for Rick,this will be the last one.
 
It seams these large stitch and goo boats are a pain.Lucky for Rick,this will be the last one.

I have nothing but respect for rick taking on this massive project.

I my own modest way I've built two stich and glue boats: both were 8' length sailing dinghies , so I can't imagine the work involved in a 30' boat.

Keep up the fantastic work Rick, a very interesting and educational thread!
 
I don't mind the sanding so much. Just wish there wasn't so goddam much of it! :lol:

This fiberglassing sh*t is grunt work. The good stuff is yet to come like wiring & engine install etc. :D

Tips! If you wanna build something like this, don't do it alone! :thumb:
 
Good to see you can take a joke. We have to have a sense of humour to do what we are doing mate lol

If I didn't have a sense of humour I'd likely have killed someone by now! :rofl:

Don't build a boat and plaster your mistakes all over the freakin' Interwebs if you can't take a wee bit o'criticim & razzin' I always say! :thumb:

Slacked off yesterday and got ourselves into a wee bit o'trouble on a ferry boat! :eek: Bottomed out on the loading ramps and damn near tore the exhaust off the ole' Camaro. That's the problem with a lowered car. Only 3" of ground clearance! :eek:

spacer.gif
img_356480_1_3149c09582af634c2cd757abd1b7c63e.jpg


So to make up for slacking off yesterday I hit the shed at 9:00 and got to work ripping up peel ply and prepping the forward port side for glass.

spacer.gif
img_356480_3_909bdfc496a580cc71a38e1c7401f012.jpg


That section is 16' long by 4' 2" wide. I figure it'll soak up about 2 gallons of epoxy and take me at least 3 hrs to wet out and peel ply. Might tackle that tomorrow, not sure yet.

More pics etc. on the web log update: http://she-kon.blogspot.ca/2015/08/port ... rward.html
 
Not at all sir I just like plywood boats.

And they are (more or less) fun to build. If I had 1/10th of your drive I'd be building one now.
 
Back
Top Bottom