Aft Deck Capt
Senior Member
- Joined
- May 18, 2014
- Messages
- 191
- Location
- US
- Vessel Name
- Long Shot
- Vessel Make
- 1978 Californian 42' LRC
Greetings,
After a busy summer of work and boating, I decided to launch into yet another wood project on the boat this fall. Winter has shut down progress for now but thought I would post some pics.
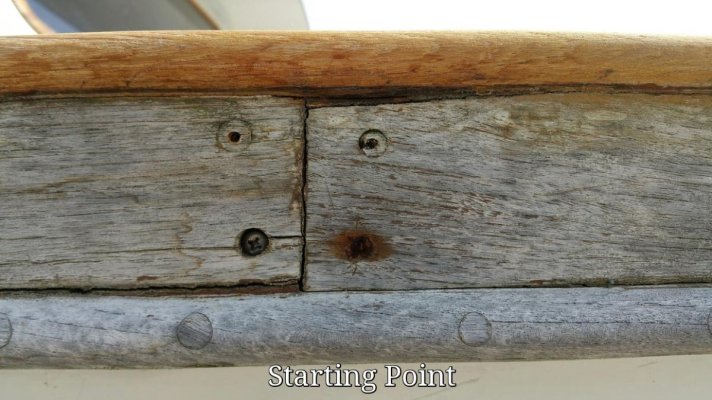
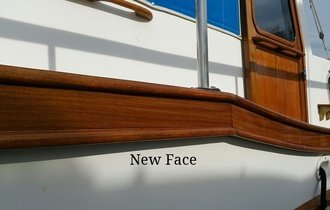
I don't know the correct nomenclature of the teak "face" I'm replacing but its the flat, 2-1/4" wide section that is framed on top by the rail cap and a matching lower bullnose. From the pic you can see that the original wood was pretty far gone: checks/splits, screw heads pulled through, paper thin plug faces.
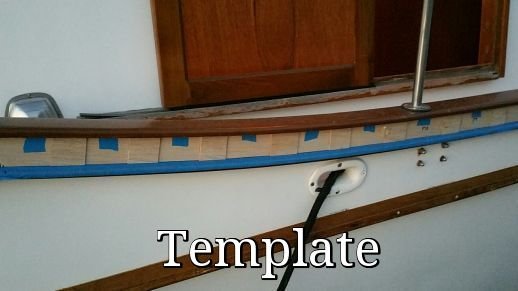
Based on its condition I decided to remove it a year and a half ago while refinishing the rail cap to allow access to clean and finish all the way under the bullnose. The plan was to save it as a template....it came up in 10-15" pieces. The only useful pieces were the corner miter joints.
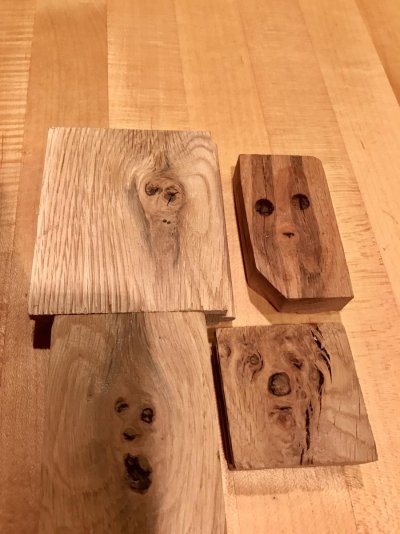
I had plenty of Qtr sawn Afromosia left over from replacing the FB rail cap so the main quandary was how to attach the new wood. Countersinking a few hundred screws into 3/8" thick material and then covering with bungs didn't make sense so I opted to use epoxy.
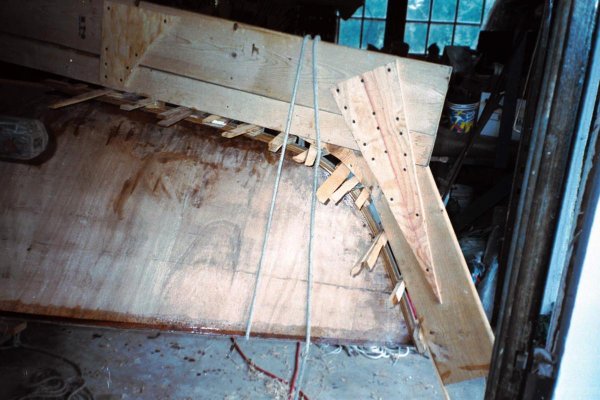
Templates were made from door skin material and the patters roughed out on a band saw. The top and bottom edges were chamfered to minimize the sanding required. Once sanded to fit, each piece received two coats of laminating epoxy and was block sanded smooth.
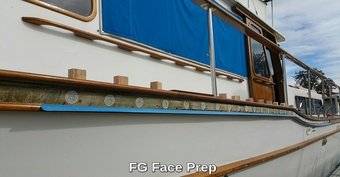
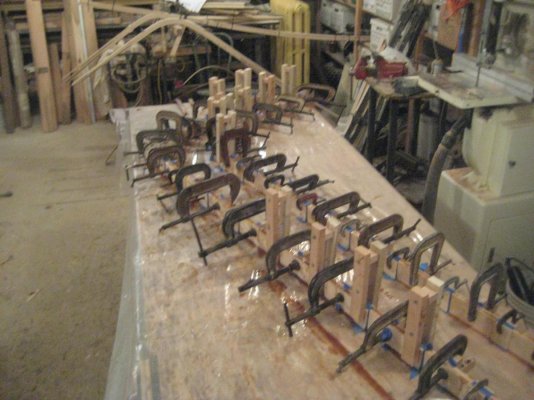
A large forstner bit was used to bore out a clean bonding point for the epoxy about every 6". I elected to use Total Boat "FlexEpox" thickened with silica.
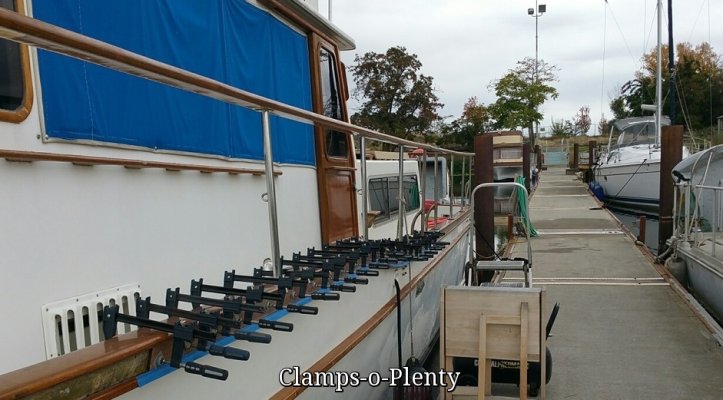
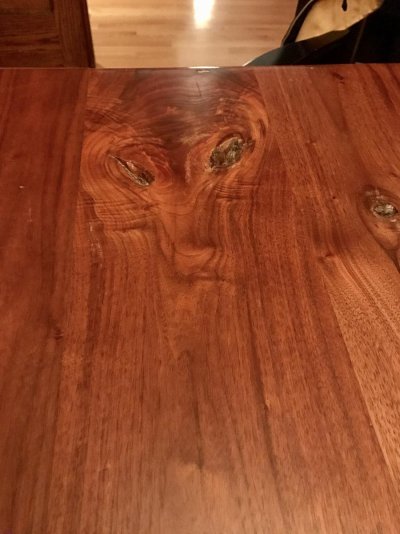
I'm pleased with the results so far. I was able to get 2/3 of the port side applied and sealed with 2 coats of varnish before the daily temps dropped.
After a busy summer of work and boating, I decided to launch into yet another wood project on the boat this fall. Winter has shut down progress for now but thought I would post some pics.
I don't know the correct nomenclature of the teak "face" I'm replacing but its the flat, 2-1/4" wide section that is framed on top by the rail cap and a matching lower bullnose. From the pic you can see that the original wood was pretty far gone: checks/splits, screw heads pulled through, paper thin plug faces.
Based on its condition I decided to remove it a year and a half ago while refinishing the rail cap to allow access to clean and finish all the way under the bullnose. The plan was to save it as a template....it came up in 10-15" pieces. The only useful pieces were the corner miter joints.
I had plenty of Qtr sawn Afromosia left over from replacing the FB rail cap so the main quandary was how to attach the new wood. Countersinking a few hundred screws into 3/8" thick material and then covering with bungs didn't make sense so I opted to use epoxy.
Templates were made from door skin material and the patters roughed out on a band saw. The top and bottom edges were chamfered to minimize the sanding required. Once sanded to fit, each piece received two coats of laminating epoxy and was block sanded smooth.
A large forstner bit was used to bore out a clean bonding point for the epoxy about every 6". I elected to use Total Boat "FlexEpox" thickened with silica.
I'm pleased with the results so far. I was able to get 2/3 of the port side applied and sealed with 2 coats of varnish before the daily temps dropped.