Comodave
Moderator Emeritus
- Joined
- Jul 2, 2015
- Messages
- 21,280
- Location
- Au Gres, MI
- Vessel Name
- Black Dog
- Vessel Make
- Formula 41PC
Just remember a reciprocating saw is your friend...
Even if you could get a seal, wouldn’t the tube need to go down to the holding tank so it could get air into the tank in order to not collapse the tank?
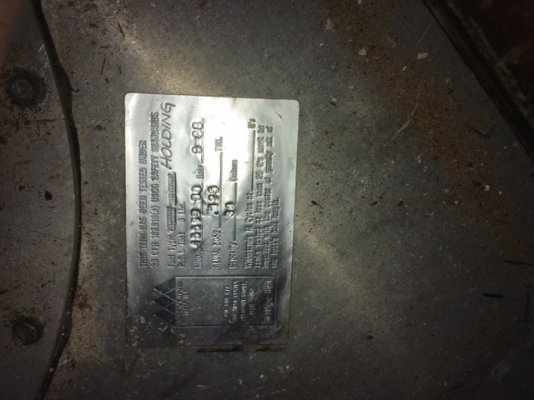
Now that I have access to the top of the tank I can see the "full sensor" plate. If I remove that and look into the tank and check things out how would I reseal that sensor plate, 4200? 5200? or just some good quality silicone?
The Brockerts
")

Unless you had a spill while pumping out, that shouldn't cause the boat to stink, especially since you thoroughly rinsed out the tank. I'm concerned that it means the tank is leaking. Whether it already is or not, it will...all metal tanks do. The smartest thing you can do is replace it with a top quality plastic tank while you have access to it to do it. There's an excellent product called PureAyre PureAyre that'll eliminate all the residual odor from a spill or leak *when used as directed* (it's not a cleaning product...the area must be cleaned before using it).
I'd also check all the hoses for permeation...it's a simple test: wet clean rags in HOT water--as hot as you can handle. Wrap one around every section of hose (use a "new" clean rag for each one...don't re-use any). When the rags have cooled remove each and smell it. If you can smell anything on the rag, that hose has permeated. If you find that even one section has, you'd be wise to replace 'em all. As I've posted earlier, I'd have the entire system removed and re-installed by someone who knows what they're doing this time.
--Peggie

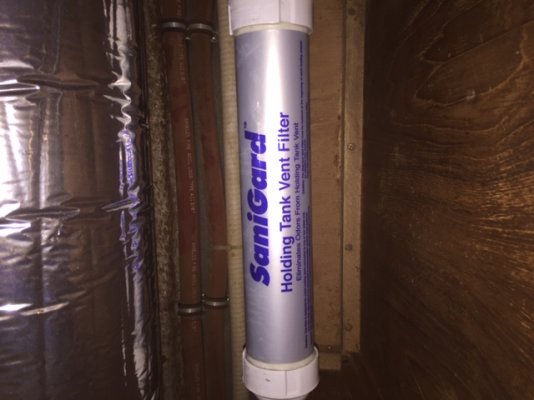
After much work, I've been able to push water from outside the boat, thru the vent line into the holding tank. In this process I've found "SaniGard" vent filters buried in the bilges of the boat. They were not part of clogged vent. They probably have not been changed in years. The real question is are they worth the trouble and should I replace them? Also I want to be able to push water thru the vent line every time I pump out. Will this damage this filter?