Brisyboy
Senior Member
- Joined
- Mar 7, 2015
- Messages
- 423
- Location
- Australia
- Vessel Name
- Malagari
- Vessel Make
- Island Gypsy 36 Europa
Hi everyone and good luck and fortune for the new year,
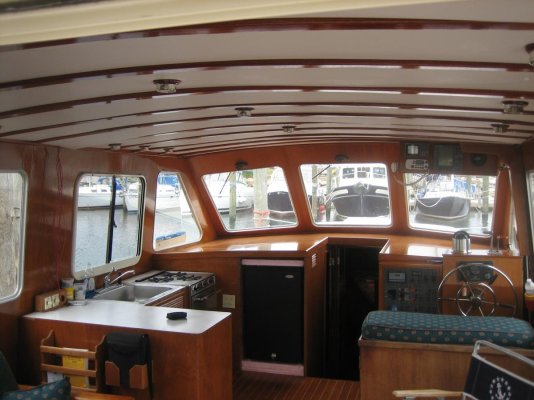
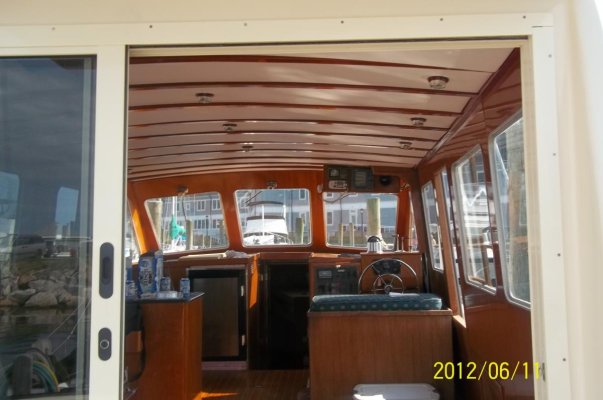
Probably the last remaining major task on my list is the fly bridge sagging deck. The weight of the mast has caused two or three floor/roof beams to sag- probably about 2cm. Consequently, or coincidentally I have a leak into the saloon immediately below below the mast.
To my mind the remedy is to raise the roof back up and sister the sagging beams with metal or laminated beams to regain the shape, strengthen the mast support plate (whatever it is) , remove the cactus teak, a couple of layers of glass mat and kiwi grip. All over red rover.
Underneath not so "easy"- the headlining is the issue. It is really neatly done - sewn into strips and it appears to be attached to each roof/floor beam.
Has anyone ever had to remove the headlining and if so how is it attached to the beams with tacks or at each seam is there some sort of bow arrangement?
Before this can be accessed, I need to remove the central overhead grab rail and pelmets of each side and at the rear.
Any advice: on the mast step or removing the headlining would be appreciated - pictures would be even better and receive the monthly Brown Feather award
Last edited: