improving and maintaining Albin 33

The friendliest place on the web for anyone who enjoys boating.
If you have answers, please help by responding to the unanswered posts.

swordfish

Senior Member
Joined
Feb 25, 2016
Messages
119
Location
Netherlands
Vessel Name
zwaardvis
Vessel Make
albin 33
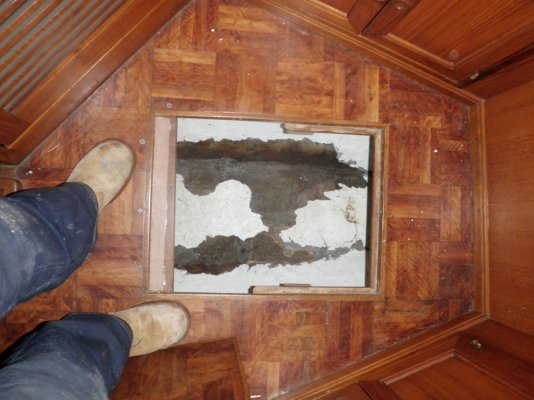
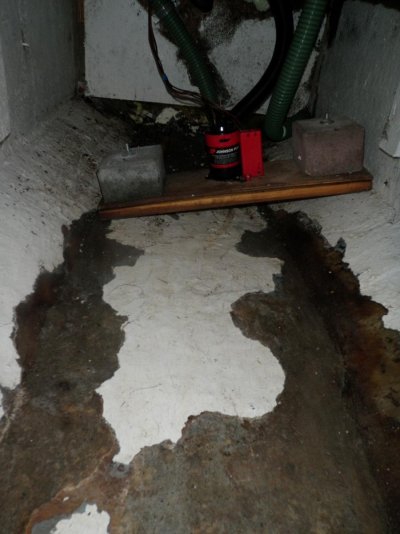
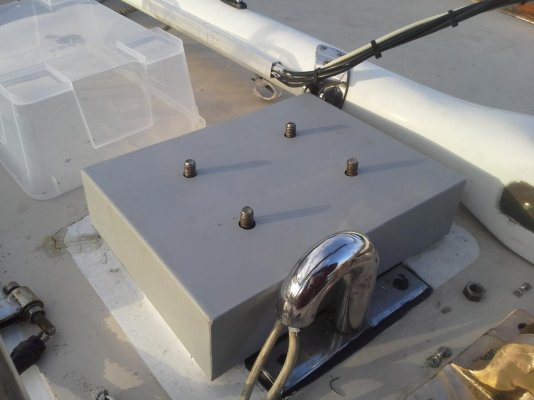
I think there were certain things that could be better, immediately after the purchase i went to work at improving some bits and pieces.
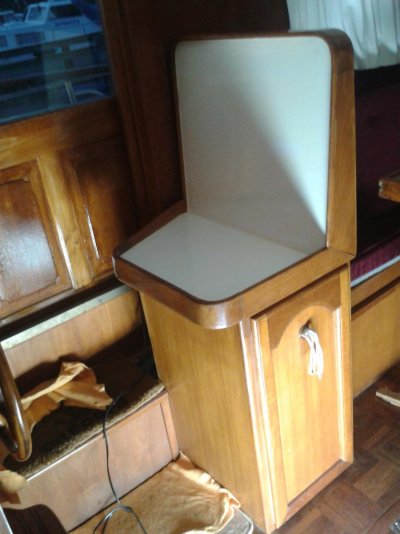
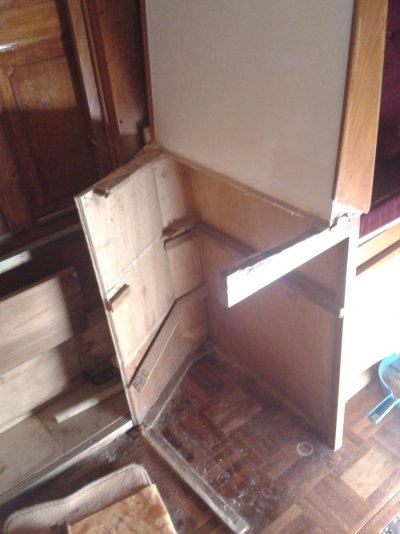
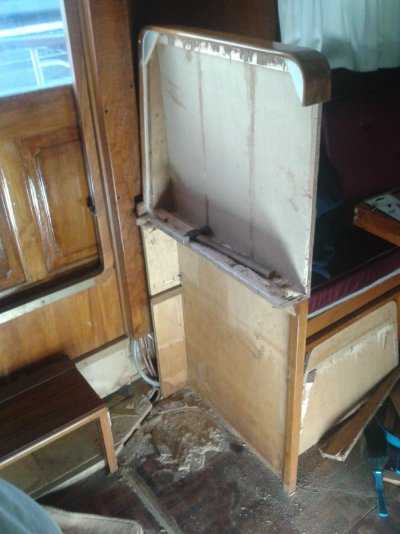
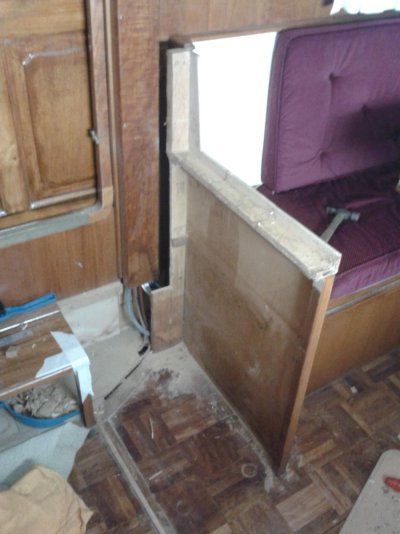
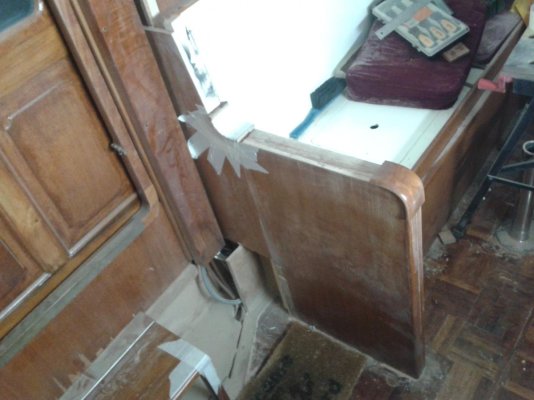
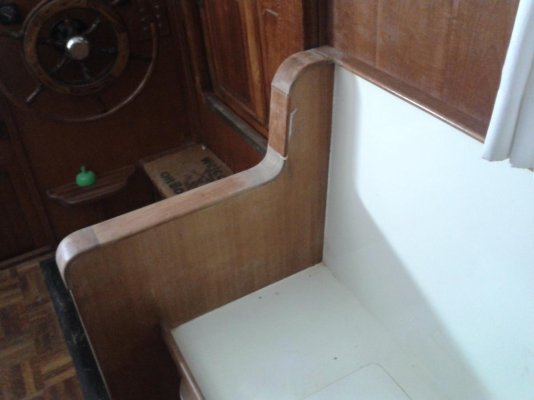
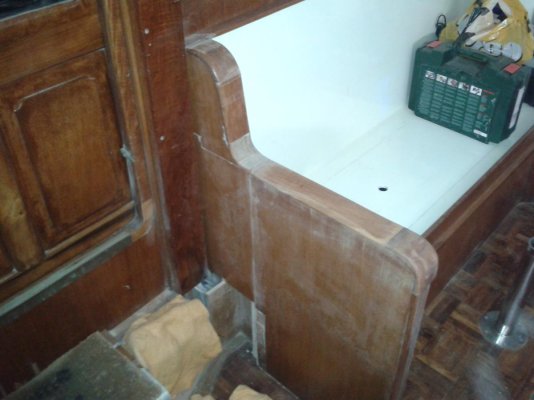
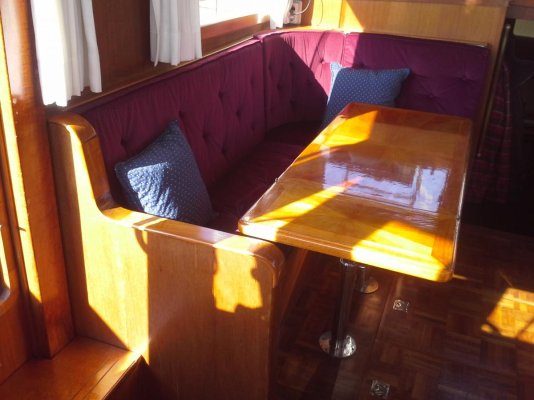
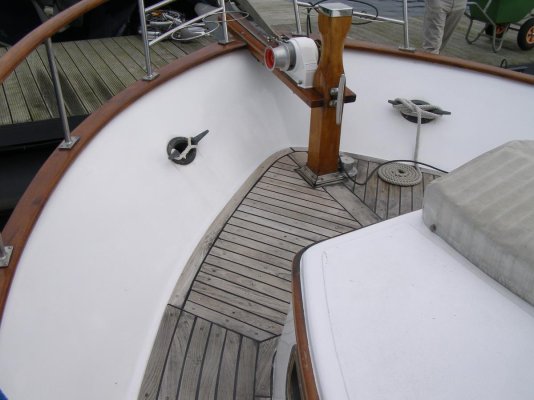
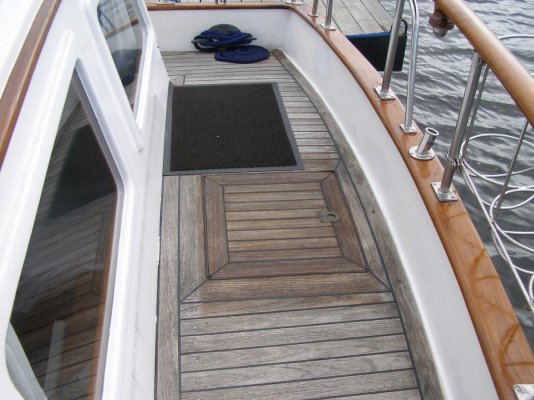
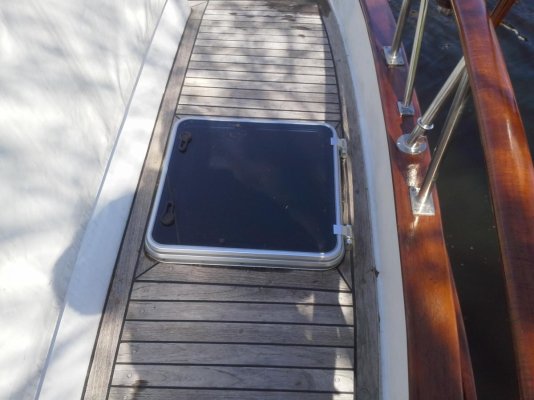
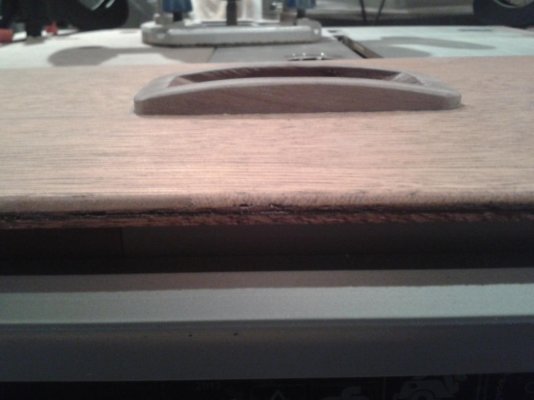
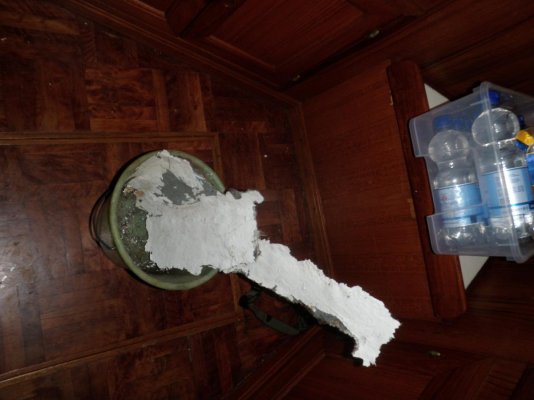
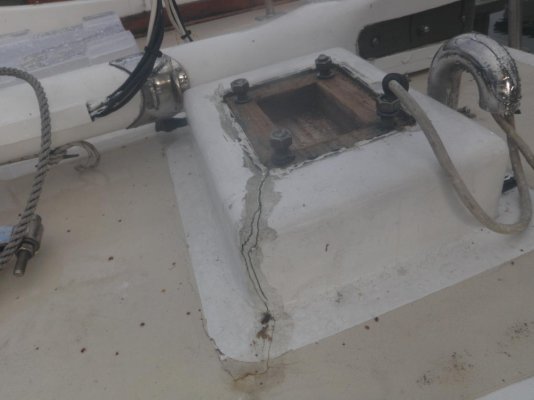
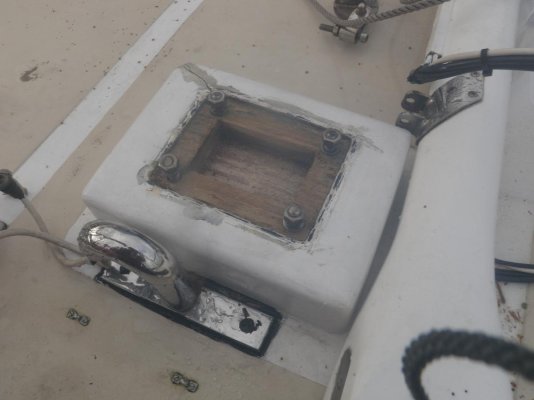
first I wanted to get rit off the chair. this is much too big for the small salon. the chair blocked the entrance and you could not have a good look around if you are sitting on the bench.
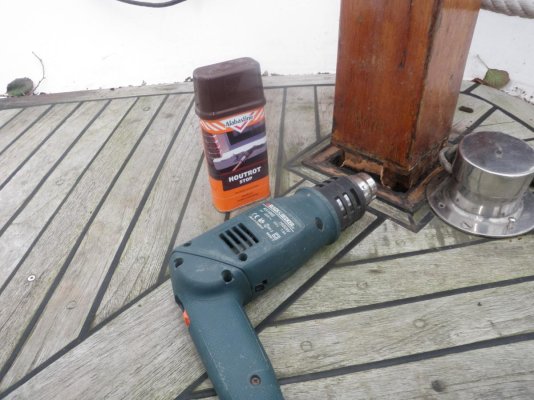
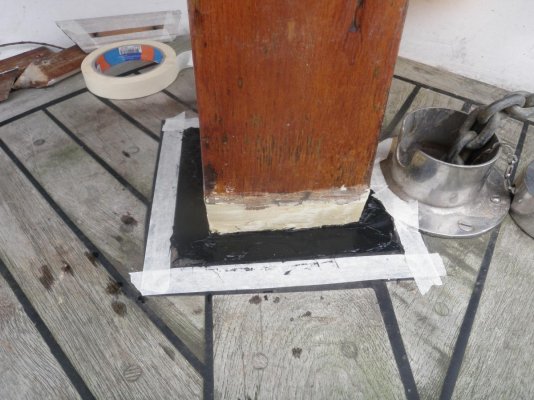
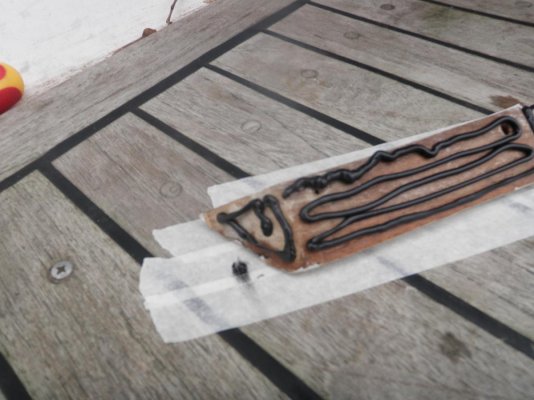
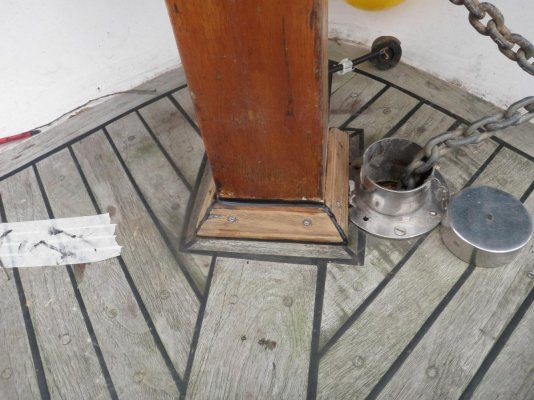
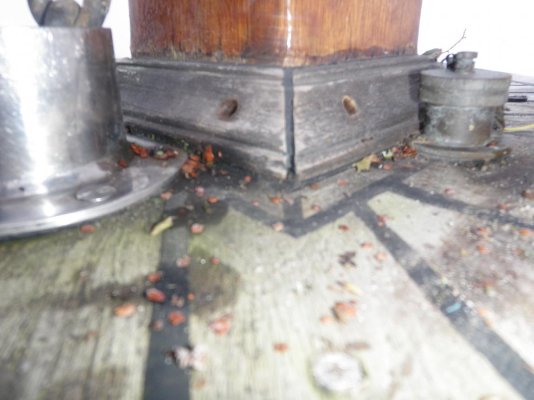
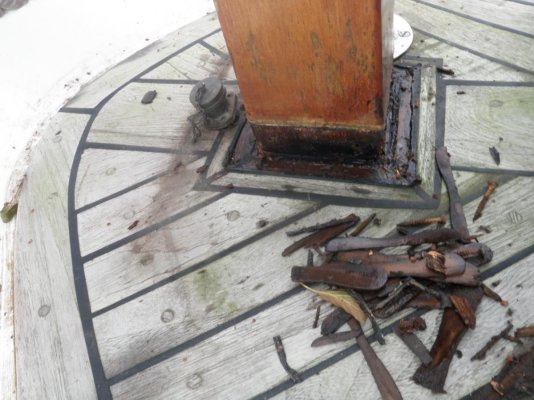
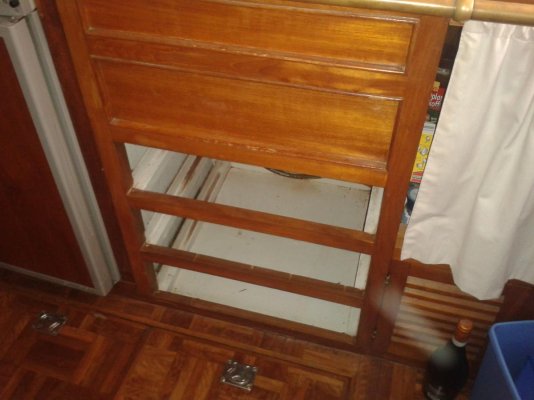
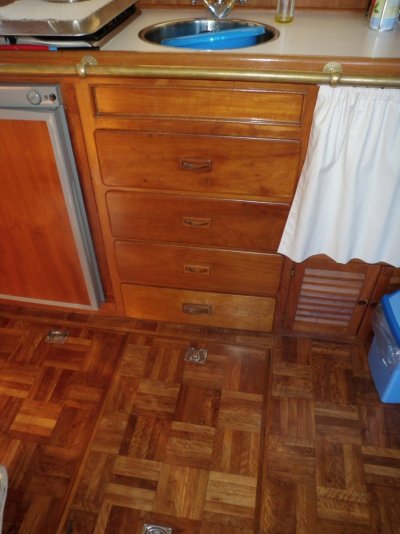
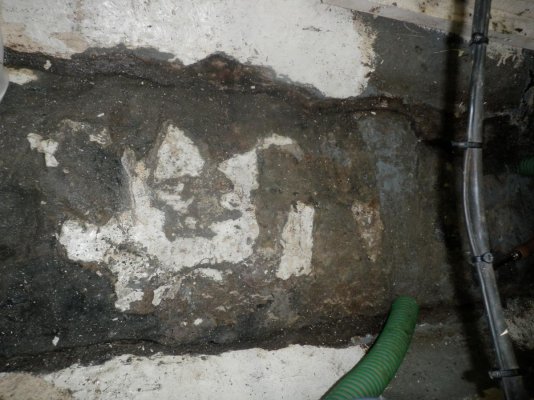
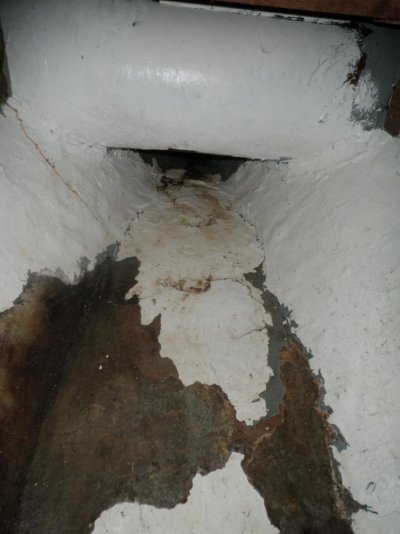
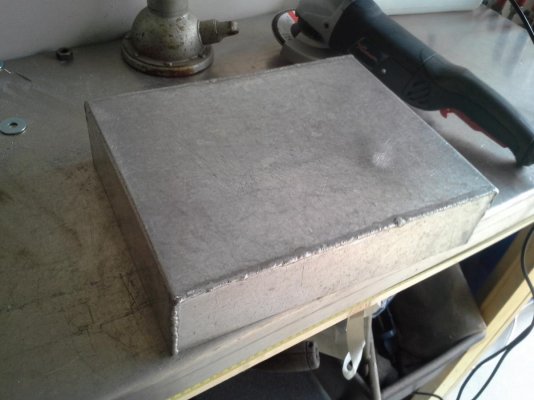
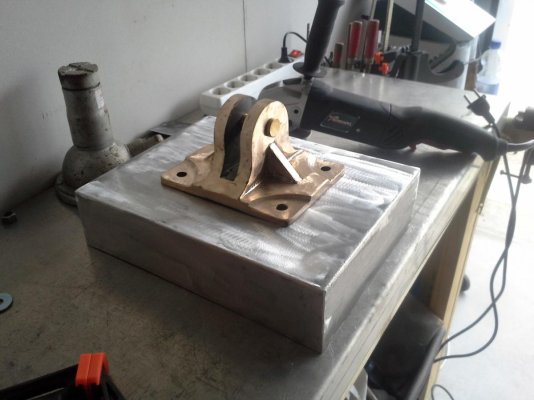
So i started to gently breakdown the helm seat and attempted to preserve as much as possible teak because here is not enough old teak in stock.
 

Attachments

  • IMG_20141112_171030.jpg
    IMG_20141112_171030.jpg
    86.9 KB · Views: 321
  • IMG_20141112_171056.jpg
    IMG_20141112_171056.jpg
    96.9 KB · Views: 305
  • IMG_20141112_180636.jpg
    IMG_20141112_180636.jpg
    88.7 KB · Views: 306
  • IMG_20141113_163434.jpg
    IMG_20141113_163434.jpg
    109.2 KB · Views: 288
  • IMG_20141114_174956.jpg
    IMG_20141114_174956.jpg
    91.9 KB · Views: 307
  • IMG_20141124_210834.jpg
    IMG_20141124_210834.jpg
    96 KB · Views: 301
  • IMG_20141128_171613.jpg
    IMG_20141128_171613.jpg
    66 KB · Views: 302
  • IMG_20141128_171627.jpg
    IMG_20141128_171627.jpg
    87.4 KB · Views: 298
  • 20150322_152302.jpg
    20150322_152302.jpg
    103.2 KB · Views: 304
Last edited:
as a owner of a "taiwan build" trawler i knew i purchased a rain cloud. there are allot of leakey problems to adress. At first there is the samson post.
when i removed the trim it was al wet and i know the previous owner had tried to fix it because i found popsicles stick???
Moister had found a way under the trim and soaked the popsicle sticks and started to rot.
I removed all rotten pieces of wood and let is dry. Then I treated the wood with rot stopper and filled with putty. finally i replaced the trim.
 

Attachments

  • P1011098.jpg
    P1011098.jpg
    150.2 KB · Views: 272
  • P1011107.jpg
    P1011107.jpg
    163.1 KB · Views: 271
  • P1011108.jpg
    P1011108.jpg
    105.1 KB · Views: 289
  • P1011112.jpg
    P1011112.jpg
    159.7 KB · Views: 268
  • P1010028.jpg
    P1010028.jpg
    106.8 KB · Views: 270
  • P1011095.jpg
    P1011095.jpg
    90 KB · Views: 283
  • P1011096.jpg
    P1011096.jpg
    138.4 KB · Views: 272
Last edited:
as one leaking problem is solved at the front...


now the leaking rear hatch has to be solved.
I bought a old (2014) model vetus deck hatch for 50%off. and trim down the edge with an angle grinder so it sits flush on the deck.
I had to cut some wood out of the deck so that the hatch levers fit in.
This repair has to be made so no (rain)water can come in anymore and i can assure you no water is comming in... and no water is going out.
The rear section of the "Zwaardvis" was not driet properly when the hatch was closed. so after a couple of days a mold began to build up
After cleaning up there were a couple of vents build in
 

Attachments

  • P1010031.jpg
    P1010031.jpg
    152.3 KB · Views: 248
  • 20150427_150111.jpg
    20150427_150111.jpg
    126.9 KB · Views: 261
  • 20150427_150059.jpg
    20150427_150059.jpg
    107.6 KB · Views: 258
there is not much room on a small boat. therefore I do not understand why not al places are used.

in the galley is place for 4 drawers. but there are only 3 used. just for fun I made in a fourth drawer.
Unfortunately, there is not much teak available so I had to improvise.
 

Attachments

  • IMG_20150128_163513.jpg
    IMG_20150128_163513.jpg
    91.4 KB · Views: 253
  • IMG_20150205_194650.jpg
    IMG_20150205_194650.jpg
    71.1 KB · Views: 266
  • IMG_20150205_194441.jpg
    IMG_20150205_194441.jpg
    104.4 KB · Views: 249
  • IMG_20150205_194516.jpg
    IMG_20150205_194516.jpg
    73.7 KB · Views: 257
  • P1011038.jpg
    P1011038.jpg
    109.6 KB · Views: 249
I wanted to clean the ship's keel (inside of the hull?) i found a few blisters. when I made it open there was moisture underneath it ...of course...
Found out that underneat the bow thruster ware a couple of damage spots in the bottom fiberglass which have to seal de concrete ballast. moisture from the chainlocker and rainwater that came in through the samson post leaked onto the concrete and loosend all the fiberglass and paint from the bow up to and under the engine.
I can tell you that after a lot of years...stagnant water can stink tremendously.
half work does not work, so I'm going to handle this well. First I take everything to the side then i strip of all loose paint and fiberglas, let it dry thoroughly and seal the concrete again. sounds easy.
after letting the concrete dry, i painted the bottom with rubber seal. Unfortunately they only had it in black
 

Attachments

  • P1011156.jpg
    P1011156.jpg
    128.3 KB · Views: 244
  • P1011150.jpg
    P1011150.jpg
    144.5 KB · Views: 250
  • P1011160.jpg
    P1011160.jpg
    106.2 KB · Views: 244
  • P1011152.jpg
    P1011152.jpg
    166.6 KB · Views: 246
  • P1011154.jpg
    P1011154.jpg
    95.1 KB · Views: 242
  • P1011153.jpg
    P1011153.jpg
    91.8 KB · Views: 240
  • P1011164.jpg
    P1011164.jpg
    147.8 KB · Views: 249
  • P1011165.jpg
    P1011165.jpg
    154.3 KB · Views: 244
  • P1011159.jpg
    P1011159.jpg
    92.1 KB · Views: 238
So what's your replacement seating at the helm?


Keith
 
up to the next problem:

at the rear of the salon there began to form a mold spot on the ceiling at the place where it is often wet in a rainstorm. Of course it was another leakey problem. as far as i can see it appeared to come from the lighting cable from the mast. After resealing the cable entry and the mastfoot it seemed it stopped to rain at the inside.
I cut out the wet piece of ceiling and made a new insert. When i was done i left the hole in the ceiling open to dry an bit more.
 

Attachments

  • P1011113.jpg
    P1011113.jpg
    77.2 KB · Views: 227
  • P1011115.jpg
    P1011115.jpg
    93.9 KB · Views: 250
  • P1011117.jpg
    P1011117.jpg
    92 KB · Views: 253
  • P1011131.jpg
    P1011131.jpg
    64.3 KB · Views: 258
Welcome to the "totally rebuilt my Albin club"...:thumb:

I figured 3 years rebuild....now thinking it's really a 10 year plan...:eek:
 
when I came back on board after a few days of frost, i found a puddle of water on the ground.
The block of wood under the mast was obviously saturated with water. when water freezes it expands, and cracked the polyester which resulted in a hole in the roof.

So i started to remove the mast and mastfoot to let the wood dry. This large block of wood, of course, takes years for it to dry, so I took out a section to speed things up. later on i will fil it up with a new peace of wood
 

Attachments

  • 20120101_025904.jpg
    20120101_025904.jpg
    81.2 KB · Views: 240
  • 20120101_025854.jpg
    20120101_025854.jpg
    88.2 KB · Views: 235
  • P1011168.jpg
    P1011168.jpg
    69.9 KB · Views: 248
  • P1011167.jpg
    P1011167.jpg
    72.8 KB · Views: 232
Welcome to the "totally rebuilt my Albin club"...:thumb:

I figured 3 years rebuild....now thinking it's really a 10 year plan...:eek:


Thanks for the warning, just a little too late:socool: I now have 9 years to go.
who is going to tell my girlfriend:hide:
 
Thanks for the warning, just a little too late:socool: I now have 9 years to go.
who is going to tell my girlfriend:hide:

Not me...the "I need the whole boat to be torn apart because I am doing plumbing/wiring/electronic, etc runs" causes quite the stir with my liveaboard partner and large dog.


You are on your own buddy!!!!!
 
Not me...the "I need the whole boat to be torn apart because I am doing plumbing/wiring/electronic, etc runs" causes quite the stir with my liveaboard partner and large dog.


You are on your own buddy!!!!!

when she starts to moan then I help her to remember the beautiful days:smitten:
 

Attachments

  • DSC01205.jpg
    DSC01205.jpg
    114.7 KB · Views: 251
  • 20150806_113039.jpg
    20150806_113039.jpg
    97.8 KB · Views: 238
  • P1010995.jpg
    P1010995.jpg
    55.3 KB · Views: 240
Swordfish. Nice work with the mods and maintenance, don't give up! If psneeld is right and I think he is, I'm on the same 9 year schedule. However, since we enjoy what were doing that calculates out to a mere 3 "boat years". Right? :thumb:
 
Last edited:
because I think I never get a 100% waterproof seal arround the crack in the original mast foot. I have to take drastic measures. I found an old aluminum container which fit exactly on the mast foot. after refurbishing, it can be placed on the deck. the bolts are too short and therefore I had to adjust de brass mast foot a bit.
 

Attachments

  • 20160306_155337.jpg
    20160306_155337.jpg
    98.3 KB · Views: 209
  • 20160306_160606.jpg
    20160306_160606.jpg
    95.4 KB · Views: 208
  • 20160306_171309.jpg
    20160306_171309.jpg
    83.1 KB · Views: 201
  • 20160306_151514.jpg
    20160306_151514.jpg
    75.9 KB · Views: 201
  • 20160306_171104.jpg
    20160306_171104.jpg
    102.7 KB · Views: 214
Now I can fix the crack, and wait until the wood is completely dry. Then I place the wood insert, assemble my aluminum tray and brass pole base.

Then I can again raise the flag again.:socool: and hope is stays dry on the inside
 
In the meantime I've been working to convert several lamps into LED.
I had to use the old socket because there were no others who fit.
 

Attachments

  • IMG_20141203_185858.jpg
    IMG_20141203_185858.jpg
    70.5 KB · Views: 195
  • IMG_20141203_190132.jpg
    IMG_20141203_190132.jpg
    89.9 KB · Views: 213
  • IMG_20141203_190923.jpg
    IMG_20141203_190923.jpg
    91.3 KB · Views: 200
  • IMG_20141204_162939.jpg
    IMG_20141204_162939.jpg
    78.3 KB · Views: 212
  • IMG_20141205_163824.jpg
    IMG_20141205_163824.jpg
    68.3 KB · Views: 211
I would not mix aluminum and brass....unless very well isolated from each other.

I could be wrong but if the brass has enough copper in it....copper and aluminum in a salty environment are mortal enemies with the aluminum cording very fast.

If you can squeeze in a layer of rubber or plastic sheeting...it may be fine.

I shaved a half inch off my wooden mast hump, built back up with multiple layers of fiberglass roving and built a dam around the whole thing and filled with epoxy. Still good after 5 years and I use my mast/boom to lift my 200 pound dingy.
 
can you spot the difference?
 

Attachments

  • IMG_20141205_135643.jpg
    IMG_20141205_135643.jpg
    64 KB · Views: 209
  • IMG_20141205_135706.jpg
    IMG_20141205_135706.jpg
    49.3 KB · Views: 208
I would not mix aluminum and brass....unless very well isolated from each other.

I could be wrong but if the brass has enough copper in it....copper and aluminum in a salty environment are mortal enemies with the aluminum cording very fast.

If you can squeeze in a layer of rubber or plastic sheeting...it may be fine.

I shaved a half inch off my wooden mast hump, built back up with multiple layers of fiberglass roving and built a dam around the whole thing and filled with epoxy. Still good after 5 years and I use my mast/boom to lift my 200 pound dingy.


the aluminium container is painted. the underside of the brass is treated whit rubber seal. the holes where the stainless steel bolts come through will be sealed with sikaflex
 
the aluminium container is painted. the underside of the brass is treated whit rubber seal. the holes where the stainless steel bolts come through will be sealed with sikaflex

That's not good enought in the long run. I'd either make a thin pad, say out of Starboard, to go between the aluminum box and the brass part or you nylon washers to raise the brass part off the aluminum box while filling the space between the parts with 5200 to form a gasket.
 
That's not good enought in the long run. I'd either make a thin pad, say out of Starboard, to go between the aluminum box and the brass part or you nylon washers to raise the brass part off the aluminum box while filling the space between the parts with 5200 to form a gasket.
Tough call for sure...but I agree, with a mast plate that will work a bit, it should have more than paint and a coating unless that coating is at least an 1/8 inch thick and tough as nails.
 
So far it had cost me nothing. I found the high grade aluminium box , paint and rubber seal i had lying around. The only thing it had cost me is the work of grinding 8 mm off the brass.
the rubberseal is recomended to apply at a minimum thickness of 2 mm. I wanted to apply only at the brass but as i read al your reactions i think i apply it on the aluminium box to, so i have 2 layers of 2mm

Next year i want to grind the back to back seat of the flybridge and place flexiteek. Therefor i have to remove the mast again. I can inspect how my solution has worked out. If its not held up i should have listen to you all at first:banghead: or else i have earned bragging rights:socool:

:hide:

(Flexiteek is a one piece plastic deck that looks like a teak deck with grains and everything Which can be glued over the existing deck)
 
Because I can....:D

4mm of rubber.....see....you sometimes can just feel the right thickness no matter whose funny ruler you use....:thumb:
 
Back
Top Bottom