stroutmail
Senior Member
- Joined
- Apr 20, 2020
- Messages
- 154
- Location
- United States
- Vessel Name
- Grand Day Out
- Vessel Make
- Grand Banks 36 Classic
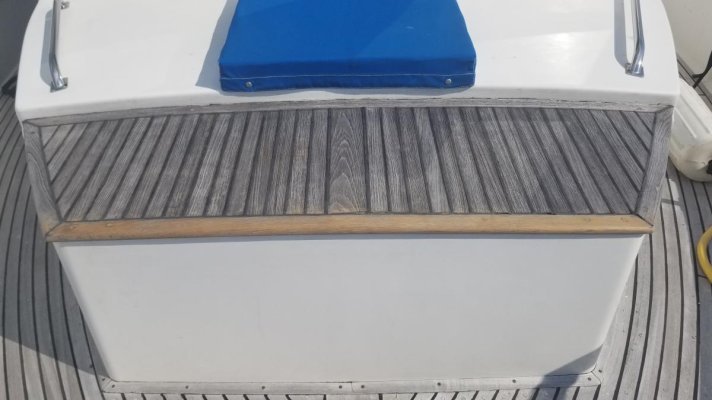
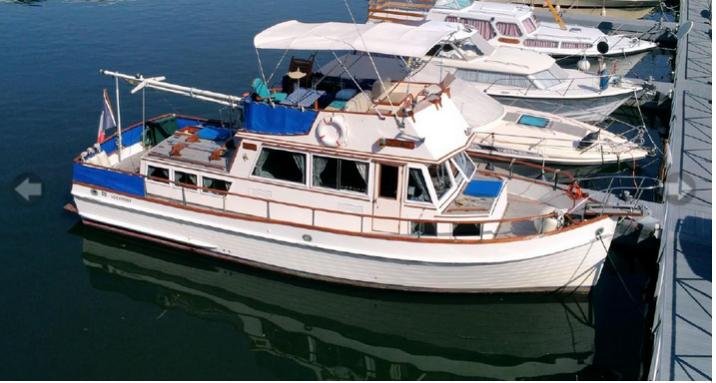
My 1984 GB36 has teak decking on the small front cabin roof...probably meant for seating. It is not flat, it is bowed higher in middle. The front trim teak board came loose on the ends...I figured the screws pulled out, but after removing the plugs, the hole was 3/8 in. thru the whole thickness..there were screws, but they were not holding the teak down. Appears the whole piece was just held by the black caulking. I added a couple of screws. Then covered with plugs. Then I filled the other holes with epoxy, drilled and installed screws and plugs.
The deck pieces are not screwed..just glued down with the caulk. Some are loose and buckeled.
Question..can I screw these down? How thick is the fiberglass and plywood underneath?
The deck pieces are not screwed..just glued down with the caulk. Some are loose and buckeled.
Question..can I screw these down? How thick is the fiberglass and plywood underneath?
Last edited:
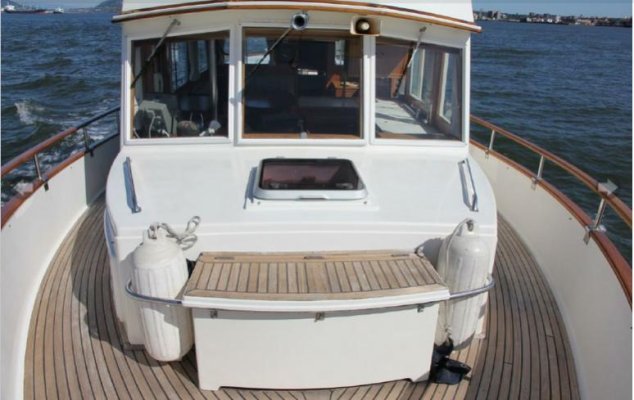
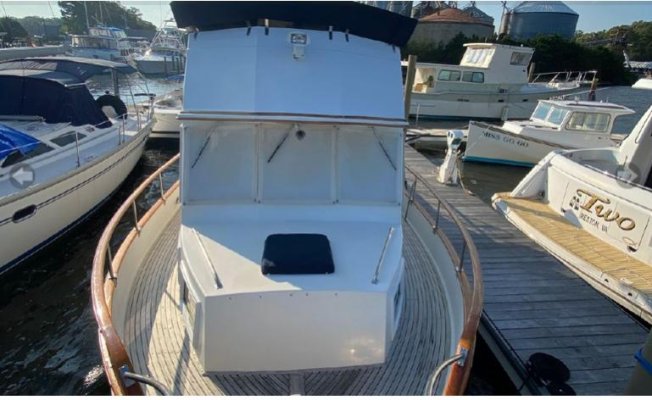

 , I now see (hunted it down by looking at quite a few on YW) that some of the 36's don't have that "box extension," and the cabin (inside) does end just forward of the side windows/cabintop hatch (as in the lower of the two photos I posted above, which is a 36 Classic).
 Clever way to make the forecabin overhead a bit roomier without having to change their molds in that area.
")

