Installed Marine Elegance on MS390
So, having read all of the above comments and with considerable input from Jamie out on the West Coast, I decided to go ahead and install a Raritan Marine Elegance freshwater only toilet. A couple of things mostly unique to me, 1. I already had installed one 6-7 years ago on my Gemini 105 Catamarran and loved it and 2. my recently acquired MS390 was in fresh water for 20 years out of 21 which meant that there hadn’t been any appreciable salt water to gum up the discharge hose. I checked that hose and it didn’t have any odor so decided not to replace it which saved a ton of time and money as 25’+ of good discharge hose is very expensive. So fresh water only option. Anyway, following Jamie’s advice and looking at his pictures, got started a few days ago.
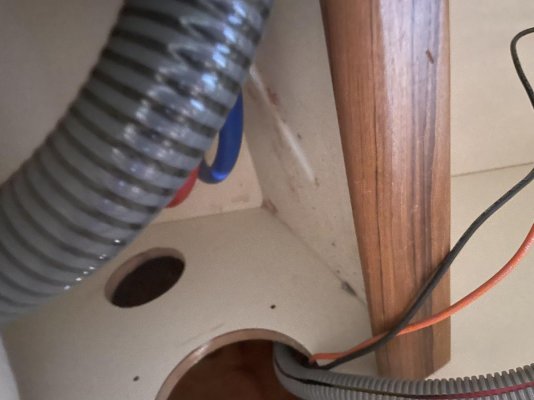
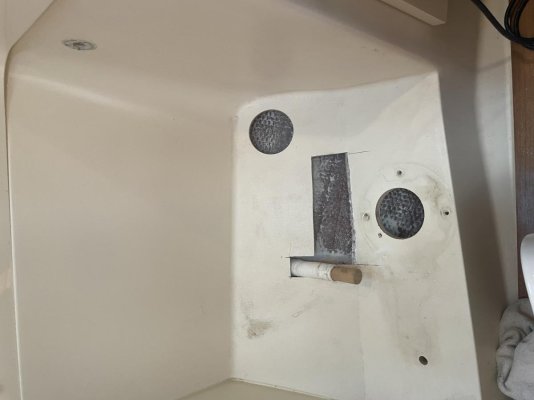
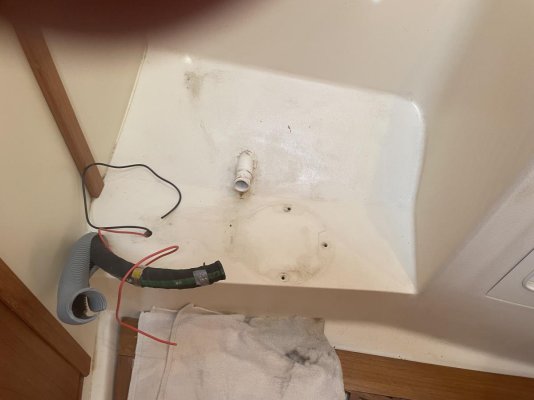
My plan was to remove the old toilet and put a 1” piece of Starboard on the base covering up the existing holes and to also put a piece of 1/4” Starboard on the back, slanted wall once all my cutouts were done. This would enable me to Raise the standard height new toilet to same height as old one and give me great flexibility to cut extra holes as needed for running electric and hoses. Jamie had the good luck to be able to pull the existing electric back from the pump and use it to feed new electric wire and the new fresh water hose. Unfortunately, I wasn’t so lucky, even though our boats are same model and same year, could not budge the wires. So needed to cut access holes (see pictures)
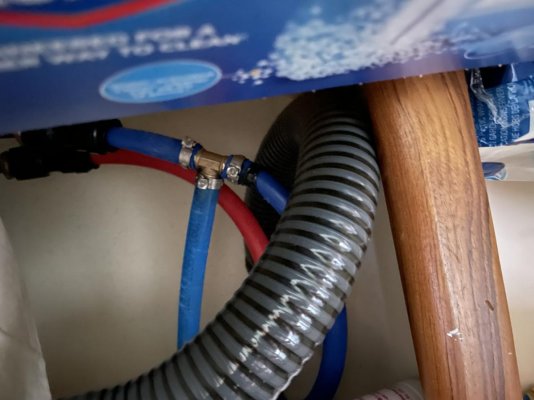
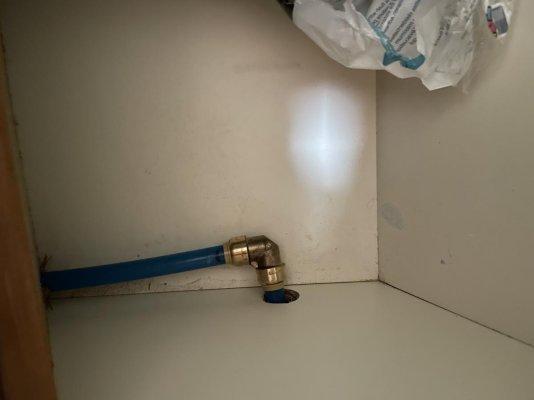
Had to cut two large holes in wall of vanity to be able to run the wires and fresh water hose which was Tee’d in cold water under sink. These are not noticeable but will add some flex tubing to neaten up a bit but for now, they are fine. But importantly, the boat’s fresh water hoses are NOT pex and have a slightly smaller diameter so couldn’t use press on type fittings and they also didn’t play well with hose clamps (way too stiff) so had to use pex cinch rings after much experimenting. Then ran pex to toilet. Covered the blue pex line with white flex electric tubing which makes it barely noticeable.
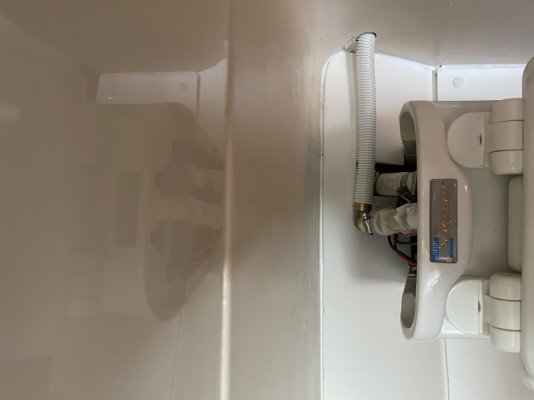
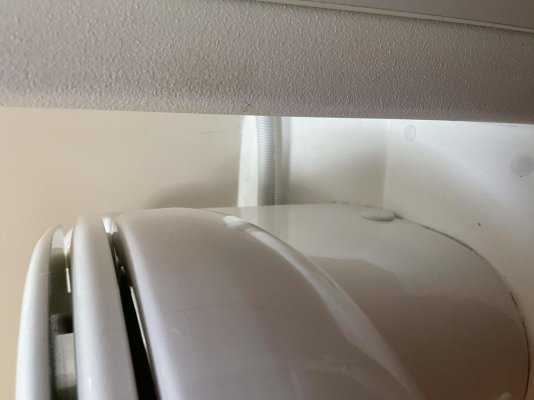
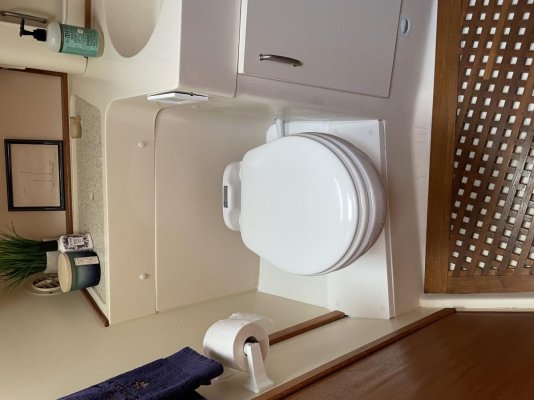
On the back slanted wall following Jamie’s lead, cut out enough of the wall so as to be able to slide the toilet into it allowing its base to sit completely on the existing ledge covered with the 1”Starboard. It’s back far enough that it’s not a tripping hazard, prob about same overhang as before with old toilet.
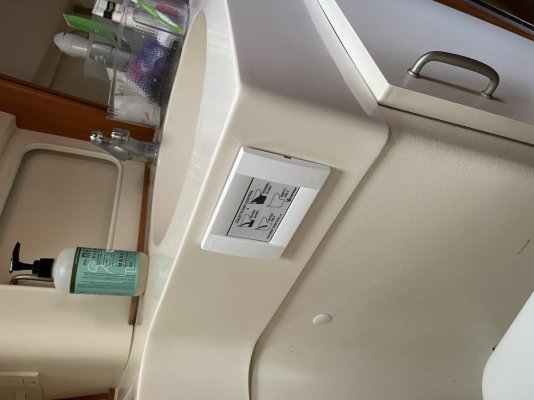
Made new hole for the controls and very simple to connect up wires, discharge hose and freshwater. Used 3/4” plug from Lowes to fill in where old push switch was and 1/2” plugs to fill in where screw holes on 1” Starboard. Caulked the 1/4” back board to make a neat appearance.
I chose the 4 way panel for controls, one button is to have a single light flush, one gives a sequential flush for solids, one is just to add water if needed and one is to just empty the bowl.
It works great, looks great and gives a great flush, much much quieter than the old one and all around a great upgrade
Thank you Jamie and all of you that had provided advice.