|
|
04-30-2018, 01:33 PM
|
#61
|
Veteran Member
City: Boston Area
Join Date: Jul 2017
Posts: 54
|
Quote:
Originally Posted by Keysdisease
On my olde 78 MSI the steps lift off to access storage, looks factory by the workmanship, might have been a previous owner

|
I agree guys, wasted space. I built these to have hinges on the stairs so they flip up. I just have the treads sitting on top at the moment just for use and so I can just pull outside and paint etc.
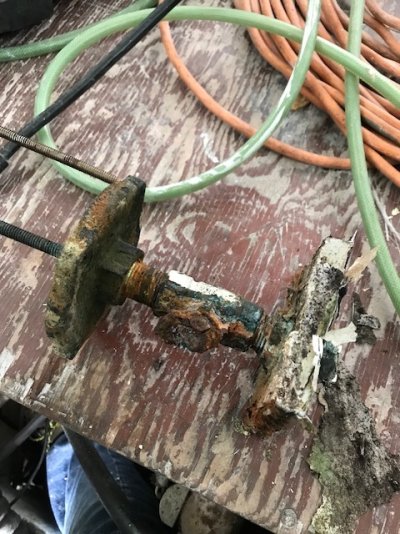
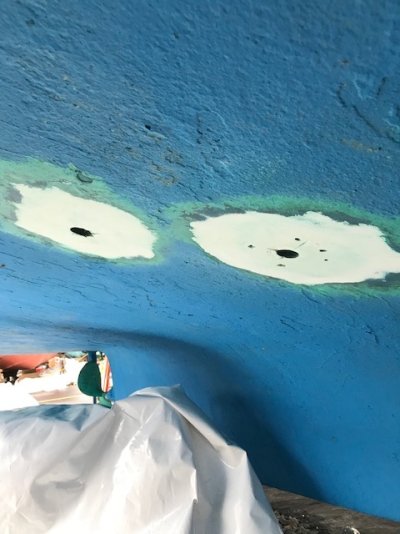
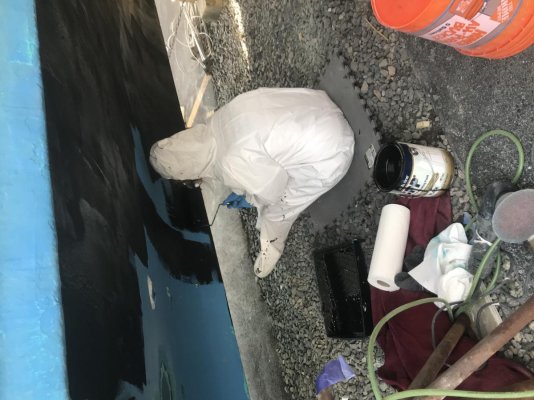
Couple pictures from yesterday. Nothing like waiting until the last minute here on thru hulls. Knew I had to do them but just getting to it. Glad I did!! 
I just removed the generator one (gene needs a rebuild or new) and the old Ray-Jeff depth finder transducer. I glassed up both holes as we are splashing Friday and can drill new ones when needed in the Fall when we come out.
Not sure what I'm doing yet on both fronts so best to start new.
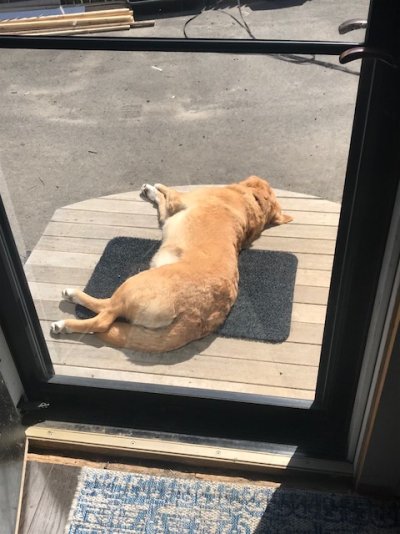
Last is one of our dogs "Cash" napping in the sun at our house dreaming of dinghy rides and swim platform swimming.
|
|
|
05-01-2018, 04:21 AM
|
#62
|
Veteran Member
City: Boston Area
Join Date: Jul 2017
Posts: 54
|
Question
Once I lay the glass and polester resin on the outside holes what do I paint the raw fiberglass with so its waterproof and ready for antifouling paint? Thanks in advance.
|
|
|
05-01-2018, 04:47 AM
|
#63
|
Guru
City: South Florida
Join Date: Sep 2014
Posts: 1,003
|
For a repair like that, and as small as the area is, I would use epoxy resin and follow the resin manufacturers recommendation for painting as well as noting the bottom paint manufacturers priming recommendations.
Quote:
Originally Posted by capeshore
Once I lay the glass and polester resin on the outside holes what do I paint the raw fiberglass with so its waterproof and ready for antifouling paint? Thanks in advance.
|
|
|
|
05-01-2018, 08:24 AM
|
#64
|
Guru
Join Date: Jun 2008
Posts: 4,784
|
Quote:
Originally Posted by capeshore
Once I lay the glass and polester resin on the outside holes what do I paint the raw fiberglass with so its waterproof and ready for antifouling paint? Thanks in advance.
|
No paint, use gelcoat over polyester.
3 or 4 coats will be fine. Keep the gelcoat cold and you can easily apply 4 coats with one batch of gelcoat mix.
Use a "cool can", a small plastic cup (like a yogurt cup) with gelcoat and a larger cup (like a margerine cup) filled with some ice.
IF you choose epoxy then paint is fine. But I like to keep my resins the same if possible because they can expand/contract at a different rate as they cure.
__________________
Jay Leonard
Ex boats: 1983 40 Albin trunk cabin, 1978 Mainship 34 Model 1
New Port Richey, Fl
|
|
|
05-01-2018, 10:21 PM
|
#65
|
Veteran Member
City: Boston Area
Join Date: Jul 2017
Posts: 54
|
Quote:
Originally Posted by jleonard
No paint, use gelcoat over polyester.
3 or 4 coats will be fine. Keep the gelcoat cold and you can easily apply 4 coats with one batch of gelcoat mix.
Use a "cool can", a small plastic cup (like a yogurt cup) with gelcoat and a larger cup (like a margerine cup) filled with some ice.
IF you choose epoxy then paint is fine. But I like to keep my resins the same if possible because they can expand/contract at a different rate as they cure.
|
Thanks, I sanded down to bare fiberglass, tapered to the hole a bit, used 3 layers of cloth, and polyester resin. Can I just sand, paint a coat or two of a product like "Gluvit" for a barrier coat and then bottom paint?
|
|
|
05-02-2018, 06:51 AM
|
#66
|
Guru
Join Date: Jun 2008
Posts: 4,784
|
Quote:
Originally Posted by capeshore
Thanks, I sanded down to bare fiberglass, tapered to the hole a bit, used 3 layers of cloth, and polyester resin. Can I just sand, paint a coat or two of a product like "Gluvit" for a barrier coat and then bottom paint?
|
I don't know what gluvit is.
A small can of gelcoat is cheap.
__________________
Jay Leonard
Ex boats: 1983 40 Albin trunk cabin, 1978 Mainship 34 Model 1
New Port Richey, Fl
|
|
|
05-02-2018, 08:09 AM
|
#67
|
Guru
City: South Florida
Join Date: Sep 2014
Posts: 1,003
|
"3 layers of cloth" Do you mean mat? 3 layers of cloth would make me nervous
Quote:
Originally Posted by capeshore
Thanks, I sanded down to bare fiberglass, tapered to the hole a bit, used 3 layers of cloth, and polyester resin. Can I just sand, paint a coat or two of a product like "Gluvit" for a barrier coat and then bottom paint?
|
|
|
|
05-02-2018, 11:09 PM
|
#68
|
Veteran Member
City: Boston Area
Join Date: Jul 2017
Posts: 54
|
Quote:
Originally Posted by Keysdisease
"3 layers of cloth" Do you mean mat? 3 layers of cloth would make me nervous

|
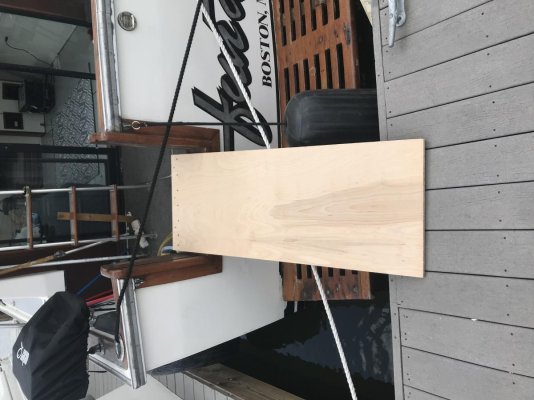
Good catch, I used 1708. Then coated with Gluvit. It's labeled as a "waterproof epoxy. I wanted to get it as I was making 2 backing plates for thru hulls out of MDO and wanted to soak them in the Gluvit first.
|
|
|
05-05-2018, 02:26 AM
|
#69
|
Veteran Member
City: Boston Area
Join Date: Jul 2017
Posts: 54
|
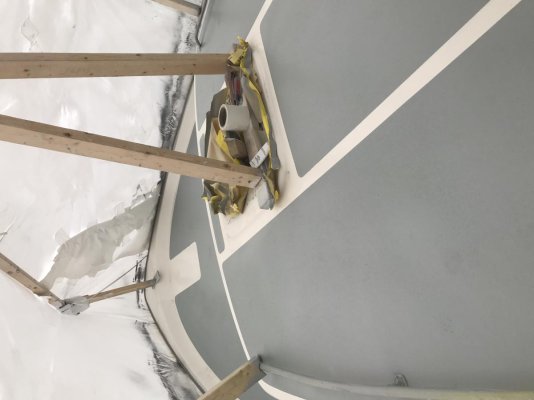
Phew.. some long nights and yesterday was a bear. Was supposed to splash but couldn’t get things to where I wanted them and didn’t want to rush. Couple pictures of the latest. Tons of small items done but not very exciting for pictures. Guy who did glass, gel coat and non skid is from MJM yachts here in Boston. Learned a lot of cool stuff, great guy.
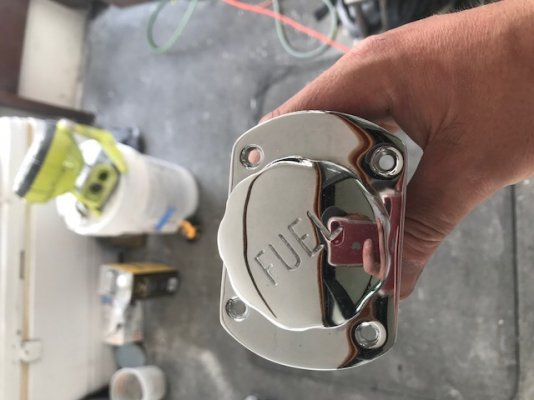
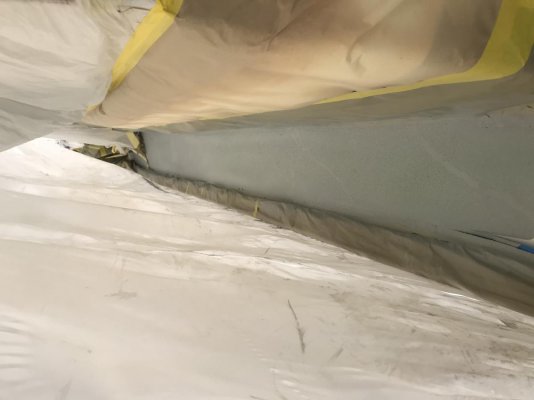
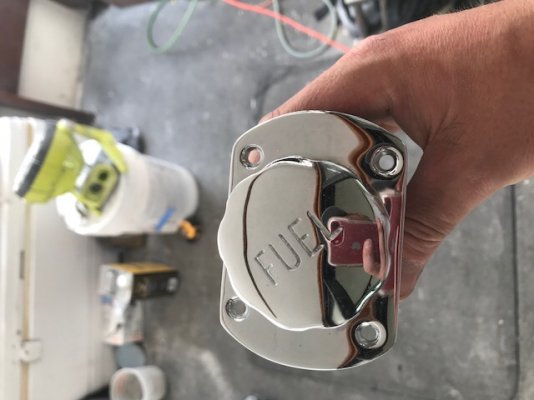
Got the original fuel fills re chromed. A page back or so I showed them before they got done. What a difference!! Had too as the fills are 1 3/4.
The admiral came down to bottom paint. It’s a tradition now. She and I both noticed a big difference from painting the old 26. Lot more work but easier to get underneath the mainship.
Dolled up the water line. Previous owner had red bootstripe, white, Black, blue paint...a lot going on. I did black bottom, white bootstripe and the original black paint stripe. Will take a photo today. Came out pretty good. Certainly a lot better but just some lipstick as I will bead blast the entire bottom next year and redo them proper. But for a couple rolls of 1 inch bootstripe and about an hour it’s a big improvement.
Will try and take some more pictures today.. long day ahead wish it was later in the morning as I’m ready to go now but it’s 3:30 am ha.
|
|
|
05-14-2018, 11:35 AM
|
#70
|
Veteran Member
City: Boston Area
Join Date: Jul 2017
Posts: 54
|
Mid May update
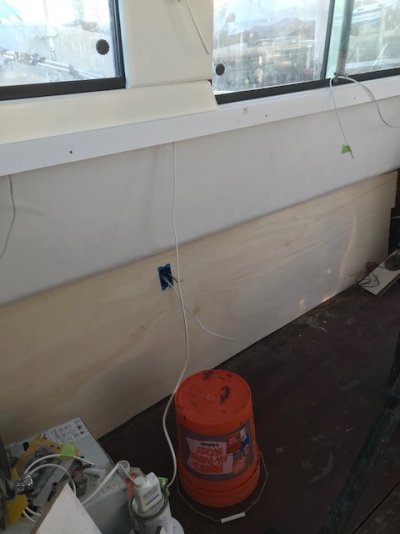
Hi everyone! some pictures to share and some context.
We are in! Last Monday actually. All went well. new seacocks and fiberglassed thru hull holes all good. Engine ran great, new shift and throttle cables I did end of last year did the trick and smooth as butter n the flybridge.
It is now time to get the interior work going!!!
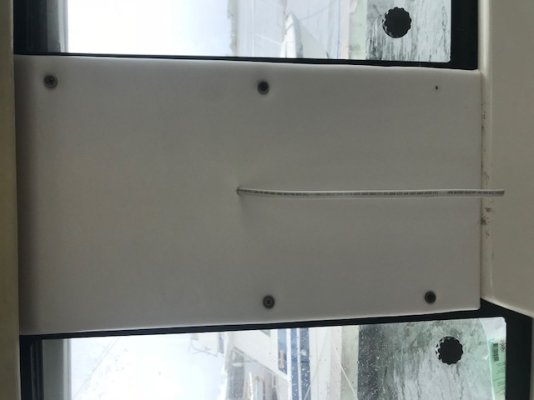
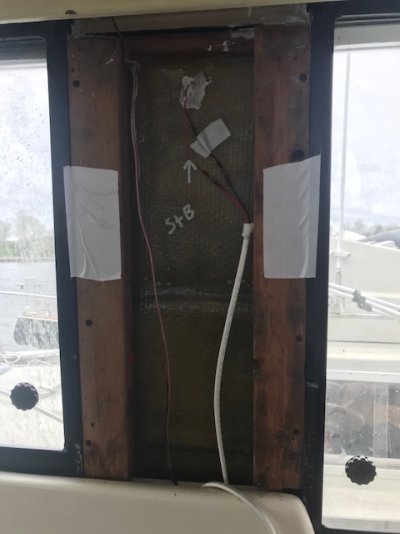
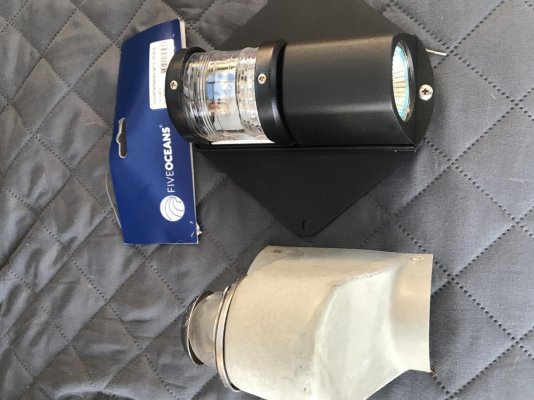
New trim, vinyl and lower wallboard. Ran new electric and added a usb 110v outlet as well as a new 12v panel (phone died right as I was talking that photo, but I will update with a descriptin of some fun and fuctional lighting I'm installing.
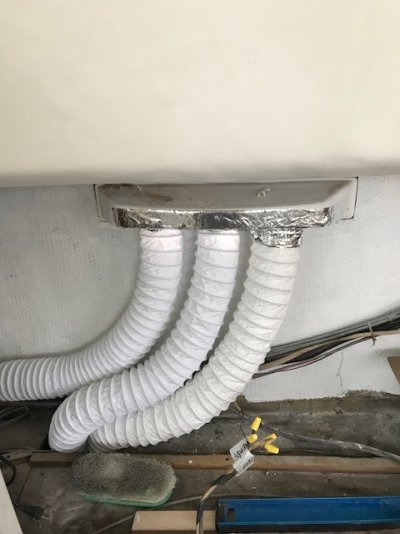
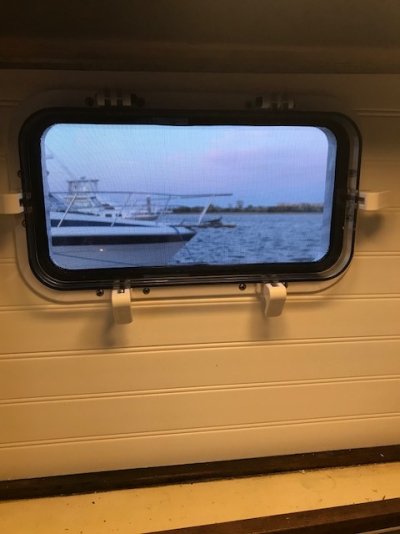
New engine vent hoses. All secured strategically in the bilge. New ports installed in the galley with )pvc beadboard) and the head (still working on those walls.)
Put the new vinyl on those side panles as well as shown. New white buttons. New wiring for interior and exterior gunnel light shown.
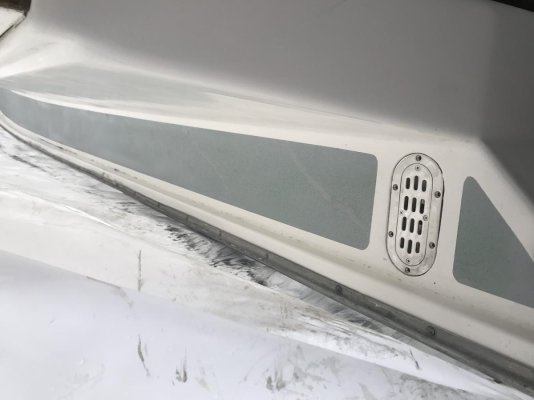
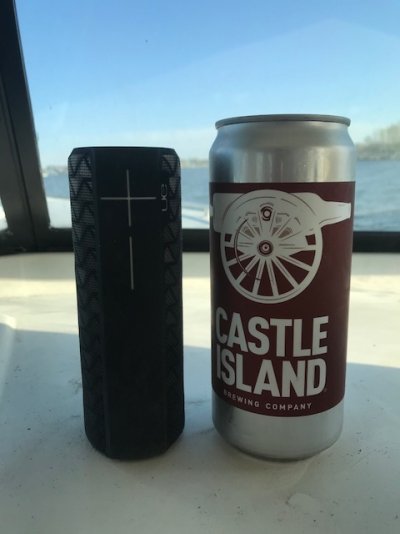
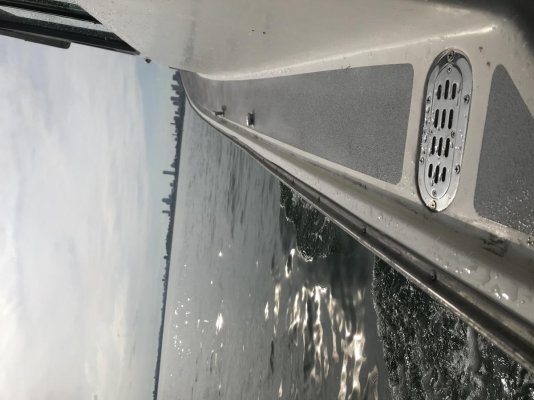
Nice shot of the new decks and nonskid and all new hardware I put on. More to come. Always open to suggestions or comments as I'm just one guy out here trying to figure it all out as I go. What I wouldn't give to have another set of hands on a Saturday. I have a buddy who is great but he's so busy, buying a house, his own boat that I would never ask him for a day. All good though we are floating and we have beer and music! Hope everyone is enjoying the now spring here or wherever you may be boating!
|
|
|
05-14-2018, 12:08 PM
|
#71
|
Guru
City: Quebec
Vessel Name: Bleuvet
Vessel Model: Custom Built
Join Date: Jan 2016
Posts: 4,277
|
Lot of work done, great achievement, congratulations!
L
|
|
|
05-18-2018, 06:14 AM
|
#72
|
Guru
City: Kilmarnock VA
Vessel Name: Wandering Star
Vessel Model: PSN40
Join Date: Apr 2016
Posts: 1,210
|
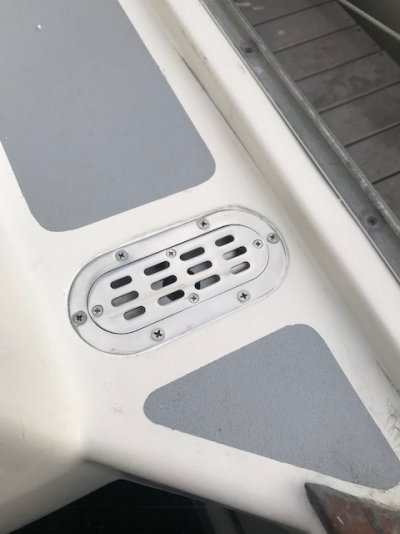
You've really been pouring the coal on the repairs & they look first class ,too. The rechromed fuel fills are works of art & the deck drains are impressive.
__________________
-Shawn-
|
|
|
05-18-2018, 02:43 PM
|
#73
|
Veteran Member
City: Boston Area
Join Date: Jul 2017
Posts: 54
|
Quote:
Originally Posted by boomerang
You've really been pouring the coal on the repairs & they look first class ,too. The rechromed fuel fills are works of art & the deck drains are impressive.
|
Thanks Boomerang, much appreciated. Such a large project can swallow you at times so nice to hear.
Chroming was done by South Shore Plating in Quincy,MA. Fellow boat club member, great guy and is very familiar with doing Marine hardware. Just wanted to post here as I've been tying to list out where I have bought stuff etc as to hopefully help a future reader. I'm sure South Shore Plating would ship and do boat hardware so good to add here.
Deck drains- I got the idea from a great MK1 rehab website called :
34' Mainship Trawler - 1978 '34 Mainship Trawler Micro Yacht Renovations
Truly an amazing total rehab they did. Its unreal and I saw these deck drains in there photos and searched for weeks for them. Found them on Ebay. One other vendor online had them as well if I remember. Here they are all caulked and screwed in last night, port side wall panel and some GFCI outlets tonight and a beer as it's been a long week and I'll bet I run out of steam early tonight..I try to always do something for the boat each day not easy while being a business owner and working about 60 hours a week.  :
|
|
|
05-29-2018, 09:17 PM
|
#74
|
Veteran Member
City: Boston Area
Join Date: Jul 2017
Posts: 54
|
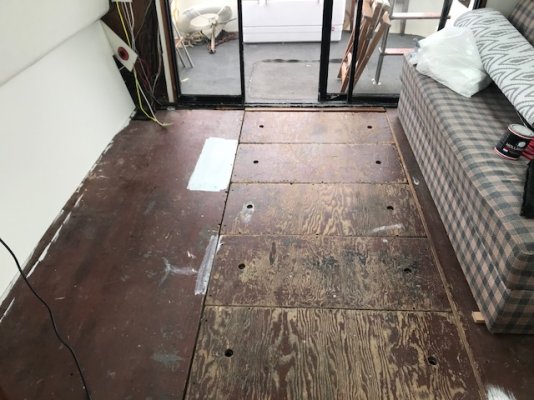
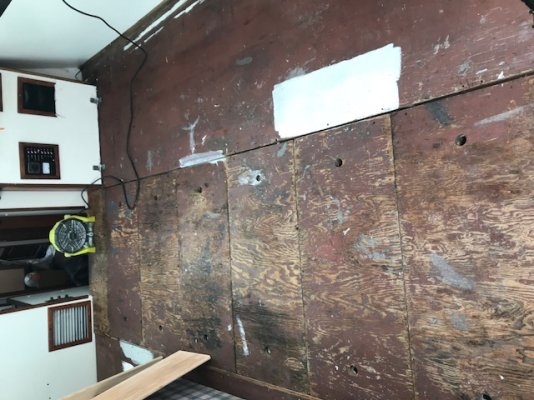
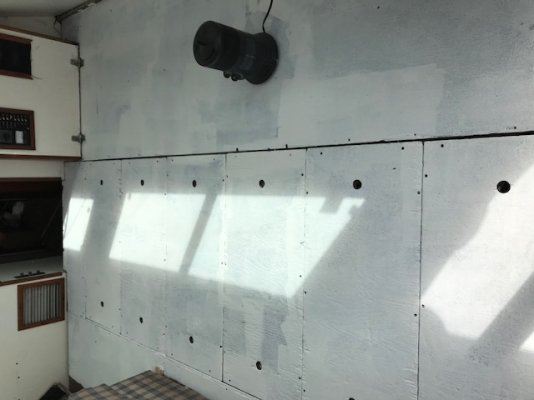
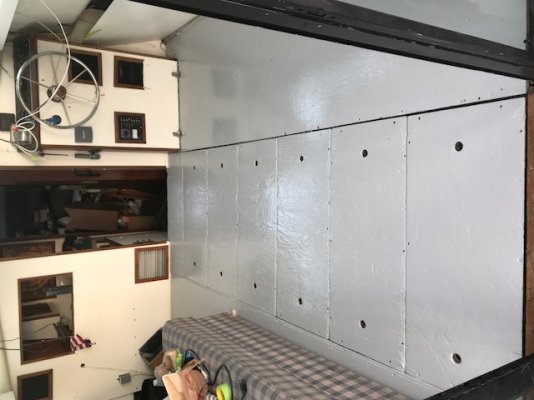
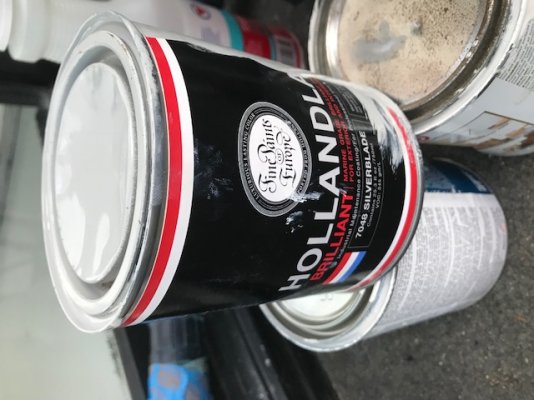
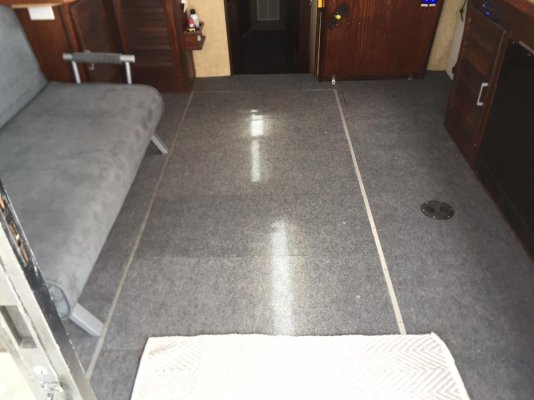
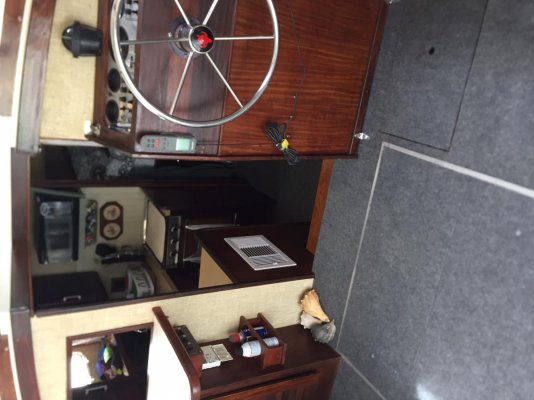
Lots of work done, starting to get some tools out. Primed the salon with Petit "easy prime" then a coat of "Fine paints of Europe" excellent paint. Hard to find but my local store I have an account at has it and the stuff is top quality. The petit easy prime which I had never used was also great. I think the best one part primer I've ever used. vacuum, cleaned with TSP,dry, prime, top coat.
Fun shot of my buddy who he and his brother just got dive certified and wanted to check out their moorings so I spotted.
|
|
|
05-29-2018, 09:23 PM
|
#75
|
Moderator Emeritus
City: Au Gres, MI
Vessel Name: Black Dog
Vessel Model: Formula 41PC
Join Date: Jul 2015
Posts: 18,033
|
Looking very nice.
|
|
|
05-29-2018, 10:15 PM
|
#76
|
Guru
City: Ingleside-On-The-Bay, Texas
Vessel Name: Papillon
Vessel Model: 1978 Mainship 34 Trawler #95
Join Date: Jan 2018
Posts: 643
|
I am watching this closely since I own a VERY original MS 34, #95. Still has the original automotive bulbs.
I assume that couch is original as it has the same fabric as mine!! But I note that it is on the port side and mine is on the starboard side!
Has my couch been moved, or was yours?
What number is your boat?
|
|
|
05-30-2018, 03:51 AM
|
#77
|
Guru
City: Sarasota,FL/Thomasville,GA
Vessel Name: Steppin Stone IV
Vessel Model: Marine Trader Kelly Trawler 46
Join Date: Jul 2013
Posts: 1,815
|
Great Progress
__________________
Alan
Skype roatan63
|
|
|
05-30-2018, 04:25 AM
|
#78
|
Guru
City: Kilmarnock VA
Vessel Name: Wandering Star
Vessel Model: PSN40
Join Date: Apr 2016
Posts: 1,210
|
Quote:
Originally Posted by jimisbell
I am watching this closely since I own a VERY original MS 34, #95. Still has the original automotive bulbs.
I assume that couch is original as it has the same fabric as mine!! But I note that it is on the port side and mine is on the starboard side!
Has my couch been moved, or was yours?
What number is your boat?
|
Jim,
Although our boat didn't have a sofa on it when we bought it, we opted to put one on the starboard side,too. The TV is mounted on the port side so it made more sense.
__________________
-Shawn-
|
|
|
05-30-2018, 06:37 AM
|
#79
|
Veteran Member
City: Boston Area
Join Date: Jul 2017
Posts: 54
|
Quote:
Originally Posted by jimisbell
I am watching this closely since I own a VERY original MS 34, #95. Still has the original automotive bulbs.
I assume that couch is original as it has the same fabric as mine!! But I note that it is on the port side and mine is on the starboard side!
Has my couch been moved, or was yours?
What number is your boat?
|
Hi Jim, I'll assume where you see it is where it always was I the starboard side had ( I pulled them out) cabinets with a counter. Forward of the couch was another set of cabinets (both of which I assume you have) so the couch fit just right where it is shown.
Been picking away at the new cabinets at home. Using 1/2 marine plywood very similar design to the old. Going to order some remnants of Corian online for counters on them. Enjoy your MK1 !
Oh.. I'll get the hull number today. Someone on here asked awhile back and I forgot! Sorry. Will add here.
|
|
|
05-30-2018, 09:42 AM
|
#80
|
Veteran Member
City: New Bern, NC
Vessel Name: Finale
Vessel Model: Rosborough RF246 Custom Pilothouse 2000
Join Date: Feb 2016
Posts: 70
|
Mainship 34
Quote:
Originally Posted by capeshore
Lots of work done, starting to get some tools out. Primed the salon with Petit "easy prime" then a coat of "Fine paints of Europe" excellent paint. Hard to find but my local store I have an account at has it and the stuff is top quality. The petit easy prime which I had never used was also great. I think the best one part primer I've ever used. vacuum, cleaned with TSP,dry, prime, top coat.
Fun shot of my buddy who he and his brother just got dive certified and wanted to check out their moorings so I spotted.
|
My floors looked very similar to yours.
Finished the carpet job on my floors recently. Enjoying your progress.
|
|
|
 |
|
Thread Tools |
Search this Thread |
|
|
Display Modes |
Linear Mode
|
Posting Rules
|
You may not post new threads
You may not post replies
You may not post attachments
You may not edit your posts
HTML code is Off
|
|
|
|
» Trawler Discussions |
|
|
|
|
|
|
|
|
|
|
|
|
|
|
|
|
|
|