OldDan1943
Guru
- Joined
- Oct 2, 2017
- Messages
- 10,595
- Location
- USA
- Vessel Name
- Kinja
- Vessel Make
- American Tug 34 #116 2008
Amazon. Not too expensive.
https://www.amazon.com/dp/B00MUDJC18?ref=ppx_yo2ov_dt_b_product_details&th=1
Supply problem solved.
Amazon. Not too expensive.
https://www.amazon.com/dp/B00MUDJC18?ref=ppx_yo2ov_dt_b_product_details&th=1
Here is a video covering the Garmin items purchased over the last year or so. I will begin installing these over the coming weeks and months and documenting it on video. There does not seem to be much info out there regarding a complete DIY install of a complete system. So I will attempt to detail it. I have done a ton of work to the boat both mechanical and electrical upgrades but Marine Electronics is something I have only moderate experience with. All feedback is welcome and much appreciated.

WOW! Your credit card company must really LOVE you!
Supply problem solved.

Here is a video covering the Garmin items purchased over the last year or so. I will begin installing these over the coming weeks and months and documenting it on video. There does not seem to be much info out there regarding a complete DIY install of a complete system. So I will attempt to detail it. I have done a ton of work to the boat both mechanical and electrical upgrades but Marine Electronics is something I have only moderate experience with. All feedback is welcome and much appreciated.
Congratulations on the relaunch!
And thanks for the effort it takes to make all your information available.
WOW, that’s way over the standard stand pipe pressure of 3 or so PSI. If they held up to 20 PSI it’s a miracle!


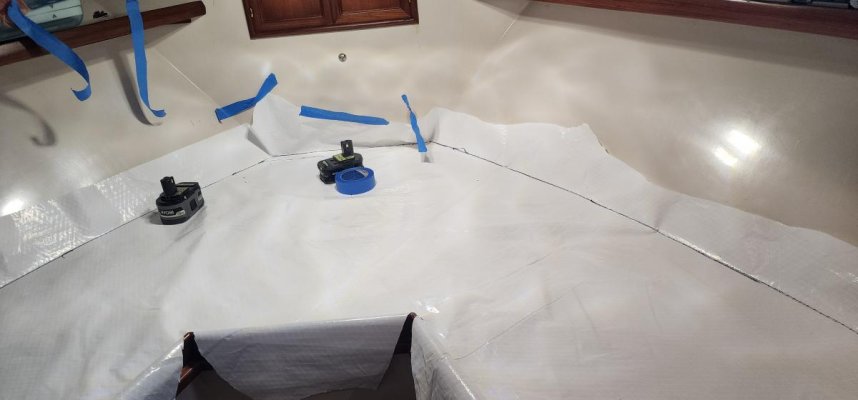
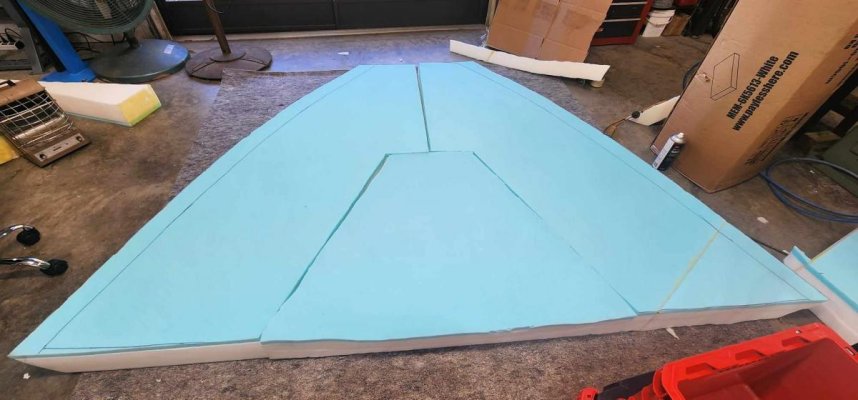
Cool, I'll need to follow your cushion making. I don't need cushions but need some reference on making some sheets/covers for the v berth.
Check out the Sailrite videos on YouTube on "30 minute cushions." The Sailrite site has a pattern making app that simplifies things. One of the directions to really follow is the use of basting tape. It is double-sided tape that when sold as basting tape is expensive. When sold as "1/4 inch double-sided craft tape" is one-tenth the cost. You will need several rolls for the V berth. A walking foot sewing machine is still better, but basting tape goes a long way in helping keep the upper and lower fabric even. The pattern is 1/2 inch smaller than the foam, so besure and tack stitch all stress areas (like the zipper ends). Fitting the foam in the finished cover takes almost as long as the sewing.
Thats also where I learned about the basting tape. It works great but occasionally gums up the needle if you get into it while sewing.