She-Kon
Senior Member
She:Kon is the traditional Iroquois greeting (pronounced 'Say Go') that roughly translates into: Do You Still Have The Great Peace? We chose this name to honor the pleasant little village we live in, Iroquois, Ontario.
The seed
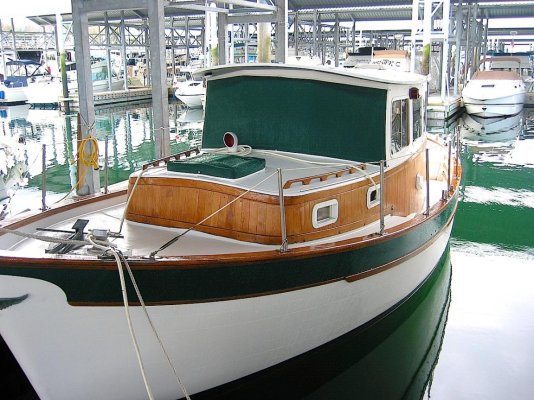
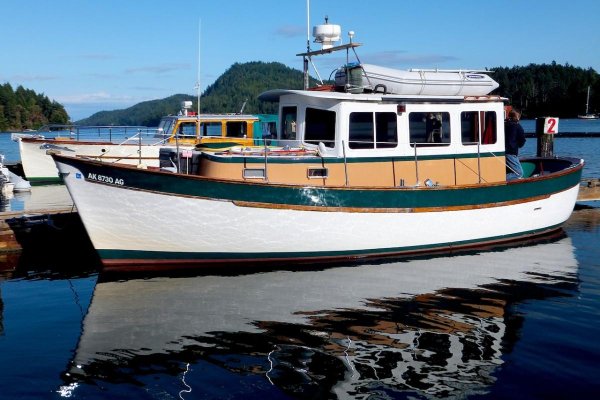
The whole idea began about 1969 when the Hudson Bay replica trading ship, 'Nonsuch' toured the St. Lawrence River and Great lakes. I think it was the 400th. anniversary of the HBC or something. She docked in Prescott Ontario where I grew up and toured the ship a few times. I was awed by the fine craftsmanship and vowed one day to build my own boat.
The proposal
Skip ahead 35 yrs or so and the wife and I are out on our 25' express cruiser on the Rideal Canal. I had been trying to figure out the best time to spring my idea on her to build a boat. After getting 5 or 6 good stiff Rum & Cokes into her I told her: "Honey, the next time we cruise the Rideau it'll be on a boat we built." "Ok." she said just moments before she went below and passed out.
Which boat to build?
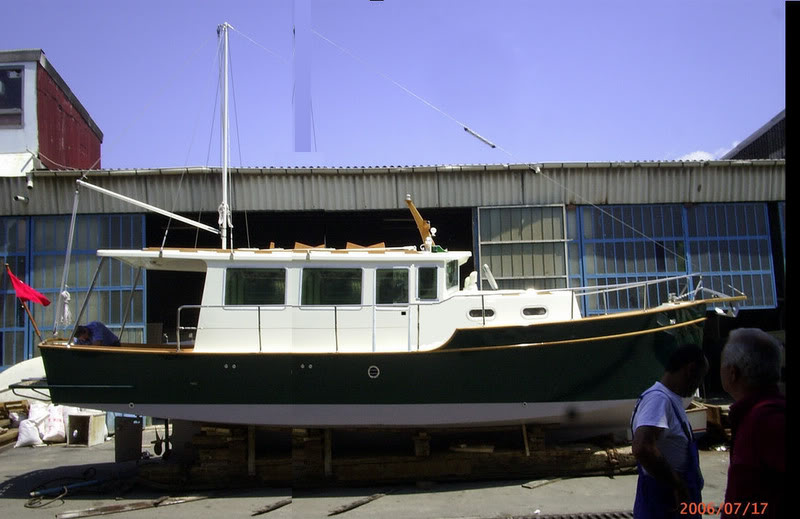
I switched into research mode looking at designs & plans for home built boats. We looked at Devlin's, Glen-L's, Bolger's, Diesel Duck's, John Simpson's, Bruce Robert's etc. Originally I wanted to build in steel in the 40' range. We bought a set of study plans from John Simpson for a 45' Offshore trawler and the number crunching began. A conservative guestimate based on the BOM was somewhere in the $340K range, well outside of our means. Reassessing our needs vs wants we eventually stumbled upon the TW28 from Bateau (dot) com.
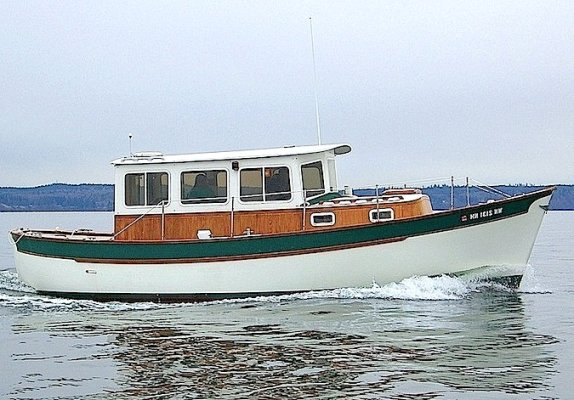
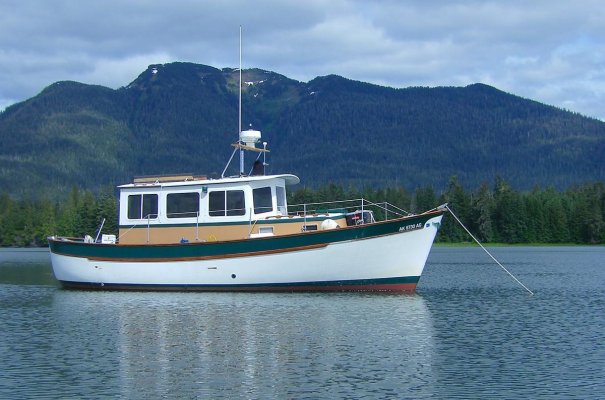
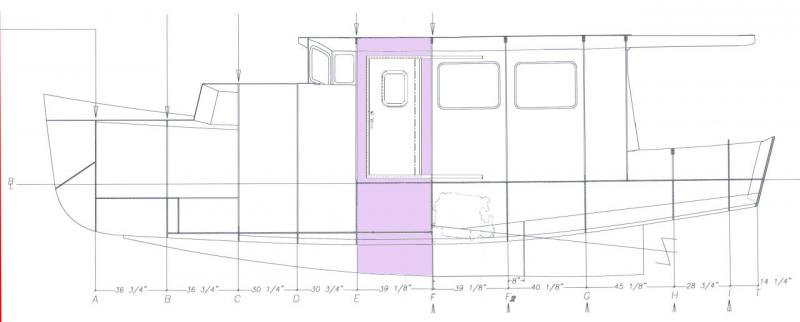
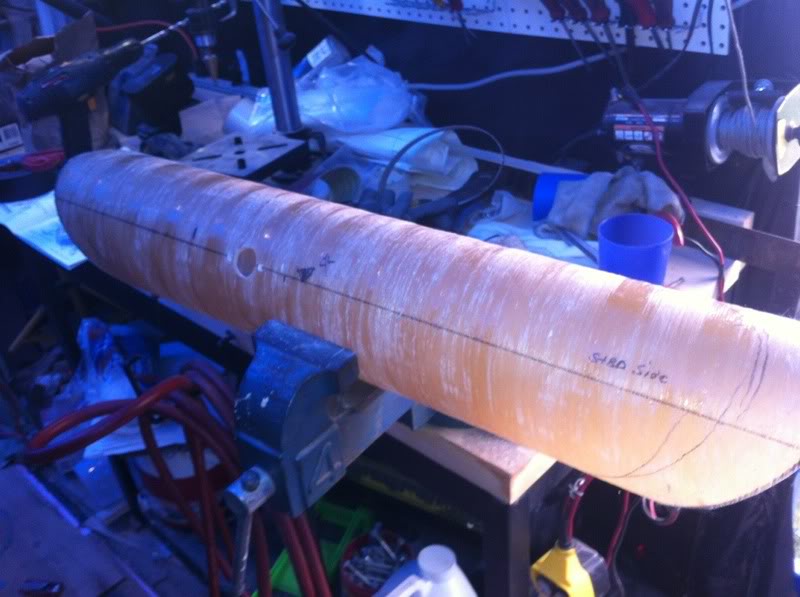
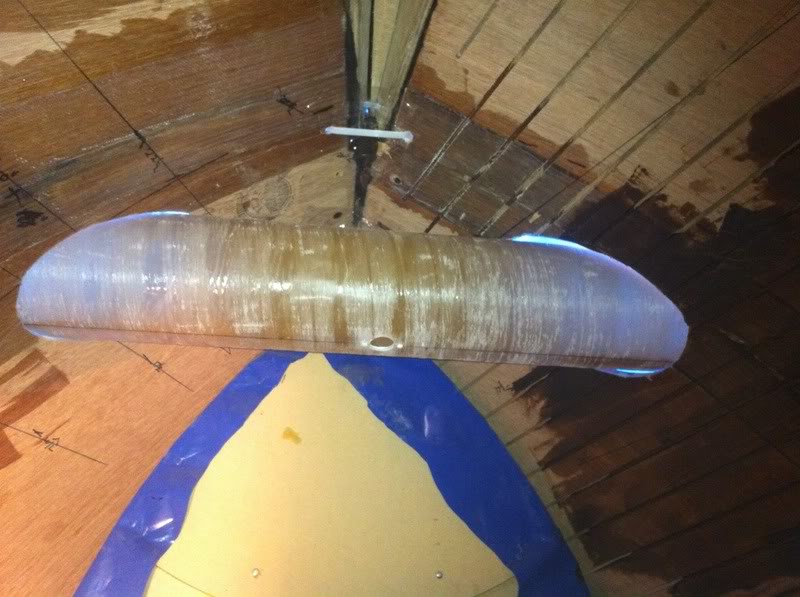
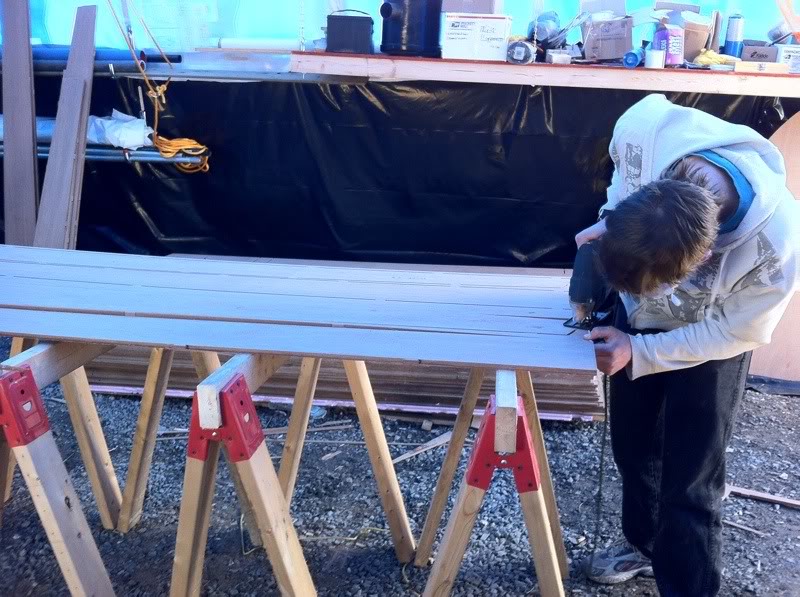
Designed specifically for amateur builders the Bateau designs are almost all stitch & glue marine ply & fiberglass. CnC Cut kits are available for most designs as well. I followed along on a few fella's who were building the TW28 and eventually thought 'I could do that too!' The only hook being, I'm gonna stretch it out to 31-1/2'!
What are we going to need?
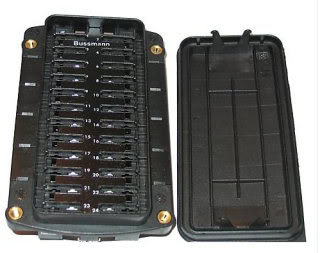
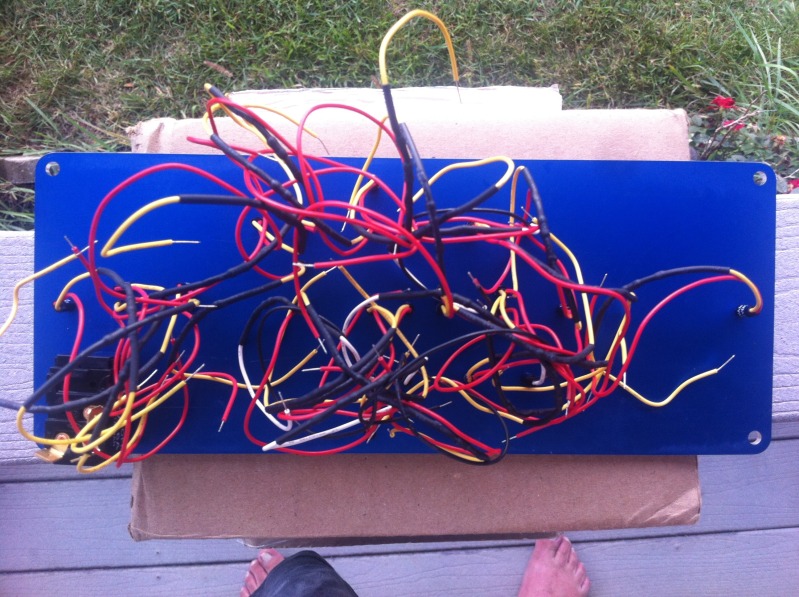
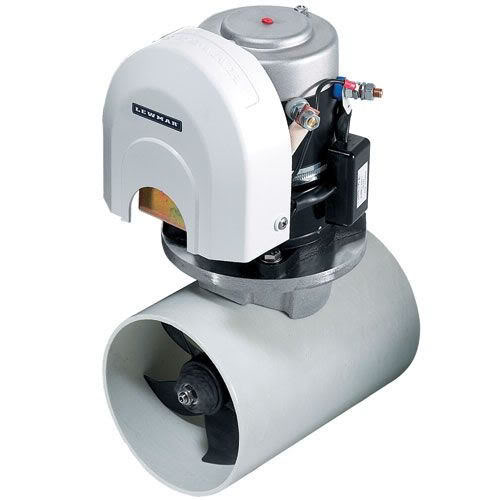
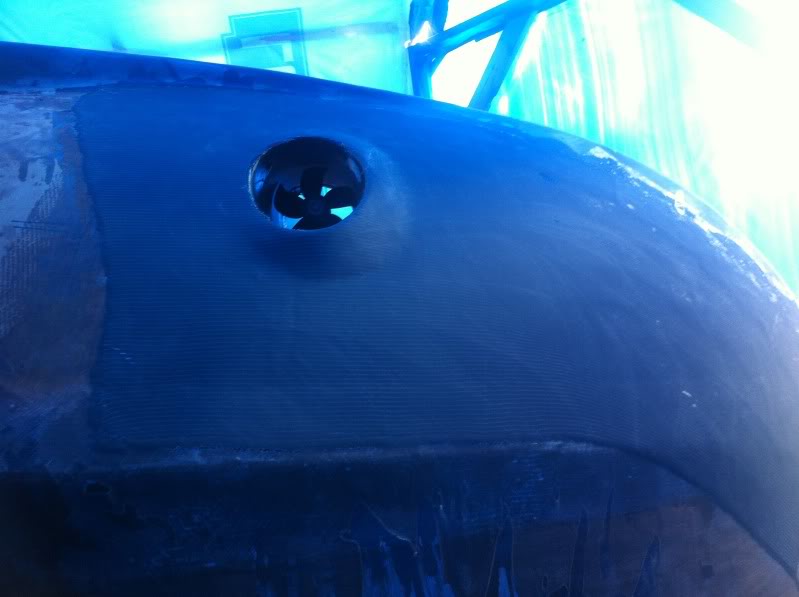
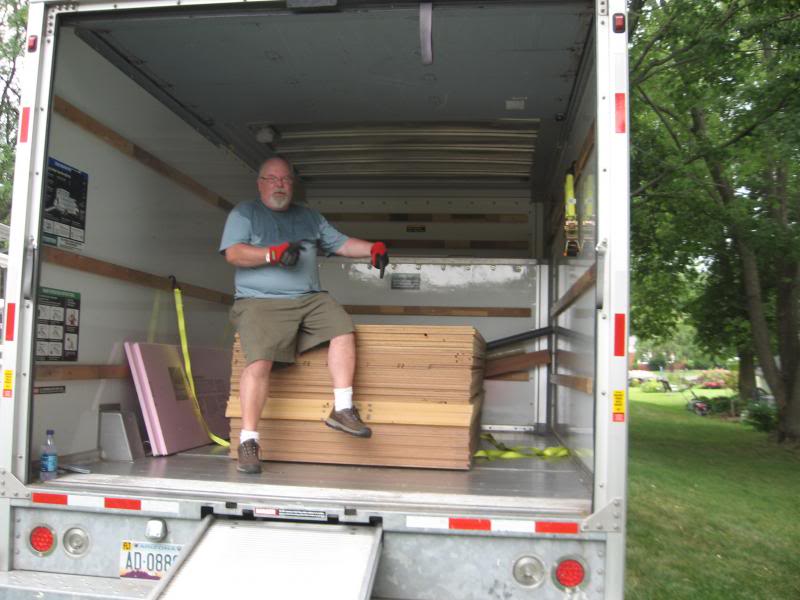
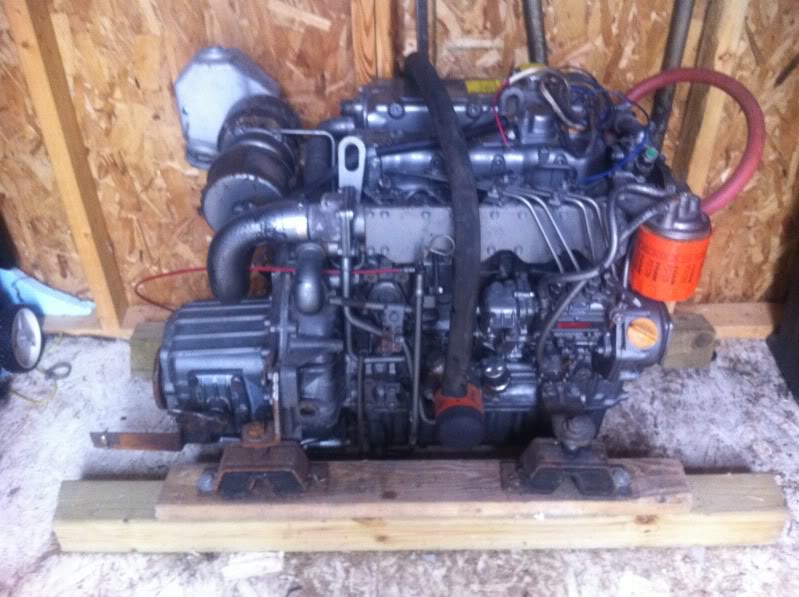
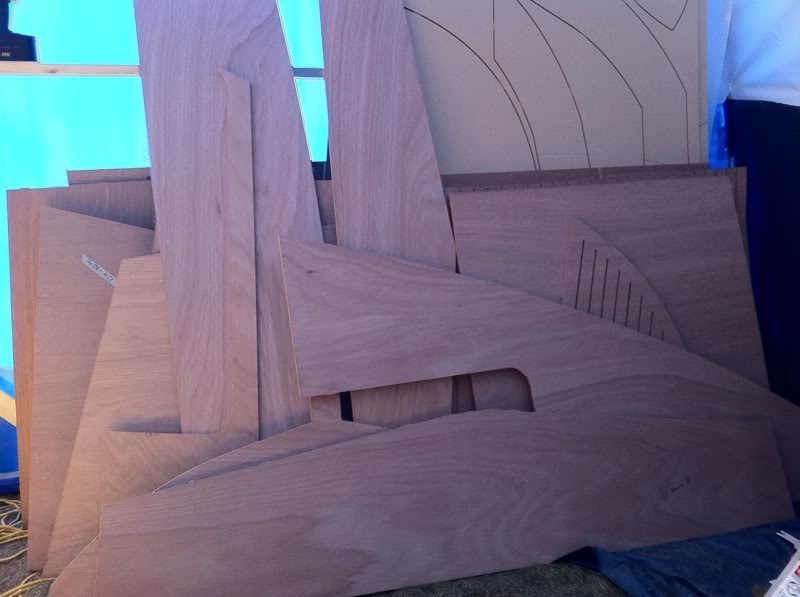
So with a newly purchases set of plans it was off to eBay I went! Over the course of 4 or 5 years we bought bits & bobs of hardware etc. that we'd eventually need for the boat. The big recession a few years back put a lot of small builders out of business and many were liquidating their inventory on eBay for deeply discounted prices. We bought lots! Portlights, inverters, hot water heaters, solar panels, windlass, propeller, bow thruster, engine, stove, sinks, yadda yadda yadda. The list is fairly long. I do have a spreadsheet of what we've spent to date if you're interested.
Inventory Photos by KnottyBuoyz | Photobucket
Where to build it?
There's a local DIY boat yard but Unfortunately they're booked solid and couldn't offer me a spot at a price I could afford. The only other option I had was to build it in my back yard. From my property line to the house is about 36' and from the side to the neighbor is 30', 8' of which is taken up by a garden shed. Having to make allowances for neighbor to get to their back yard this left me with roughly 20' x 32' for a boat shed. We looked at RV shelters, green houses etc and eventually found the 'Stimson Bow Shed'. Best $20 I ever spent getting those plans.
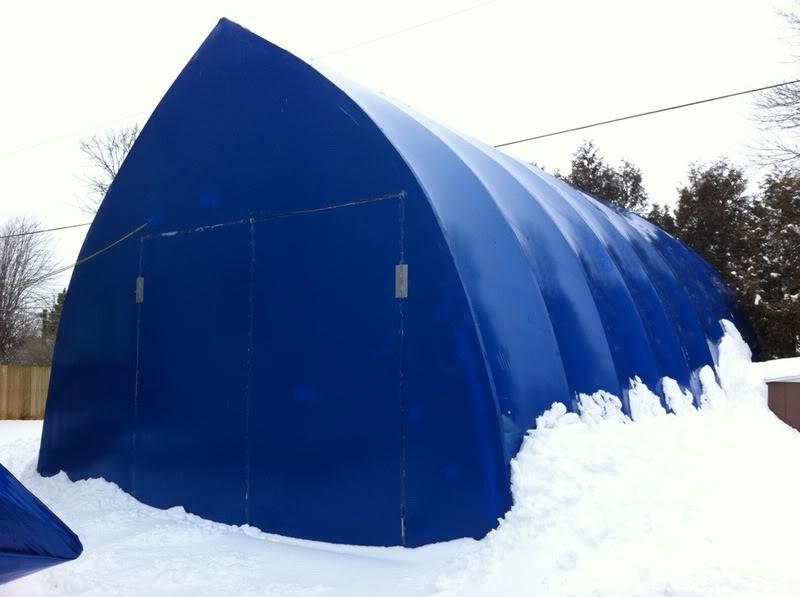
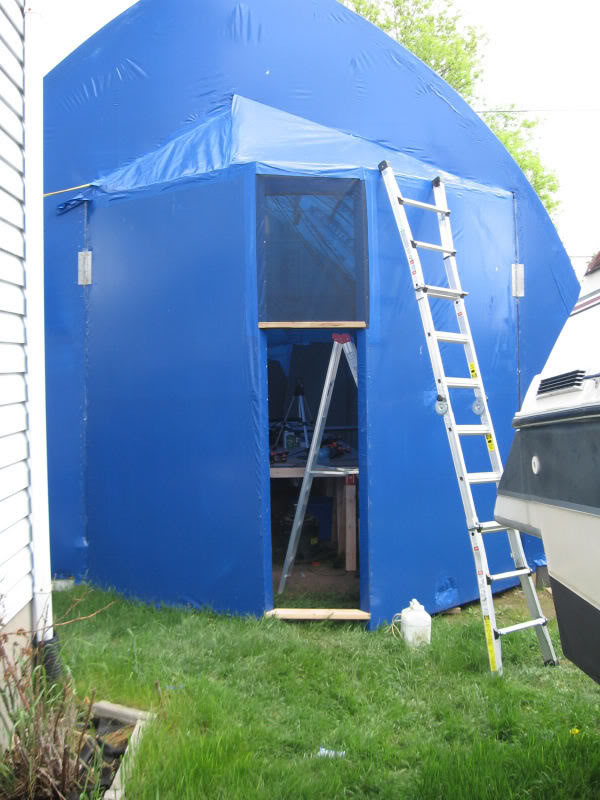
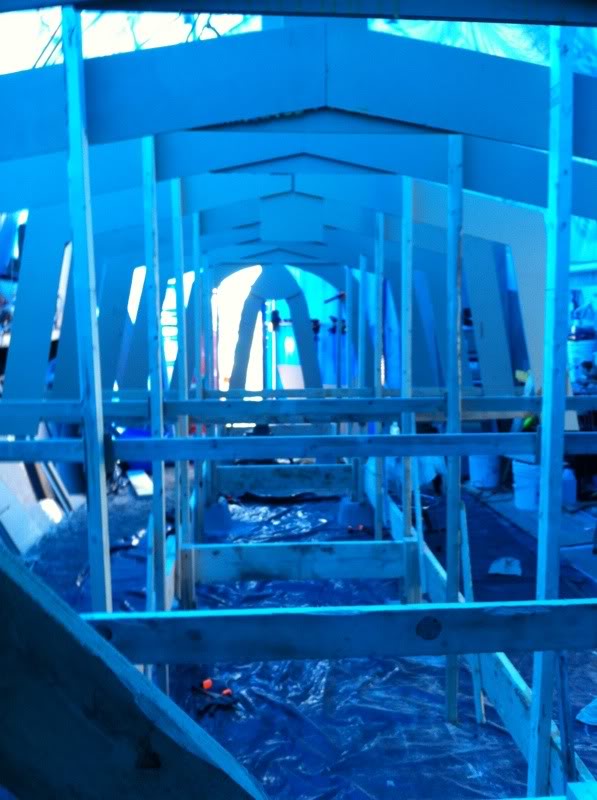
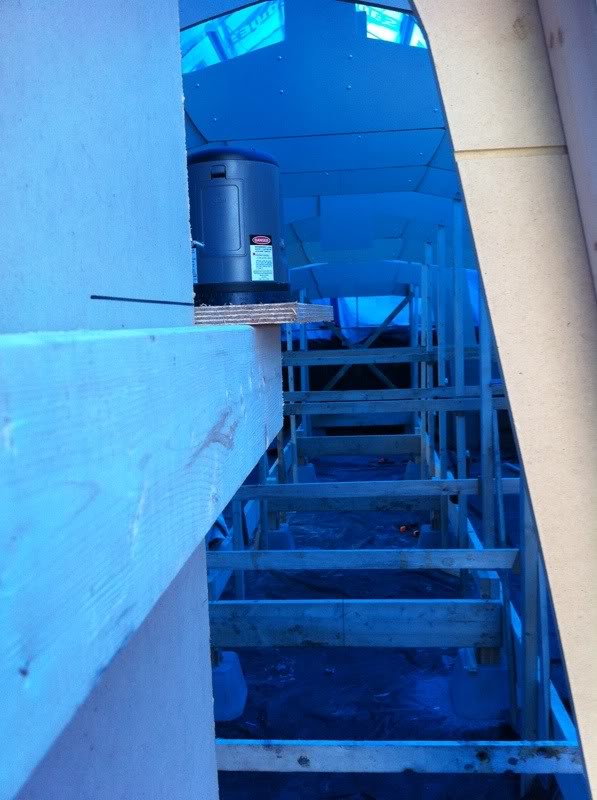
The Shed Goes Up!
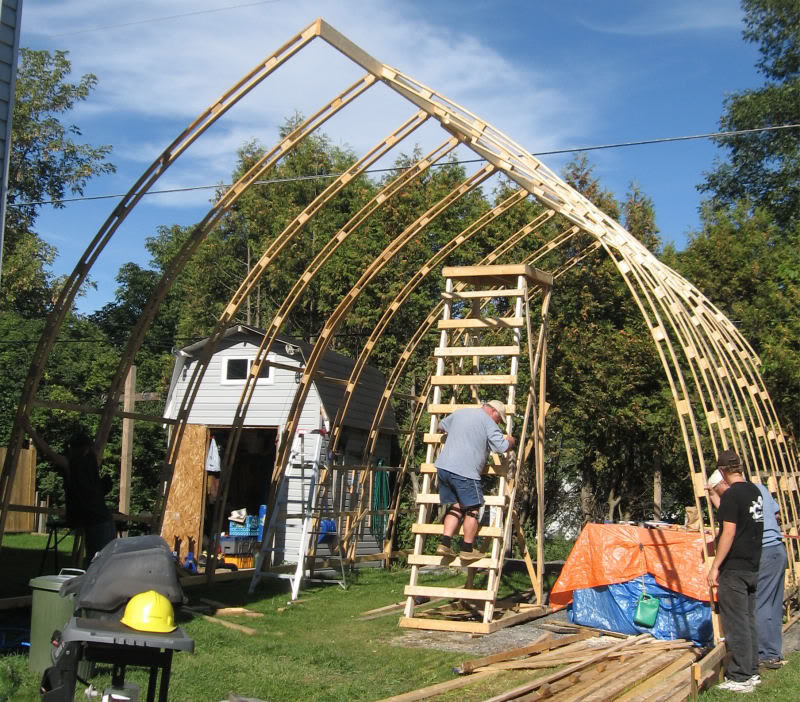
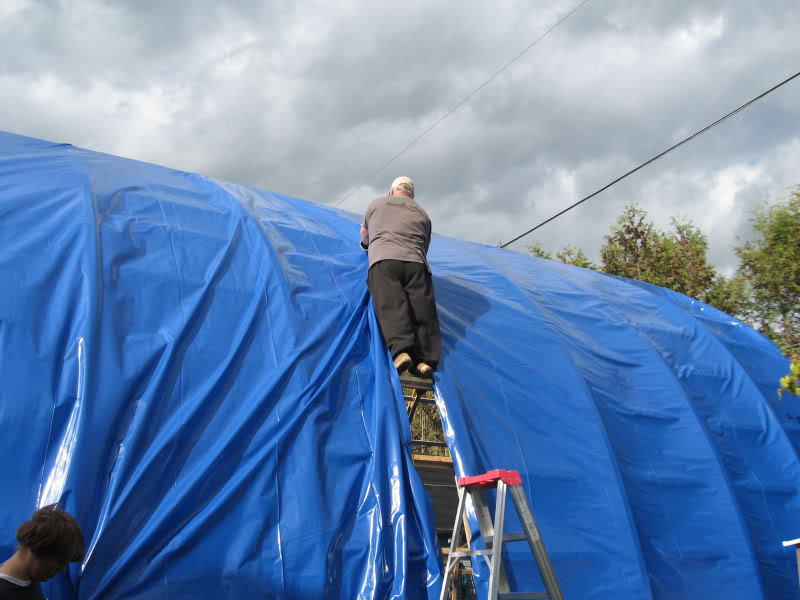
The Stimson bow shed is a fairly simple structure but don't let that fool you. If built properly it's incredibly rugged with a proven track record around the world. In order to form the bows I needed 1x3" strapping in 20' lengths. The local lumber yards could only supply 20'ers. So I had to splice 4' extensions on each piece.
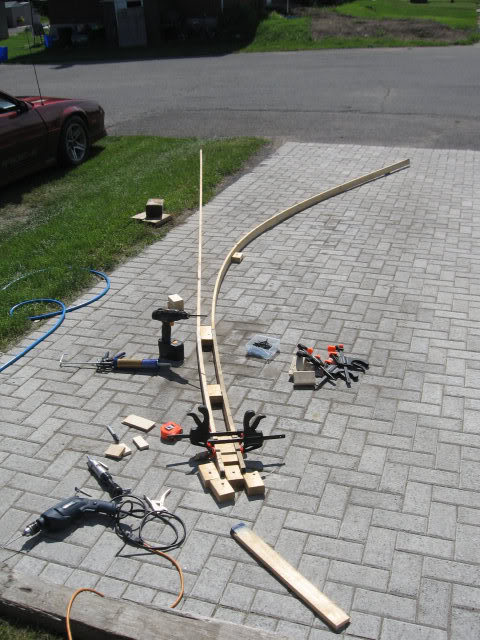
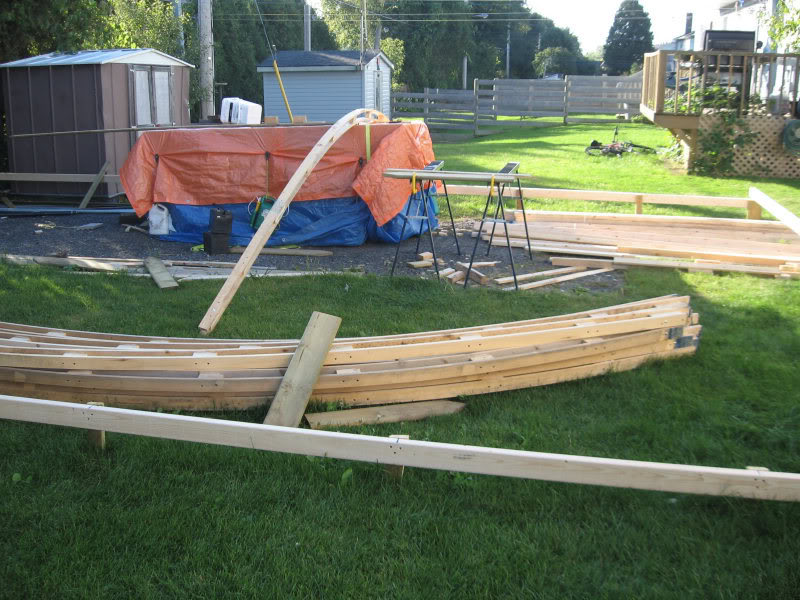
I needed a large flat surface to assemble the bows. The only space I had was my newly paved driveway. Out comes the hammer drill and masonry bit to screw down the blocks used to form the bows. My neighbor thought I was nuts drilling holes in my new perfectly fine driveway! 20 bows in all were made this way with the center bow being doubled up. I bought a roll of heat shrink boat covering which turned out not to be such a good idea. More on that later.
With the help of a few friends the shed went up in a week or so.


Stay tuned for part 2 coming soon.
The seed
The whole idea began about 1969 when the Hudson Bay replica trading ship, 'Nonsuch' toured the St. Lawrence River and Great lakes. I think it was the 400th. anniversary of the HBC or something. She docked in Prescott Ontario where I grew up and toured the ship a few times. I was awed by the fine craftsmanship and vowed one day to build my own boat.
The proposal
Skip ahead 35 yrs or so and the wife and I are out on our 25' express cruiser on the Rideal Canal. I had been trying to figure out the best time to spring my idea on her to build a boat. After getting 5 or 6 good stiff Rum & Cokes into her I told her: "Honey, the next time we cruise the Rideau it'll be on a boat we built." "Ok." she said just moments before she went below and passed out.
Which boat to build?
I switched into research mode looking at designs & plans for home built boats. We looked at Devlin's, Glen-L's, Bolger's, Diesel Duck's, John Simpson's, Bruce Robert's etc. Originally I wanted to build in steel in the 40' range. We bought a set of study plans from John Simpson for a 45' Offshore trawler and the number crunching began. A conservative guestimate based on the BOM was somewhere in the $340K range, well outside of our means. Reassessing our needs vs wants we eventually stumbled upon the TW28 from Bateau (dot) com.
Designed specifically for amateur builders the Bateau designs are almost all stitch & glue marine ply & fiberglass. CnC Cut kits are available for most designs as well. I followed along on a few fella's who were building the TW28 and eventually thought 'I could do that too!' The only hook being, I'm gonna stretch it out to 31-1/2'!
What are we going to need?
So with a newly purchases set of plans it was off to eBay I went! Over the course of 4 or 5 years we bought bits & bobs of hardware etc. that we'd eventually need for the boat. The big recession a few years back put a lot of small builders out of business and many were liquidating their inventory on eBay for deeply discounted prices. We bought lots! Portlights, inverters, hot water heaters, solar panels, windlass, propeller, bow thruster, engine, stove, sinks, yadda yadda yadda. The list is fairly long. I do have a spreadsheet of what we've spent to date if you're interested.
Inventory Photos by KnottyBuoyz | Photobucket
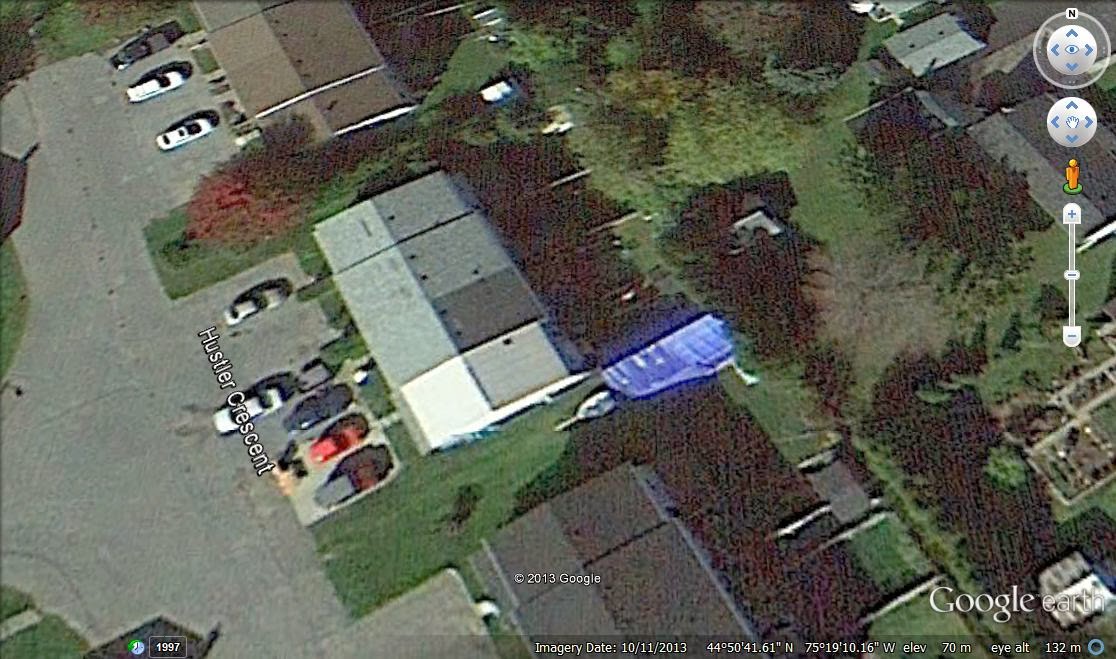
Where to build it?
There's a local DIY boat yard but Unfortunately they're booked solid and couldn't offer me a spot at a price I could afford. The only other option I had was to build it in my back yard. From my property line to the house is about 36' and from the side to the neighbor is 30', 8' of which is taken up by a garden shed. Having to make allowances for neighbor to get to their back yard this left me with roughly 20' x 32' for a boat shed. We looked at RV shelters, green houses etc and eventually found the 'Stimson Bow Shed'. Best $20 I ever spent getting those plans.
The Shed Goes Up!
The Stimson bow shed is a fairly simple structure but don't let that fool you. If built properly it's incredibly rugged with a proven track record around the world. In order to form the bows I needed 1x3" strapping in 20' lengths. The local lumber yards could only supply 20'ers. So I had to splice 4' extensions on each piece.
I needed a large flat surface to assemble the bows. The only space I had was my newly paved driveway. Out comes the hammer drill and masonry bit to screw down the blocks used to form the bows. My neighbor thought I was nuts drilling holes in my new perfectly fine driveway! 20 bows in all were made this way with the center bow being doubled up. I bought a roll of heat shrink boat covering which turned out not to be such a good idea. More on that later.
With the help of a few friends the shed went up in a week or so.
Stay tuned for part 2 coming soon.


")