senco - keeping up the teak

The friendliest place on the web for anyone who enjoys boating.
If you have answers, please help by responding to the unanswered posts.

Steve

Guru
Joined
Oct 6, 2007
Messages
3,882
Location
USA
Vessel Name
Gumbo
Vessel Make
2003 Monk 36
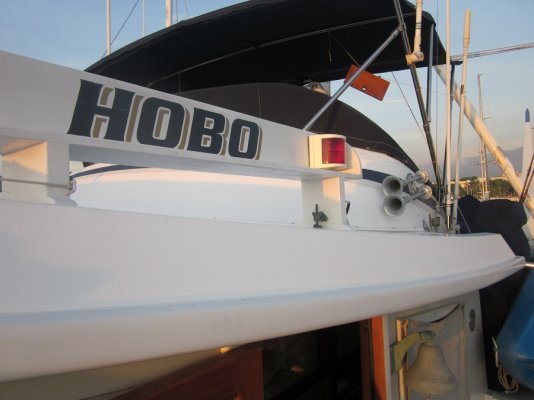
I am having trouble keeping up the teak "hatband "around the flybridge joint.
I have been it originally had many coats of Epifanes with was a mess, I heated and scraped it off then applied cetol which has been fine on the handrails etc but not on that band. I feel the problem is with our high rainfall and humidity it stays wet much of the day. I'm thinking of trying Semco, what do you users of Semco have to say about it. Failing that I'll probably paint it teak color brown, or dark blue to match the canvas.

Steve W
 
We have used Semco Clear on our decks since 2000 and love it. I would not use it on the "hat band/eye brow" (but that's me). It is not like a varnish/paint/polyurethane. It's a very thin petroleum based liquid that goes into the teak. On decks, it does nothing to diminish the non-skid properties of teak so it's not an exterior finish as we traditionally think of one. The teak still holds dirt. Semco now has a clear coat but I have not seen it used. Is this what you are considering?

Our eye brow is painted with a 1-part polyurethane and we get 3-4 years with out having to do any touch up.

The scarf joints will always be an issue no mater what the finish is.
 

Attachments

  • name board 001 copy.jpg
    name board 001 copy.jpg
    150.1 KB · Views: 116
Last edited:
I broke mine off, will add 2 layers of glass tape and epoxy and paint it the same color as my bootstripe....saw one of the other trawler guys do it and it looks just as good if not better, no leaks and next paint job will be at least 5 years away:D
 
I broke mine off, will add 2 layers of glass tape and epoxy and paint it the same color as my bootstripe....saw one of the other trawler guys do it and it looks just as good if not better, no leaks and next paint job will be at least 5 years away:D

I assume you're talking about the eye brow you removed? We have over 80 feet of eye brow which is also the drip edge. I've always wondered about removing it. Does your boat not have a drip edge? and if it does, how will you handle it?
 
I assume you're talking about the eye brow you removed? We have over 80 feet of eye brow which is also the drip edge. I've always wondered about removing it. Does your boat not have a drip edge? and if it does, how will you handle it?

Hatband/eyebrow...not sure we are talking same thing.

On my trawler and on many others I think...there is a strip of wood that covers the exterior screws that hold the flybridge cowl to the main cabin roof by screwing into some kind of ridge/blocks.

That is what I removed, with all the screws and am epoxying the cowl to the deck to make a permanent, waterproof connection.
 
A previous owner painted the teak trim strip around the base of the flying bridge on our boat. We don't like the look of this--- we prefer our exterior teak finished bright--- so we we are going to replace the whole thing when we get around to it. We can't reuse the wood that's there now because the paint has gotten too far down into the grain.

But this is the hardest piece of trim on a GB to keep finish on. Even the paint that's there now lifts and comes off on a year-round-basis.

What we will do when we get around to it is after the new wood has been shaped and checked for proper fit is first give it several paintings of CPES to seal the wood all the way round. We'll then apply about ten coats of Bristol, which is what we've been using on the boat's exterior teak for some 10 or 12 years now.

And then--- and this is the key--- we'll bed the new strips in Dolfinite when we install them. We don't anticipate ever removing the flying bridge so there is no need to install this strip with no bedding, which is the main reason the finish fails so quickly on this trim. The bedding will prevent moisture from getting round the back of the trim, staying there, and lifting the finish.

Finally, where the current trim has exposed screws holding it on (to make it easier to remove the flying bridge) we will have the trim pieces milled a little thcker so we can countersink the attachment screws and cover them with teak plugs, same as the resrt of the trim on the boat. Once the plugs have some ten coats of Bristol over them this will prevent moisture from getting down under the finish via the exposed screw holes.

So that's what we'll do. When we do it is another matter......:)

this is a 36 Albin named the "Lass"..but I can't quickly find the owner's name...this is what inspired me to do for minimal cost and effort for a very good look as I slowly reduce the amount of exterior wood trim...not all but to the point of good looks and minimal upkeep.
 

Attachments

  • The Lass 326.jpg
    The Lass 326.jpg
    15.1 KB · Views: 289
Psneeld---That looks very nice indeed. Is it dark blue or black?

The teak trim strip I was talking about--- don't know if it's the same one the OP was talking about though--- is the one on a GB that goes all the way around the base of the flying bridge and covers the joint between the base of the bridge structure and the top of the main cabin overhead. There is a another trim strip below it at the top of the cabin side itself.

This is the only shot I have handy that shows the strip I'm talking about. It's the one that's painted white immediately above the actual main cabin top. Some GB owners paint them (usually much better than ours was painted), some leave them natural to go gray, and some do their best to keep a bright finish on them. The boat looks really nice in our opinions with the strip finished bright but the fact it's not bedded and has exposed fasteners almost guarantees the failure of the finish in pretty short order.


image-1772093146.jpg
 
Last edited:
not sure...looks black (not mine...just out of some archives of the other owners boat)

Mine will be navy blue to match my bootstripe..
 
this is a 36 Albin named the "Lass"..but I can't quickly find the owner's name...this is what inspired me to do for minimal cost and effort for a very good look as I slowly reduce the amount of exterior wood trim...not all but to the point of good looks and minimal upkeep.

I just sold the Lass for the owners. He did a great job with removing the teak and glassing the joint. On my previous boat a Marine Trader I sealed the joint, varnished, primed then painted using single part poly. Looked great.
 
Back
Top Bottom