NightCrawler
Senior Member
- Joined
- Feb 17, 2016
- Messages
- 211
- Location
- USA
- Vessel Name
- Previous owner GB 42 Classic
- Vessel Make
- Currently running a 23' CC
Best solutions for replacing a deck hardware stainless screw that broke off?

I would like to see someone drill through a self taping screw [ 10-14] without going off center.
I bought a new high end class A motorhome and they did exactly that!Find a screw with the same head. Cut the head off the new screw and glue the head into the countersink. ��
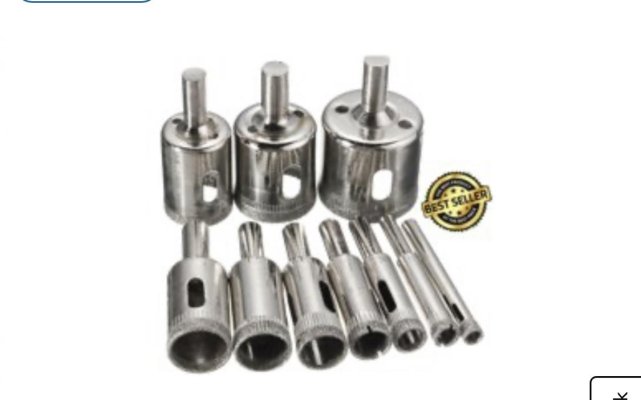
Thanks all for the tips. Yes, it's a grab rail. I actually have three different identical situations and in the past drilling the small stainless threads out has not ended well. I like this boring tool. Never seen them before. May give it a try for a clean hole to backfill.I use one of these https://www.woodcraft.com/products/...MI-NHy6IGi5gIVkp6fCh0oEwpCEAkYASABEgLIlfD_BwE
Then fill with epoxy for fiberglass or wood plug for wood repair. Re-drill and install new screw when plugs are cured,
If you are having trouble removing screws from wood or fiberglass, try heating the head with a soldering iron for a few minutes first,
Thanks all for the tips. Yes, it's a grab rail. I actually have three different identical situations and in the past drilling the small stainless threads out has not ended well. I like this boring tool. Never seen them before. May give it a try for a clean hole to backfill.
I use one of these https://www.woodcraft.com/products/...MI-NHy6IGi5gIVkp6fCh0oEwpCEAkYASABEgLIlfD_BwE
Then fill with epoxy for fiberglass or wood plug for wood repair. Re-drill and install new screw when plugs are cured...,
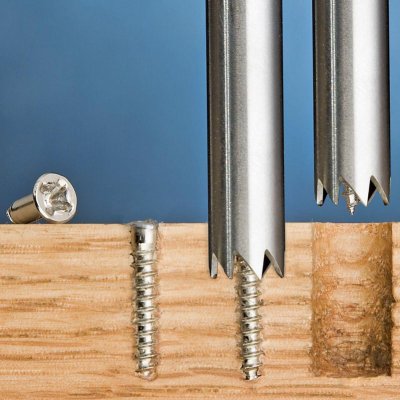
 I have a similar set. I’ve broken off #8 screws working on teak decks then used an extractor to pull the screw and repaired as you outlined. Redrilled with a new screw and plug and you’d never know there was a repair there. You do have to careful that the extractor doesn’t walk across the surface when you first start though. This a pic from the internet.
I use one of these https://www.woodcraft.com/products/...MI-NHy6IGi5gIVkp6fCh0oEwpCEAkYASABEgLIlfD_BwE
Then fill with epoxy for fiberglass or wood plug for wood repair. Re-drill and install new screw when plugs are cured,
If you are having trouble removing screws from wood or fiberglass, try heating the head with a soldering iron for a few minutes first,
I have a semi-related tip to share:
To avoid stripping out the head of a Phillips screw that's really tight, dip the tip of the screw driver in valve grinding compound before you try to back the screw out. It works remarkably well.