Keith
Guru
- Joined
- Oct 5, 2007
- Messages
- 2,715
- Vessel Name
- Anastasia III
- Vessel Make
- Krogen 42
I finally got around to posting pix of my bow thruster installation, from beginning to end at http://www.flickr.com/photos/keith77/.
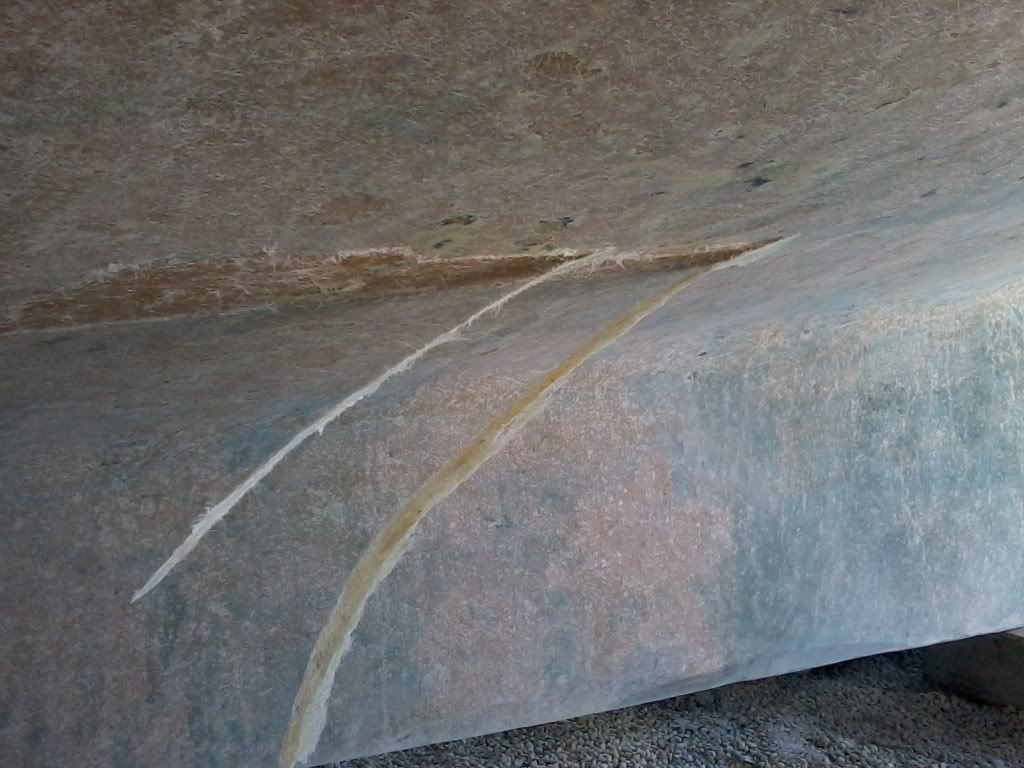
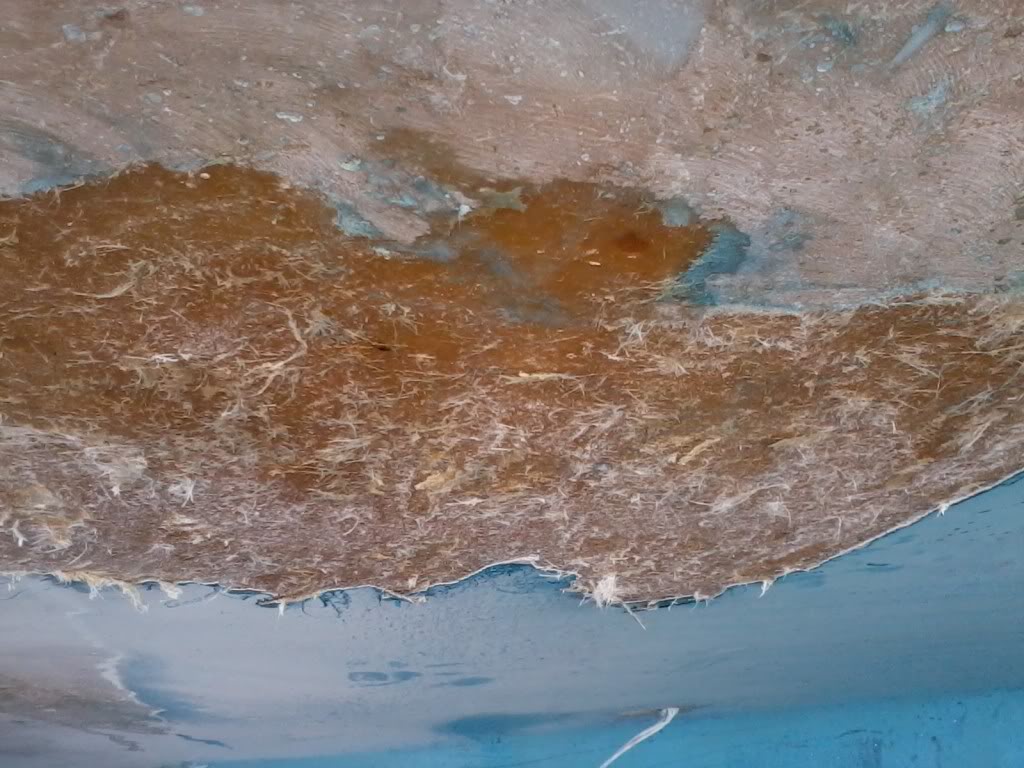
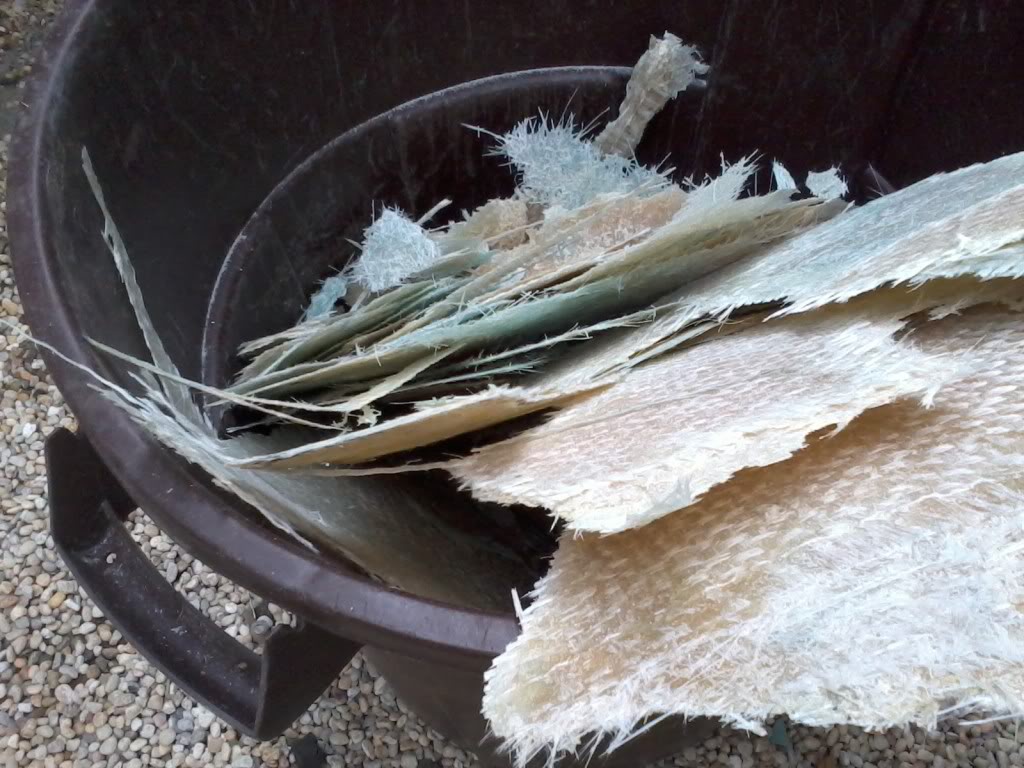
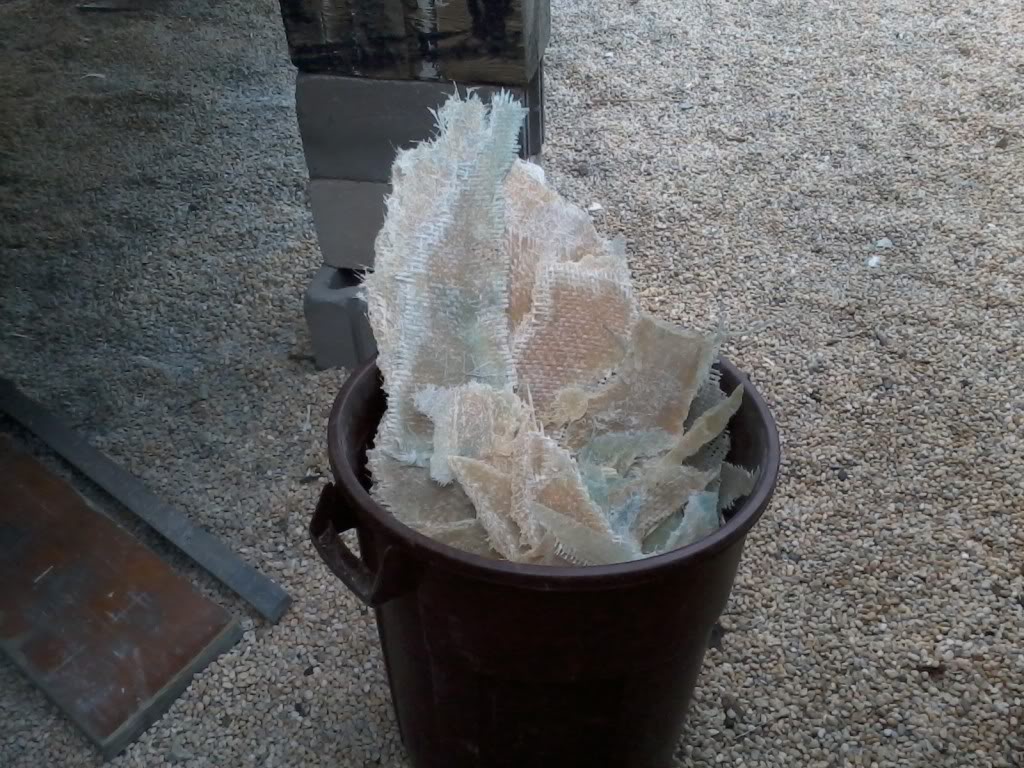
This is on a 1986 Krogen 42. I'll post pix later of the other various work done, mostly a peel/dry/relaminate of the entire lower hull. Warning: Please be sure to only look at the boat technical stuff, and ignore all the pictures of scantily clad women in the pool, etc. on the rest of the site. Yea, right!

This is on a 1986 Krogen 42. I'll post pix later of the other various work done, mostly a peel/dry/relaminate of the entire lower hull. Warning: Please be sure to only look at the boat technical stuff, and ignore all the pictures of scantily clad women in the pool, etc. on the rest of the site. Yea, right!