Baba Yaga
Veteran Member
- Joined
- Mar 15, 2019
- Messages
- 62
- Location
- San Diego
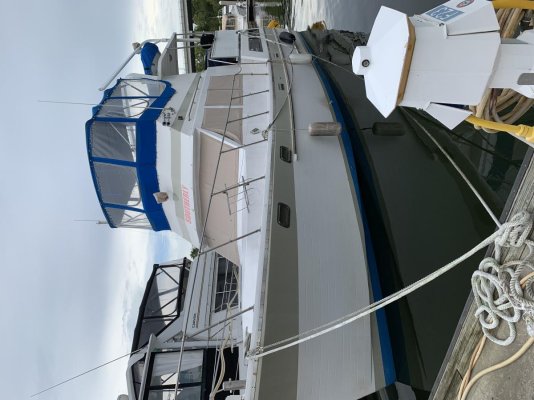
- Vessel Name
- Baba Yaga
- Vessel Make
- 1979 Californian 34 LRC
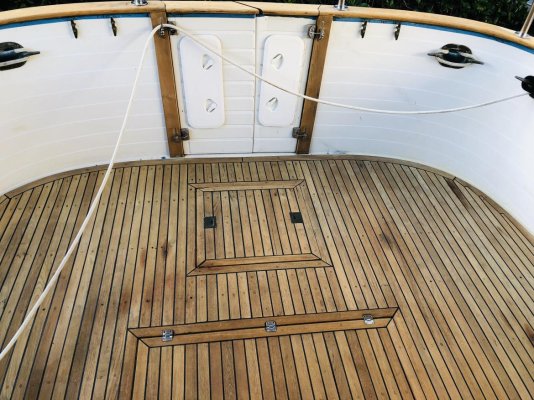
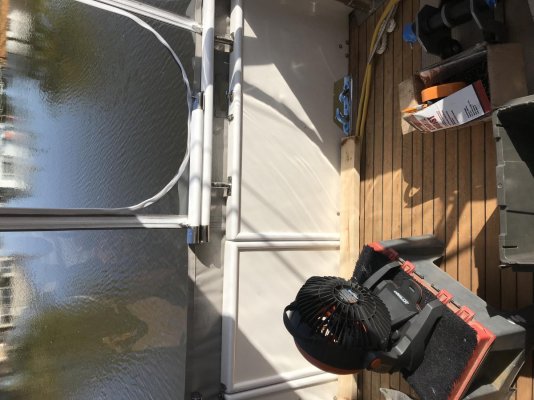
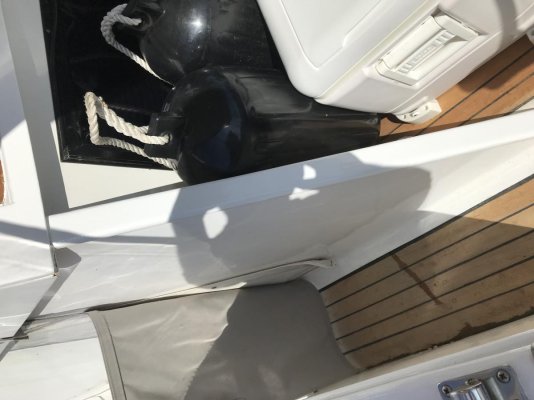
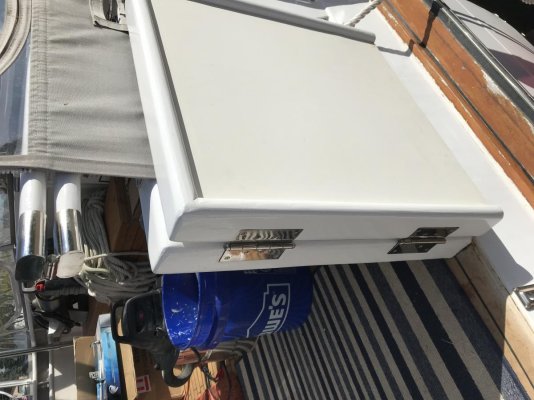
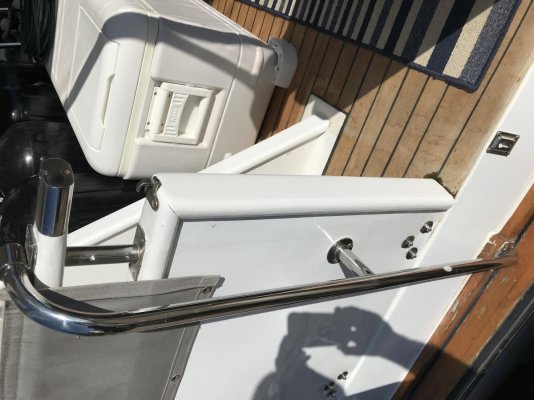
Working on the bright work since it’s summer all year here ") and there is maintenance to be done.
and there is maintenance to be done.
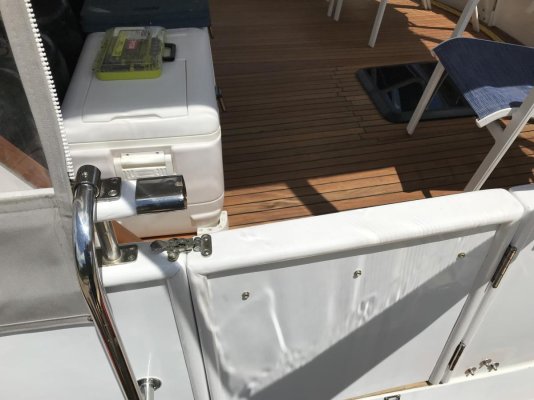
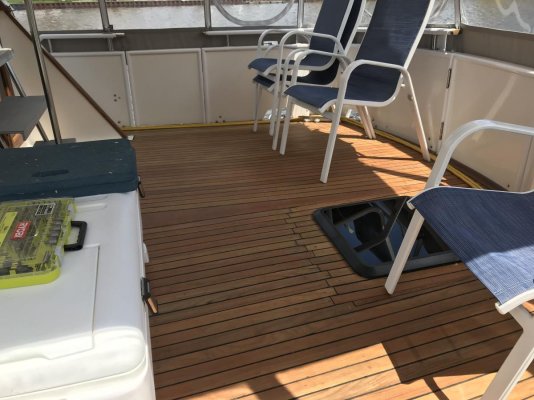
Prep and sand, first coat of Epifanes applied, now every 24 hours another sand and reapply until 6 coats.


and there is maintenance to be done.Prep and sand, first coat of Epifanes applied, now every 24 hours another sand and reapply until 6 coats.