Proud Mary renovation status

The friendliest place on the web for anyone who enjoys boating.
If you have answers, please help by responding to the unanswered posts.
Two comments: the first I noticed that you put your rudder zincs in the middle of the rudder, right in propwash, you "may" get some vibration in the helm/boat/rudder. I did. I put the anode(s) on the bottom edge.

The second is the city water intake is very close to the waterline, make sure the interior hoses are seriously bulletproof, it could fail and flood you...

Otherwise it looks really good, you are doing great work and very energetic!
 
Proud Mary, how is the renovation going? I enjoy the pictures. I have a Prairie 29 (hull # 7) and the windows are very crazed and need replacing. I notice that you replaced the windows. Can you tell me where you got them and the material that was used?
 
Proud Mary, how is the renovation going? I enjoy the pictures. I have a Prairie 29 (hull # 7) and the windows are very crazed and need replacing. I notice that you replaced the windows. Can you tell me where you got them and the material that was used?


It was Motion Windows of Vancouver, WA
 
After over a year long home renovation and change of jobs we are back to work on the trawler.
 
We recently replaced all four ports lights with Beckson 4” x 10” port lights as they were an identical match.
We also replaced the two 30A power connections as the old ones had signs of arcing and corrosion.
 
Now we are rebuilding the utility closet.
IMG_1875.jpgIMG_1876.jpg
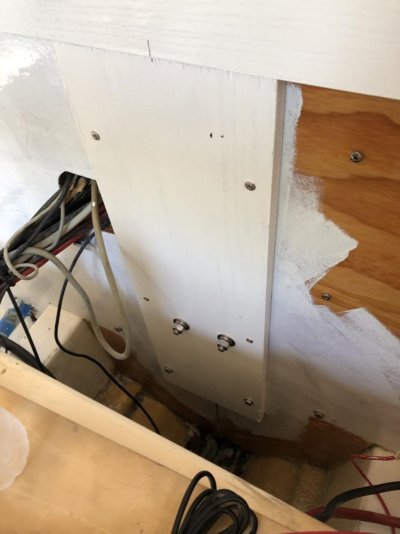
This is the starboard bulkhead panel.
 
Next item was the utility room front plywood frame.
IMG_1878.jpgIMG_1879.jpg
 
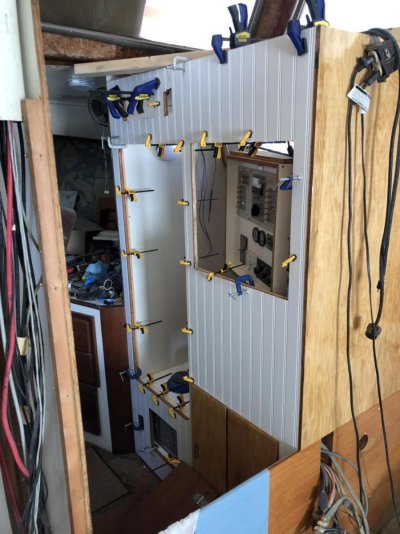
Before I installed the plywood panels I routed the wainscoting that will go over the plywood.
IMG_1868.jpgIMG_1869.jpgIMG_1870.jpg
 
Two comments: the first I noticed that you put your rudder zincs in the middle of the rudder, right in propwash, you "may" get some vibration in the helm/boat/rudder. I did. I put the anode(s) on the bottom edge.

The second is the city water intake is very close to the waterline, make sure the interior hoses are seriously bulletproof, it could fail and flood you...

Otherwise it looks really good, you are doing great work and very energetic!


Thank you for the advice. I will take heed.
 
IMG_1963.jpg
I cut out and painted the supports for the HVAC that will go in the utility closet.
 
IMG_1972.jpgIMG_2010.jpgIMG_2011.jpg
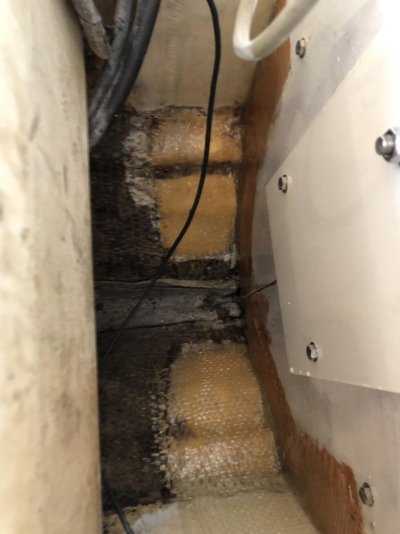
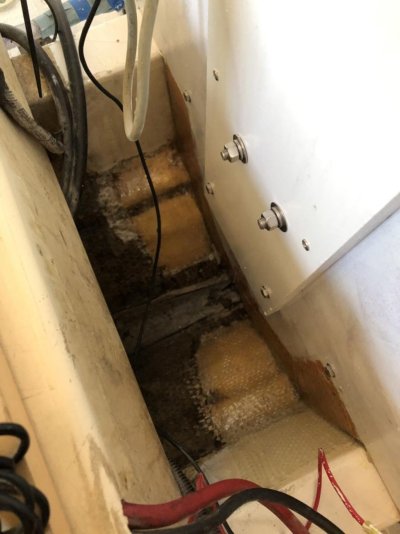
I removed the rotted boards from the head and cut out two new boards. It was miserable sanding the hull down to the bilge prepping for fiberglass and epoxy.
 
Very nice work. I don't know how I missed this thread.
 
IMG_2037.jpgIMG_2038.jpg
After hours of frustration and unintentional yoga positions I was able to install a new shower pan drain with elbow connector, clamps and drain hose.
 
Glad it is you and not me... Keep up the good work, can’t wait to see photos of it on the water.
 
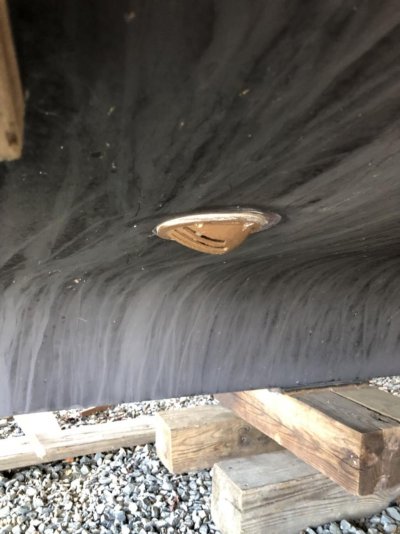
Today was thru-hull installation day. I installed the grated engine intake, the grated HVAC intake, the toilet intake and the waste water thru-hull even though it will probably never be used.
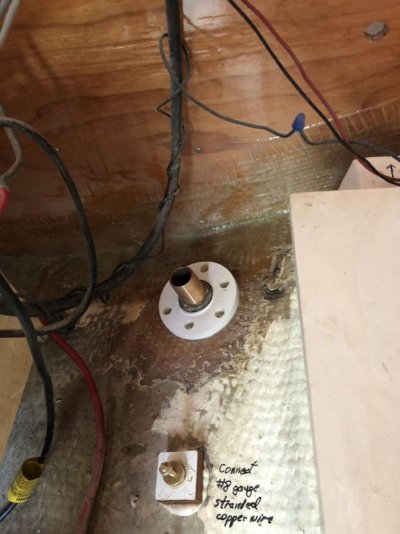
 
Today was thru-hull installation day. I installed the grated engine intake, the grated HVAC intake, the toilet intake and the waste water thru-hull even though it will probably never be used.

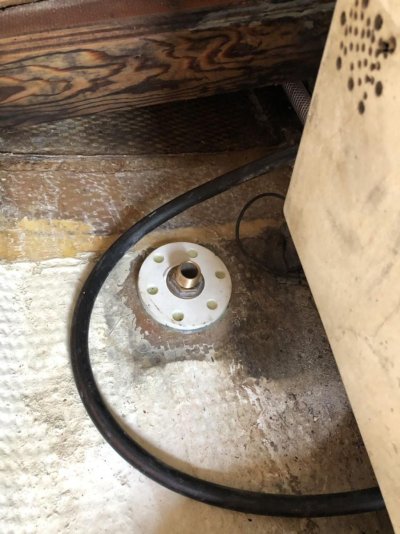
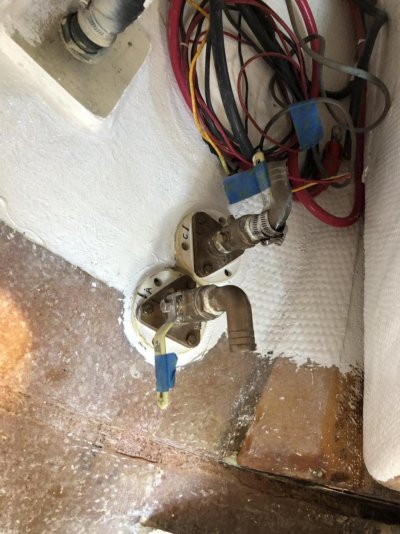
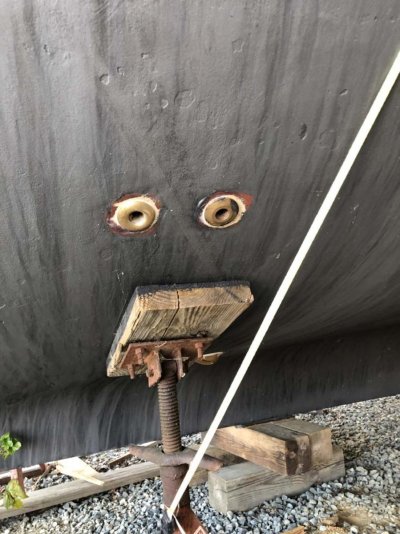
I hope that waste thru-hull is on the oposite side of the other thru-hulls. It would suck to open a plugged strainer and find well used TP inside. :lol:
 
IMG_2039.jpg
Engine water intake
IMG_2040.jpg
HVAC intake
IMG_2041.jpg
Waste water thru-hull on left and toilet water intake on right
View attachment 1
IMG_2043.jpg
IMG_2044.jpg
 

Attachments

  • IMG_2042.jpg
    IMG_2042.jpg
    155.1 KB · Views: 46
Thank you. We watch a lot of YouTube videos for ideas and training ��
 
IMG_2098.jpg
I made some replacement steps for the stateroom stairs out of mahogany. The teak was way too expensive.
 
IMG_2122.jpg
I installed the bottom step but have more bulkhead boards to fasten before the new top step goes into place.
 
IMG_2124.jpg
IMG_2125.jpg
IMG_2126.jpg
I finally got around to installing the stair treads and ladder steps. We varnished them which looks great but makes them super slick. So we had to add safety grip pads to prevent accidents. Sometimes practicality overrides aesthetics.
 
IMG_2109.jpg
IMG_2110.jpg
IMG_2111.jpg
I went back to work on the bulkhead from hell. Everything seems to attach or pass through this section of wall.
 
IMG_2143.jpg
IMG_2142.jpg
IMG_2141.jpg
I installed a 3/4 inch oak board across the two plywood panels and another 3/4 inch thick center line board. The original plan had the engine and HVAC intake strainers plus the fuel/water separator mounted on the oak boards. They are necessary otherwise the fastening screws will go through the wall into the head, stairs and utility closet.
 

Latest posts

Back
Top Bottom