Fighterpilot
Senior Member
- Joined
- Apr 17, 2011
- Messages
- 380
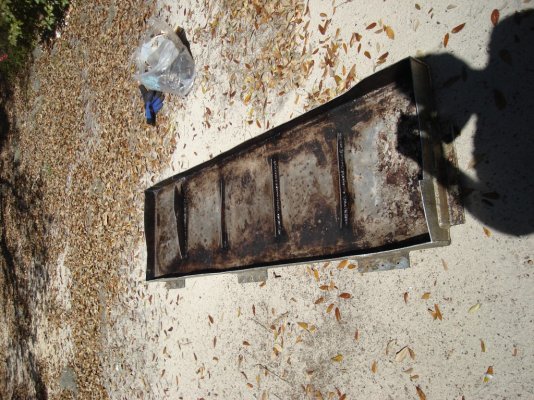
Finally got it cut out. 1982 Californian, 34 LRC port tank. Followed advice from the forums--dawn soap, suds, shop vac blowing air thru the tank until got a cut or two made.
It was aluminum--started with craftsman counter rotating saw. Worked great until it quit. Throws chips all over the place. Could not use it exclusively due to difficulty of getting to the far side of the tank. Used in conjunction with a sawsall. Ran out of metal cutting blades, but found the blade for cutting wood and nails worked better. Finished the job with sawzall. The tank was bolted down in three different place on the outboard side. Impossible to get to until we cut the tank out. We cut down to about 3 inches from the bottom and removed it piece by piece. Baffles every 16 inches which complicated the process.
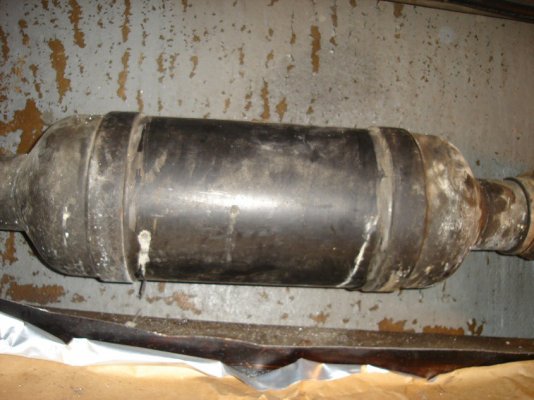
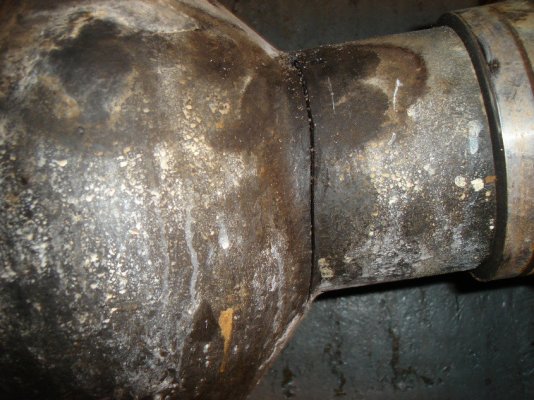
Only one gotcha--son-in-law, using one of the sawzalls ran out of short blades and put in a long blade. Forgot about the muffler and cutting down thru a section of the outer tank wall cut in to the muffler. Ouch$$$. It is plastic I believe, but shopping for a new muffler. Will also replace the clamps and the rubber connectors while tank is out.
Going to pull the 8D batteries out and replace with two each start batteries *and house batteries group. Actually one of the 8Ds has failed and son-in-law can use the other one on his shrimp boat so not a big expense there. Going to replace the battery terminal connectors on the 4/0 wire with from the perko switch with actual battery terminal connectors, using a flag terminal connector as necessary.* Will move the battery boxes forward a few feet to make them easier to get to around the front of the engine.
Thanks for all the advice.
*
*
*
*
It was aluminum--started with craftsman counter rotating saw. Worked great until it quit. Throws chips all over the place. Could not use it exclusively due to difficulty of getting to the far side of the tank. Used in conjunction with a sawsall. Ran out of metal cutting blades, but found the blade for cutting wood and nails worked better. Finished the job with sawzall. The tank was bolted down in three different place on the outboard side. Impossible to get to until we cut the tank out. We cut down to about 3 inches from the bottom and removed it piece by piece. Baffles every 16 inches which complicated the process.
Only one gotcha--son-in-law, using one of the sawzalls ran out of short blades and put in a long blade. Forgot about the muffler and cutting down thru a section of the outer tank wall cut in to the muffler. Ouch$$$. It is plastic I believe, but shopping for a new muffler. Will also replace the clamps and the rubber connectors while tank is out.
Going to pull the 8D batteries out and replace with two each start batteries *and house batteries group. Actually one of the 8Ds has failed and son-in-law can use the other one on his shrimp boat so not a big expense there. Going to replace the battery terminal connectors on the 4/0 wire with from the perko switch with actual battery terminal connectors, using a flag terminal connector as necessary.* Will move the battery boxes forward a few feet to make them easier to get to around the front of the engine.
Thanks for all the advice.
*
*
*
*