bridaus
Senior Member
I'd love some input on how to fix this door. I've thought of many ways with my limited experience (I have done a bit of woodwork over the years, but zero fiberglass.) I'll list some to get the party started, and my thoughts on each. Pictures attached.
Other/better/easier ideas?
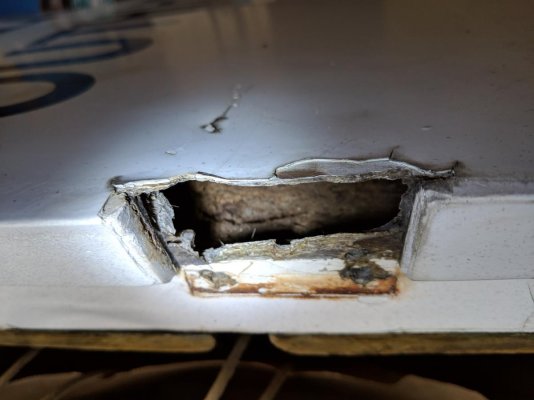
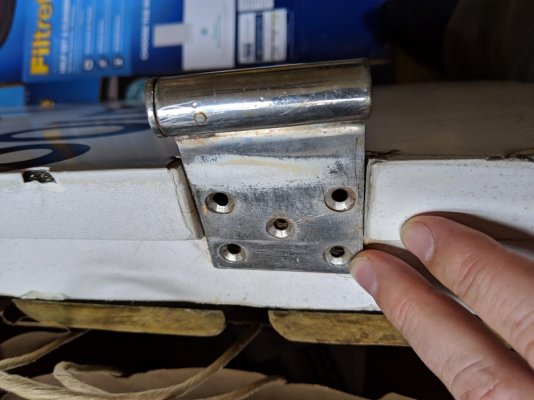
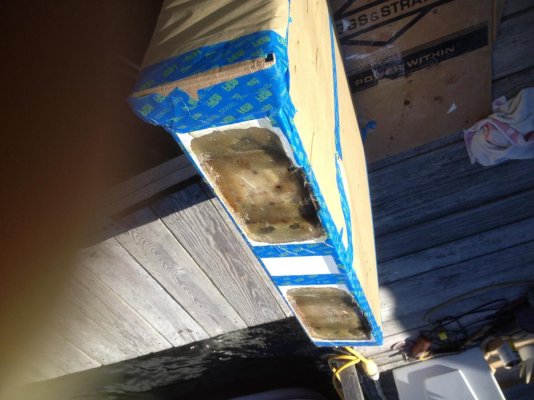
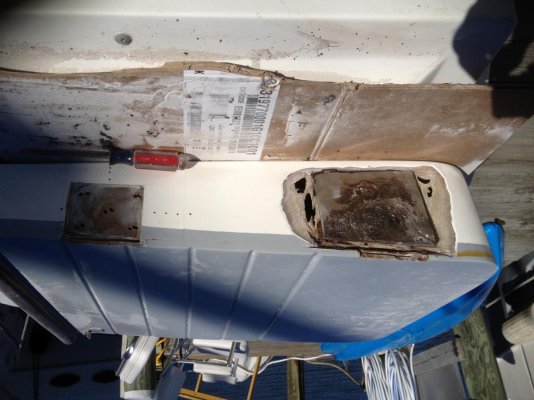
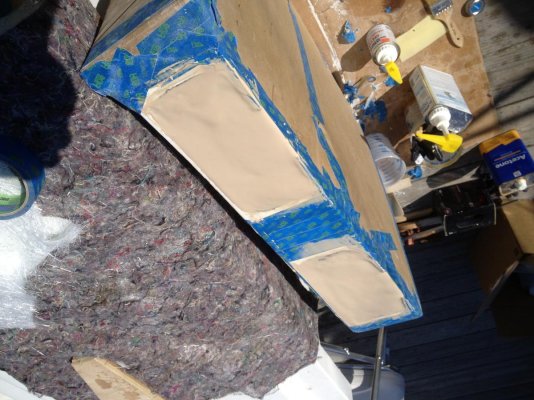
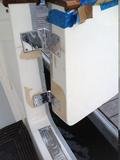
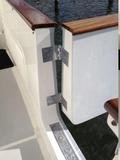
First picture is one hinge (both are basically the same condition). Some of the wood was rotten by the hinge. With a screwdriver, I removed all the rotten wood, and have reached solid and dried it out. The second picture shows the hinge dry fit for reference.
- Replace the entire thing: Not choosing this option now. I want to get the boat usable and presentable, then perfect it as a second phase. Not sure it needs replacing anyway.
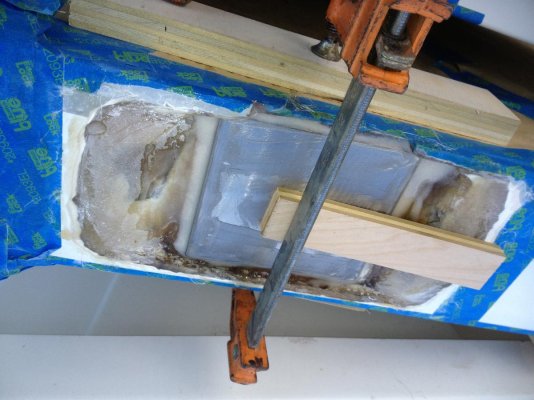
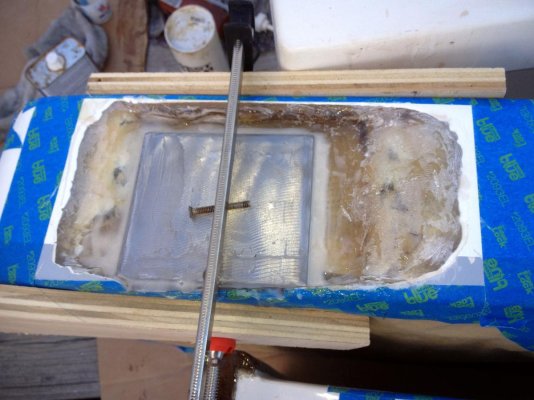
- Long board pushed inside with holes drilled in the board for filler to grip. Some epoxy or structural foam or other filler poured inside. Fiberglass the top and then long screws that grip the board that is encased in filler.
- 1/4 plywood wrapped in glass, placed one by one in hole building up to base of where hinge was, then fiberglass over top. Long screws that grip multiple layers of the board/glass.
Other/better/easier ideas?
First picture is one hinge (both are basically the same condition). Some of the wood was rotten by the hinge. With a screwdriver, I removed all the rotten wood, and have reached solid and dried it out. The second picture shows the hinge dry fit for reference.