KneeDeep
Senior Member
- Joined
- Jan 2, 2014
- Messages
- 113
- Location
- USA
- Vessel Name
- Betsy Lee
- Vessel Make
- 37 Atlantic Double Cabin
Rails look great - thanks for sharing the pics. Reminds me that i need to rebed my stanchions on the back, i'm getting rust stains from underneath.
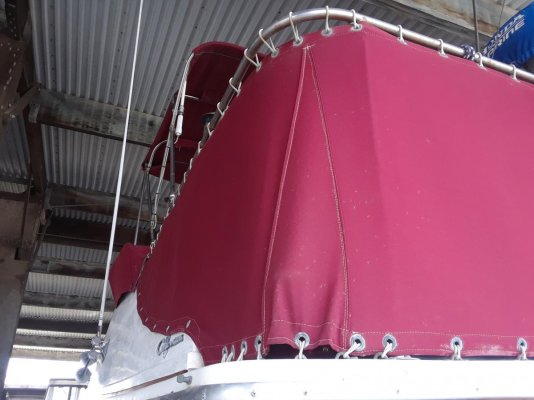
We removed the rear canvas on our back deck. Easier access for the dog and we like it feeling more open when we are sitting in the back. Makes it easier to see when backing into slip too.
This also reminds me of a question / post I made and never got a response, can't believe I stumped the forum??") Anyone with the same side step on the cabin ever had to be replaced? Mine is severely cracked now, and i cannot find anything similar -may have to be custom fabricated? thx
Anyone with the same side step on the cabin ever had to be replaced? Mine is severely cracked now, and i cannot find anything similar -may have to be custom fabricated? thx
We removed the rear canvas on our back deck. Easier access for the dog and we like it feeling more open when we are sitting in the back. Makes it easier to see when backing into slip too.
This also reminds me of a question / post I made and never got a response, can't believe I stumped the forum??
Anyone with the same side step on the cabin ever had to be replaced? Mine is severely cracked now, and i cannot find anything similar -may have to be custom fabricated? thx