- Joined
- Apr 15, 2008
- Messages
- 13,731
- Location
- California Delta
- Vessel Name
- FlyWright
- Vessel Make
- 1977 Marshall Californian 34 LRC


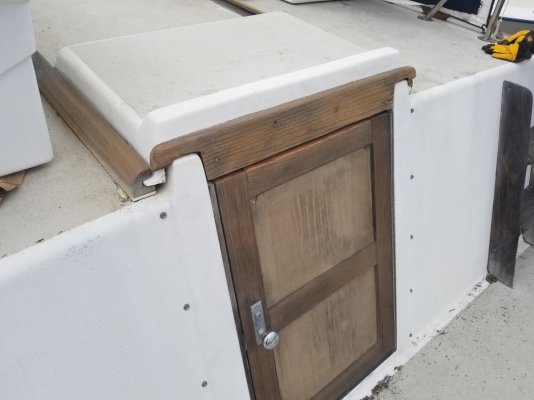
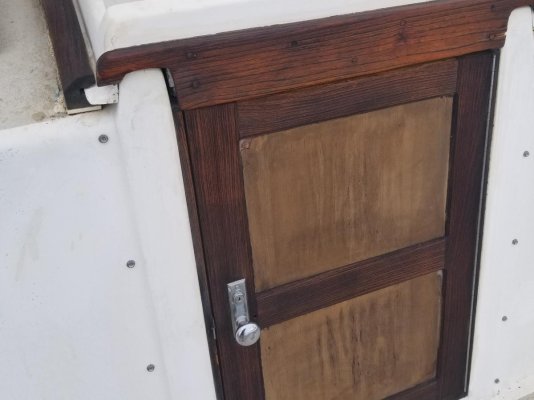
Those door panels are ALL destroyed. So much prior neglect is causing severe delamination....oh well, I can always cover, replace, or strip/seal/paint (a red door means you own your home, right?).
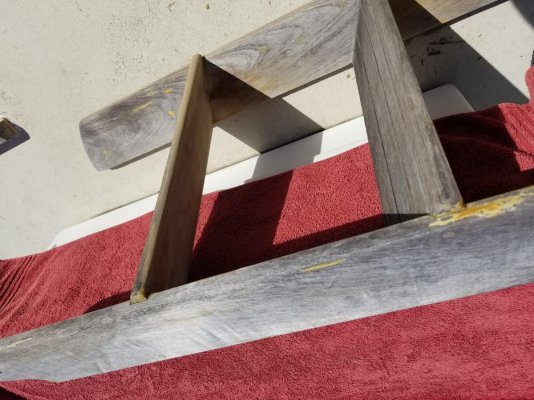
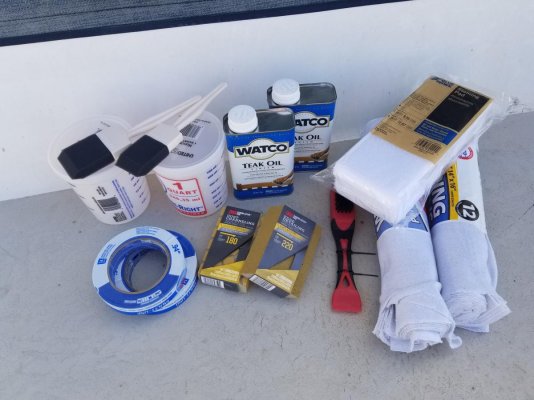
What I do need help with is stripping all the yellow, nasty, hard as nails epoxy/varnish combo that's on a majority of the pieces we didn't get sanded and oiled already. Any recommendations for removing the old stuff?
Do NOT sand it off. Get a heat gun, not expensive, and good metal scraper, one of those 3 surface ones that do curves as well as flats. Use the heat gun to blister and soften the varnish, then use the scraper at the right angle to remove the varnish.Work in small sections. You`ll soon get the hang of it. Try it on something else that doesn`t matter, even a painted surface,anywhere, at home, Mother in Laws front door, etc....What I do need help with is stripping all the yellow, nasty, hard as nails epoxy/varnish combo that's on a majority of the pieces we didn't get sanded and oiled already. Any recommendations for removing the old stuff?
 :lol:?.
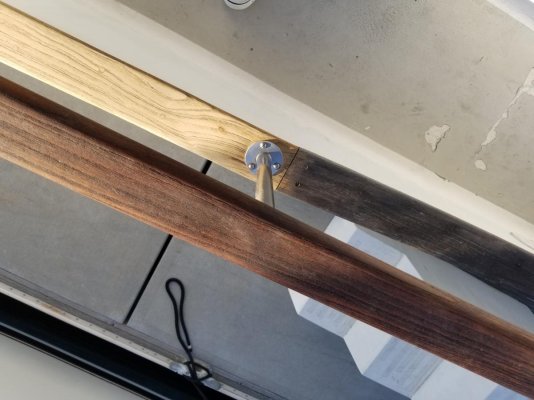


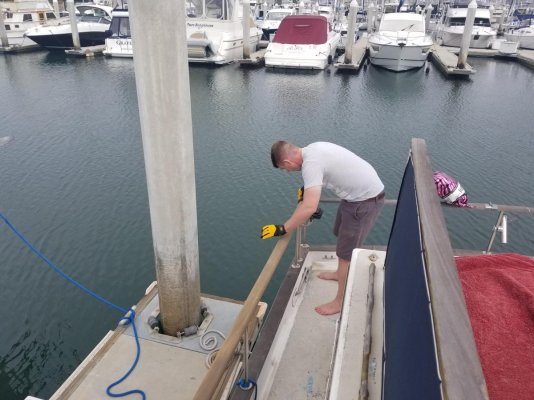
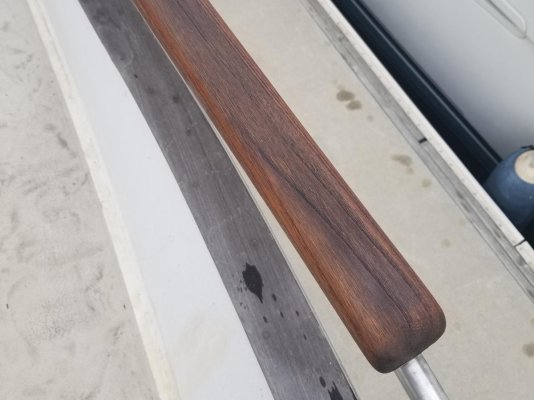
Looking really good. But it's a lot of work.
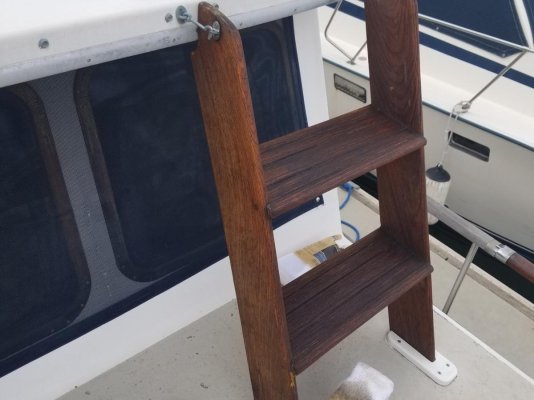
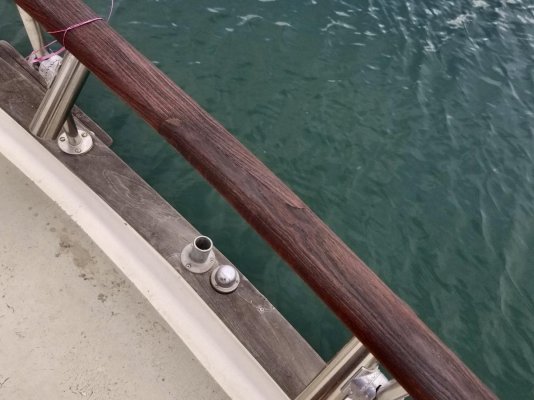
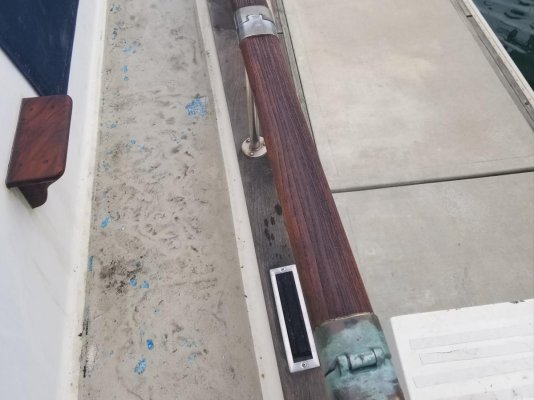
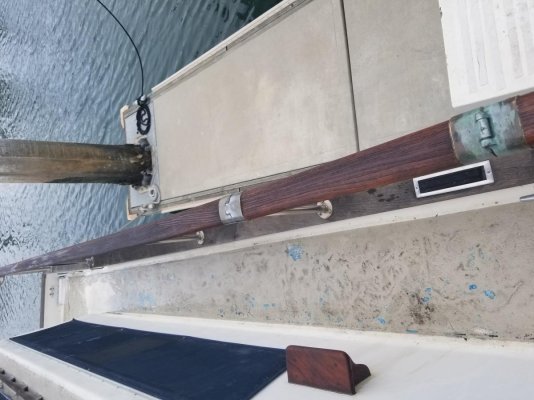
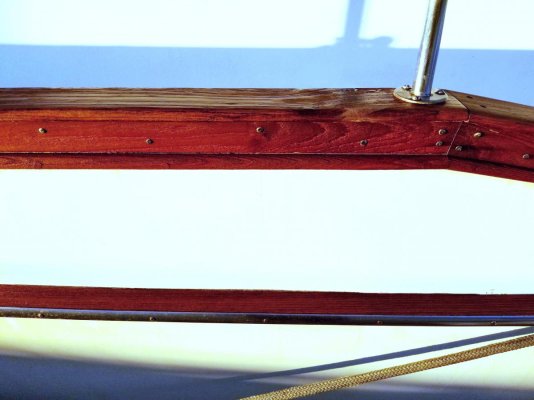
I'm in the process of countersinking the exposed screws in the teak trim below the rail cap and plugging them. I got about half done before the weather changed here. Just enough wood to pull it off.
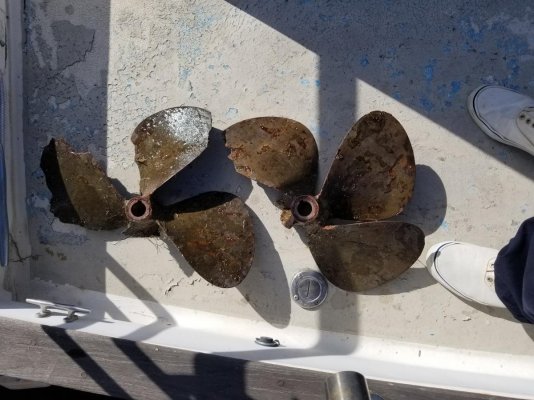
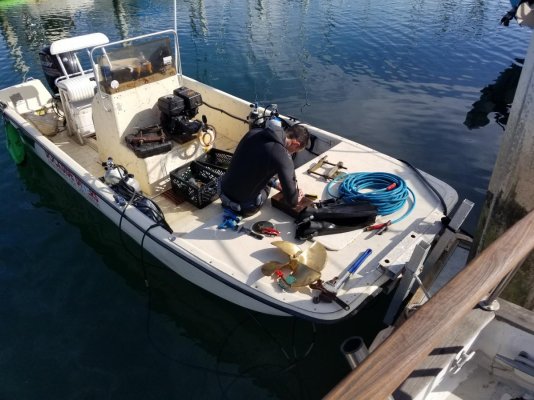
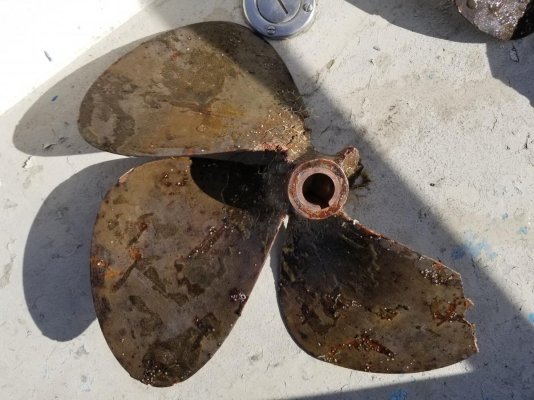
Wow, those props . . . That's amazing.
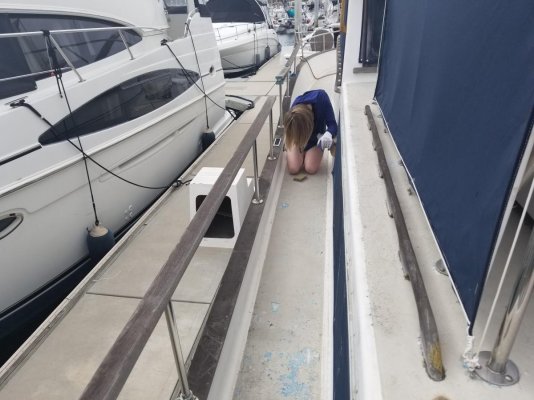
After being up close and personal with my teak for the last two days...i feel I could go broke just trying to countersink, plug, apply seal, and repair the metal edging on it. I applaud you sir for attempting it!
Yeah, those props...lol
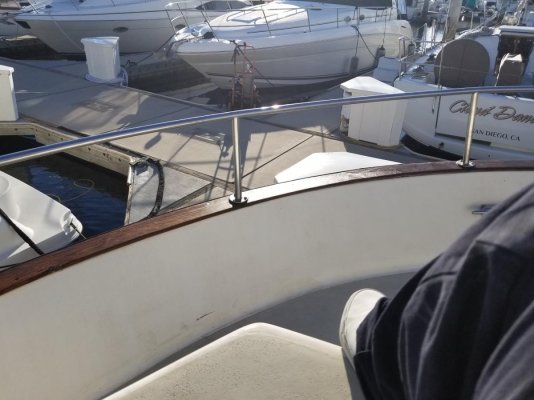
Is that metal edging on the gunwale cap? I wonder if PO added it, Never seen it before on an LRC.
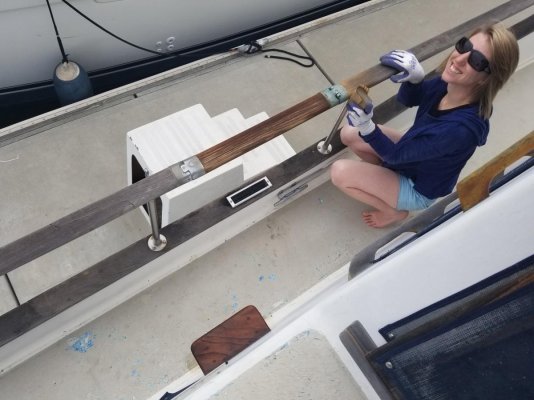
The countersinking is pretty quick. setting and trimming the teak plugs takes a little more time. I bought a cheap high speed drill, 3/8" countersink and cordless drill/driver from Harbor Freight for the boat and they work great for that purpose. So many exposed screws holding trim on these boats. Especially good for lifting the rail stanchions to oil the railing under them and anything else around water. My Dewalt tools go nowhere near the boat, ever.
 :lol:
:lol: