Tom.B
Moderator Emeritus
- Joined
- Jul 30, 2009
- Messages
- 5,839
- Location
- USA
- Vessel Name
- Skinny Dippin'
- Vessel Make
- Navigator 4200 Classic
It's time to start researching the process of cleaning Skinny Dippin's fuel tanks. I'm fairly sure they are gunked up, and while I am getting low on fuel, I am considering the project.
There are two fuel cells directly port and starboard of the single Perkins 6.354M. Both tanks have round inspection plates on the SIDE facing the engine and are about 12" in diameter with a dozen or so nuts holding them on. Not the easiest place to get to, but I might can make it work. I also have a fuel scrubbing system with a 1/4hp 60gph pump (for sure I will be able to xfer fuel from tank to tank... which is nice).
So, here are my initial questions:
1) What should I expect to find in there?
2) What supplies do I need to get to prep for the job? Scrapers, buckets, gloves, respirators, cleaners, shop-vac? Is this going to be a toxic job?
3) My most pressing question is how to seal the inspection plates after removal and what sealant should I use? A poor choice here will cause a major fuel spill and I won't find out about it until I goto fill the tanks. By then, it will be too late, so I need to get it right the FIRST time.
4) I wonder if I can utilize my scrubber pump to blast the inside of the tanks and knock off some of the build-up BEFORE I pull the inspection plates. I would just set it up with a bendable wand that I could direct the flow around the inside of the tank. However, I don't know if there are baffles that would block that process.
5) As a follow-up to #4, what if there are areas I can't reach? It's only a 12" hole (maybe) and I don't think Inch High Private Eye is in the diesel biz. Can I use a power washer as long as I thoroughly dry it afterwards?
That's it for now, but I'm sure there will be more later. Thanks y'all!
Tom-
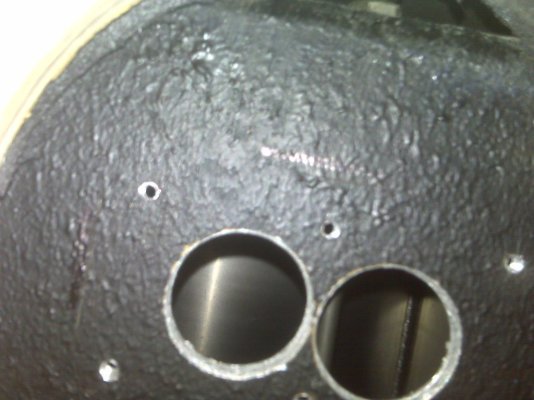
*PS* Picture of scrubbing pump attached to only show that tapping into the system would not be that hard.
There are two fuel cells directly port and starboard of the single Perkins 6.354M. Both tanks have round inspection plates on the SIDE facing the engine and are about 12" in diameter with a dozen or so nuts holding them on. Not the easiest place to get to, but I might can make it work. I also have a fuel scrubbing system with a 1/4hp 60gph pump (for sure I will be able to xfer fuel from tank to tank... which is nice).
So, here are my initial questions:
1) What should I expect to find in there?
2) What supplies do I need to get to prep for the job? Scrapers, buckets, gloves, respirators, cleaners, shop-vac? Is this going to be a toxic job?
3) My most pressing question is how to seal the inspection plates after removal and what sealant should I use? A poor choice here will cause a major fuel spill and I won't find out about it until I goto fill the tanks. By then, it will be too late, so I need to get it right the FIRST time.
4) I wonder if I can utilize my scrubber pump to blast the inside of the tanks and knock off some of the build-up BEFORE I pull the inspection plates. I would just set it up with a bendable wand that I could direct the flow around the inside of the tank. However, I don't know if there are baffles that would block that process.
5) As a follow-up to #4, what if there are areas I can't reach? It's only a 12" hole (maybe) and I don't think Inch High Private Eye is in the diesel biz. Can I use a power washer as long as I thoroughly dry it afterwards?
That's it for now, but I'm sure there will be more later. Thanks y'all!
Tom-
*PS* Picture of scrubbing pump attached to only show that tapping into the system would not be that hard.